Crit with Jo and Shaun

I had a crate with Jo and Shaun about how I could showcase my work and what I could do to develop it. Shaun told me that the images I had produced looked a lot like film reels of old films that flicker when moving so came to the conclusion of creating moving image mini films with these photographs.

Both Jo and Shaun helped me to determine which images to use and what order to put them in, and they came to a conclusion to produce two moving images with a section of images; some from my first shoot and some from my second shoot.

Jo went on to tell me to talk to Jamie about helping about with creating the mini movies as I am unfamiliar with movie software like Adobe Premier pro and he specialises in it.

Exhibiting my Work

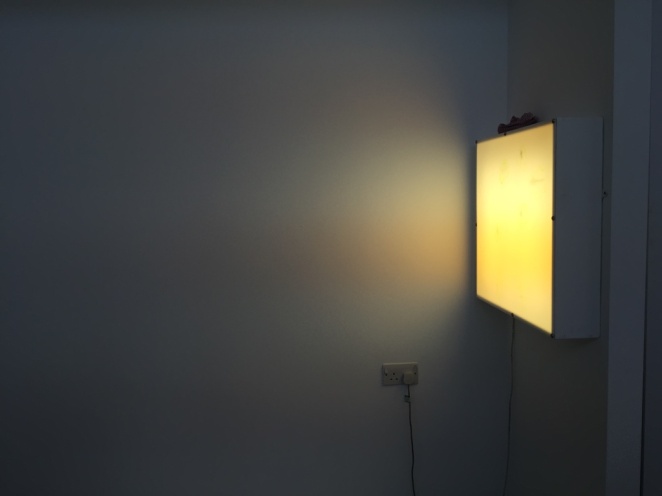
When I had been allocated my space, I decided on how I would use it. My space was on an angle and I had came to a final idea of using a light box to display my work. My tutor drilled the light box into the wall, and from there I started to clean it as it had marks on, as well as retouch the border with white emulsion.

thumb_IMG_0827_1024.jpg

After I had cleaned the light box and touched it up, I started to get my final images and  arrange them into the right display.

thumb_IMG_0828_1024

I played around with the images, arranging them in different ways and fitting them together like a puzzle piece. I took all the images down and tried again to piece them together.

thumb_IMG_0828_1024

I included my negative films onto the light box also as it looked more effective and went well including my processes in my work other than the final photos.

thumb_IMG_0829_1024

After speaking with Jamie, he felt that just putting the negatives on would look better and would allow people to see the process of my work as it takes a lot of processes due to being analogue photography. We found that it would brighten up the space as having just the images on doesn’t look as powerful.

I pieced the images together to form a powerful and abstract composition. Fitting them together like a puzzle piece, I had to put up and remove film and then restart as they didn’t fit together. I was finally able to piece them all together after a few attempts and transform the light box into my exhibit space.

I went onto scotch tapping the negs onto the light box, finding this method of presenting my work a lot more effective. After that, I had decided to showcase my final images by displaying them above the light box however after consulting with Jamie and seeing the end result, I found it better to just leave the images and put them into a sketchbook.

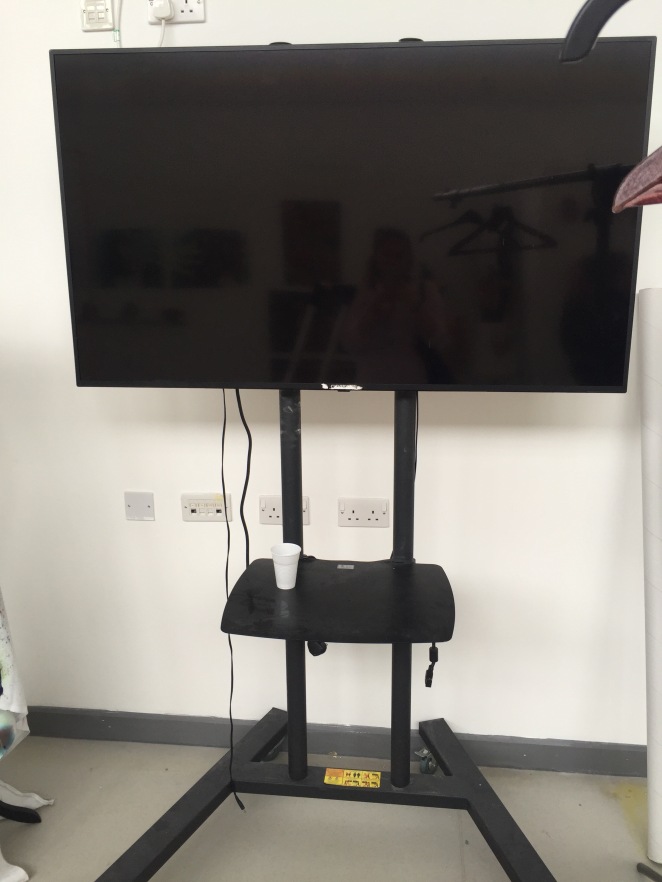
I decided upon displaying my negs on the light box and my moving image pieces on the monitor as shown below.

IMG_0867.jpg

Overall, I am happy with the result of my exhibition space and I feel I have executed the space well and used it all successfully and in a professional manner. Even though it took a while and had me changing ideas and attempting different plans, I finally came up with a strong exhibition space that showcases my work effectively.


Exhibition Space Prep: Research

After having a tutorial with Jo on how I should present my images, we came to this conclusion;

  • Use originals images; I scanned my images and reprinted them but all the same size as Jamie had recommended that concept to me as he thought it may look more effective. This idea didn’t work out as well as using my original images and I felt that it would make my exhibit more authentic using the real images, and the variety of scales would look more interesting.
  • Display the images in a more creative and perhaps three dimensional manner- not just framing them or hanging them on the white exhibition wall.
  • Research photography exhibitions on Pinterest to find inspiration; hang images on string with bull dog clips or put the images on lightboxes.

When I had finished the tutorial, I went home and researched further into different methods for displaying my images. I looked on Pinterest and searched things like lightbox photography displays and photography exhibitions. Below are some ideas and artists I had found:


Tris Vonna-Michell: Use of Light boxes and Projection 

I liked this idea of displaying images. I find the use of light in art is a powerful tool and can manipulate the image and meaning. I think using a lightbox to exhibit my images would be an effective way and I feel that it will highlight and capture the imagery effectively in the photographs. I found that juxtaposing the natural light in the photos with artificial light that the lightbox produces would make for an interesting appearance.

I looked more into the use of light boxes in photography exhibitions and found some examples on Pinterest.


I liked the diverse ways you could use light boxes or even just light. These methods are very effective and like the outcome it creates. I feel that these ideas are too big however and wouldn’t fit in the exhibition space that I have; especially taking into consideration everyone else in the exhibition so these displays wouldn’t work. Although these ways wouldn’t work, I could still use them as inspiration to create a smaller exhibit that is influenced by this research.

I found other artist exhibitions who used light which I found interesting.
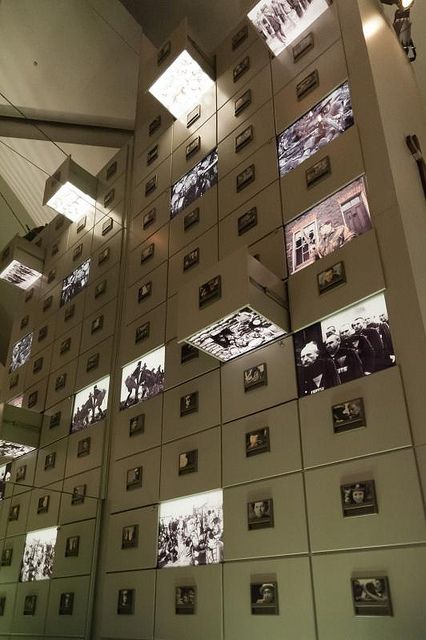
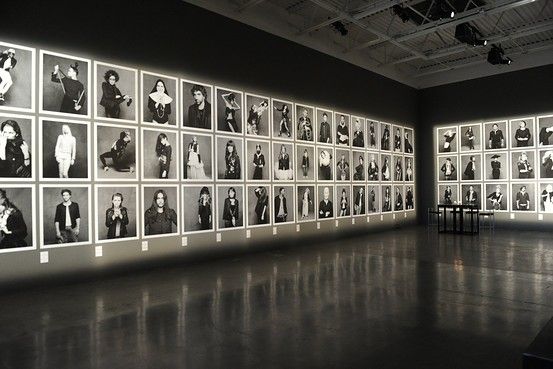
imperial war musuem manc

Imperial War Museum, Manchester.

karl laferfeld on the little black jacket

Karl Lagerfeld on the Little Black Jacket

Snapshot Memento: Scenography for a Photography Exhbition

Below is the link to the page which describes the ideas and concepts for this photography exhibition and the process which took place in developing the exhibition space.

http://www.designboom.com/readers/snapshot-memento-scenography-for-a-photography-exhibition/


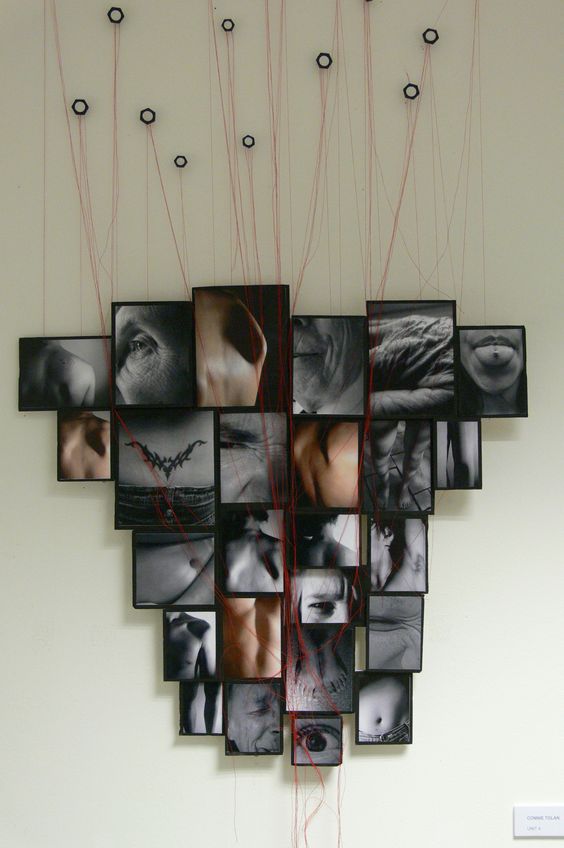
I went on to looking at other methods for displaying photographs in exhibits. Another way was hanging images or using string to connect them all together.

I looked at an artist called Annette Messager who focused on close ups of different body parts and then hanging at different levels and overlaying them over one another , almost connecting the different body parts together.


I find this concept effective and I really like this idea. I feel that this method would work really well with my images as overlapping them and hanging them at different levels would be really interesting, however it wouldn’t be as big of a scale as this.

I found other methods that she’s displayed her images using string as well.
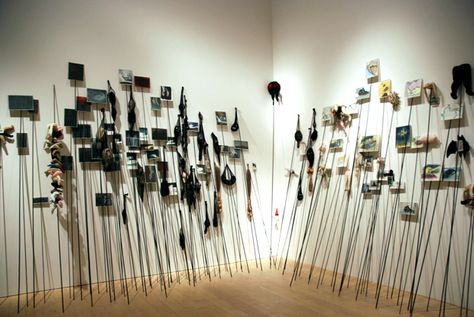
 

e87dbcb1453eef2ee25d1f7e125ea78b

05acd44c9e68811819db1ad2b44727de

I feel that this method above is an effective way to display photographs; printing the images on acetate so when you look from different angles, you can see right through the image instead of it being blank on one side. I feel that using a different material like acetate is an effective method to exhibiting your photos.

I had also found photos printed onto transparent fabric which was an interesting way also. This method is very effective and unconventional for displaying photographs as they are usually exhibited on high quality paper.
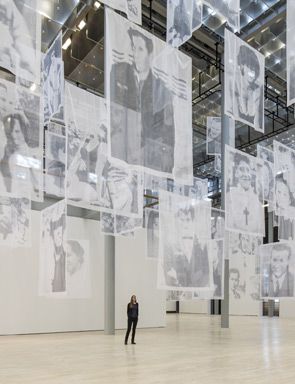
04c4e374f4bb91feda344fb74574db88

I found other ways of using string to display photographs and found these different methods.

Hanging string like a washing line and clipping the images on using bull dog clips and pegs.


Hanging images using string.


More abstract way of hanging images.
4c2e03d06120216c76e0460f0656287b


I found these different methods interesting and the presentation very effective in exhibiting photographs. I find these ways influential and will be considered when thinking of how to present my photographs. I like the idea of hanging photographs from clothing lines and pinning them with bulldog clips or pegs.

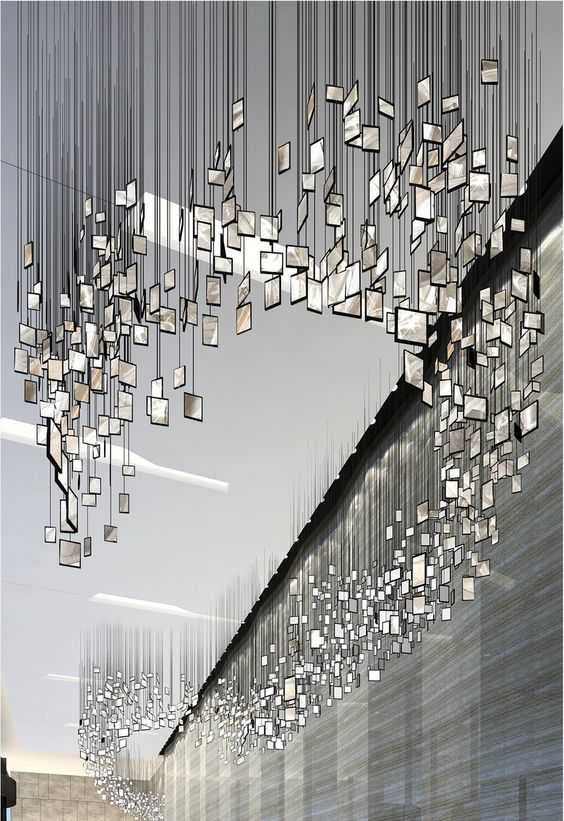
I also found a photographer called Chloe Ostmo who produced an installation “Falling” of two dimensional images re-inserted into a three dimensional series showing a woman falling down the stairs hence the title “Falling”. She produced the work for her degree show at Brighton University in 2006.


I found more alternate ways of hanging photographs which I found interesting.
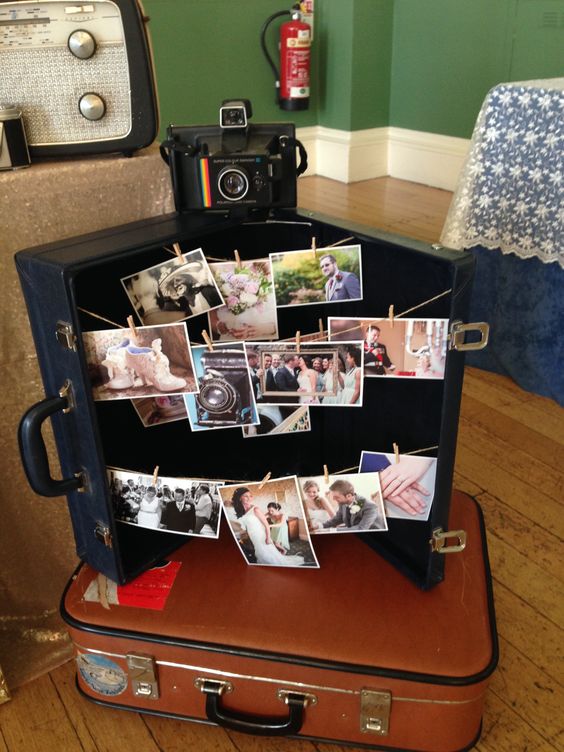
fa85035de806263e39b88eed69dcb4fa

I thought that this was an interesting concept, and seemed more unconventional than just hanging photos. I found it to be a nice idea however, I felt that it may not be suitable for my images.

5f85633b450ddc3ea66eb81879387a9d

I liked this method also, I think that this would work well with my project as I have incorporated nature and the environment in my work, so using a branch would be an interesting concept.


I found other displays also like using wooden blocks to attached the photographs to which I really liked and found it effective, however it seemed too much like something you would put in your home not in an exhibition.


I also found a series of bulldog clips attached to a wall with Cyanotype images which I found effective.
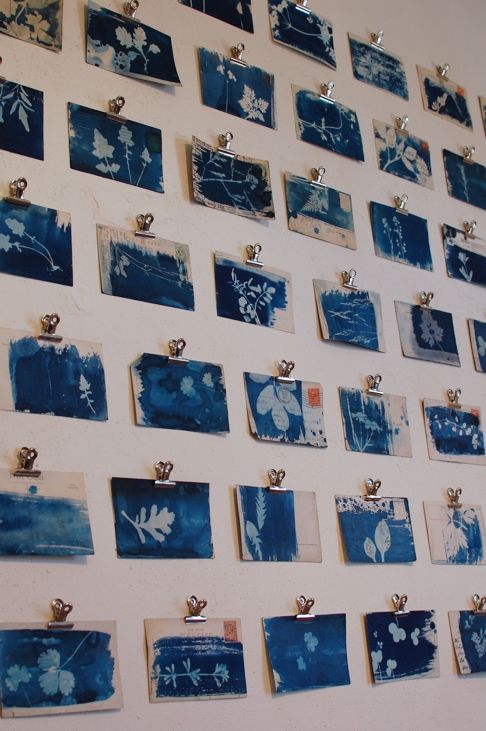
5019124cd6fd5f2d885bd1ea62dfac9c


My images are different scales in terms of paper size; 6×4, 5×7 and 10×8 which meant that making an uneven grid of different scaled images would be visually interesting.
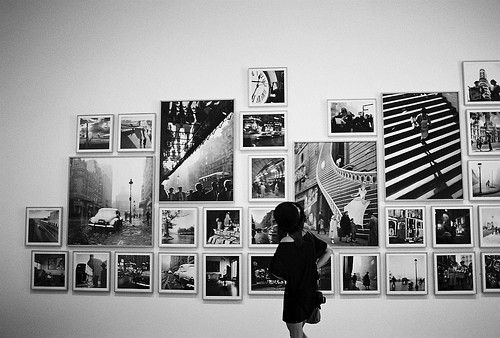
d95630d1f29630daa9f181e1af963bd8


Overall, I found the light box and string ideas most interesting and appropriate for my exhibition and I am thinking of how I could incorporate either one or both of them into my exhibit space.


Processing my film

All of my films had the same processing method which was using C41 to develop the black and white films. There are 6 steps involved in processing the film; putting the film in the tank, using the developer chemical, using a stop bath chemical, washing out the tank with water, using the fixer chemical and drying the film in the airer.

Before developing the film, the chemical need to be in water and heated to 30°C as the chemicals won’t develop the film properly; the way to do this is to measure the temperature of the water that the chemicals are in using a thermometer.

Step one 

The first step is to put the following items into a light-proof tent so no light is exposed to the film when taken out of the canister as this will expose the film and ruin it. The items are as followed:

  • rolls of film
  • developing tank
  • film reel
  • can opener- to open the film canister
  • scissors

In the tent, you open the film canister with the can opener and remove the film from it. From there you even off the end of the film using the scissors, cutting it off and loading the film onto the reel. To do this you feed the first piece of the film into the reel, passing it through the ball bearings, where it goes onto the track. You then rotate one side of the reel to feed the film through, and then rotate the other side to feed more in and continue this process till all the film is loaded. Once this is done, you put the reel with the film into the developing tank and put the lid on and take it out of the tent ready to start developing.


Step two

From here, I put about 170ml of the developing solution into the tank and put the lid back on. I developed the film for 3 minutes, using a device to turn the developing tank so that the chemical develops all of the film. After 3 minutes, I empty the solution back into the developer container.


Step three

After emptying the tank of developing solution, I go onto putting about 170ml of stop bath into the tank. I stop the film for 6 minutes and after that emptied the solution back into its container.


Step four

After emptying the stop bath solution, I wash out the tank with warm water for 3 minutes ensuring that all of the previous chemicals have been removed. After that I go onto fixing the film with the fixing chemical.


Step five

I fix the film using the fixing chemical for a minute, turning the tank using the device and keeping it warm in the water. After that is done I empty the solution into the developing tank and prepare to finish this process.


Step six

The final step is removing the film from the tank after developing the film and fixing it. I put film clips onto the bottom of the film so it doesn’t curl when putting them into the airer to dry off. After doing this, I wait for 20-30 minutes till the film is dried and then the process is complete and I can go into the darkroom to start producing work.


Third shoot plans

For my third shoot, I wanted to stick with the idea of a forestry settings so I thought about going to Doffcocker Lodge. I wanted to go in a different direction and still portray femininity through garments however, I wanted to incorperate a more gender fluid concept by combining trainers so that my subject is the stereotypical female but steps outside the boundaries a little.

My friend has quite long hair which is something I wished to work with and use her hair as movement and to narrate the imagery being captured. I asked for her to wear it down on the day so that this could happen.

The area itself is quite open and has a lot of greenery which is why I chose the location; I wanted to incorporate flora and fauna into it, getting my friend to use what’s around her to tell a story and connect with the environment.

Overall, I am hoping to create some interesting images in this shoot and approach it in a different way which isn’t just portraying femininity but empowerment also.


Plans for Second Shoot

My second shoot was the first one that I had planned which didn’t go ahead. I wanted to shoot in a woodland area/forest so I decided on Edgworth as it is a countryside location.

My two friends were willing to be my subjects for the shoot and as they lived in Edgworth, there was easy access to the forest. From there, I messaged my friends and arranged a day that they were free which was Wednesday the 6th of April.

I asked my friends to wear something floaty which would be able to portray movement and femininity well. We decided that they would wear dresses which would depict the stereotypical ideal that women are more feminine when wearing dresses and portrays them as more elegant and alluring.

This shoot would depict the stereotypical ideal of women and how they are standardised in the world. I wanted to shoot on my 120 film camera as I was supposed to shoot 120 for my first shoot but it didn’t go ahead. I will also use 35m as backup on my Canon camera as I am more familiar with this camera so am less likely to mess up the film.


Plans for first shoot

I have bought a Holga camera which will enable me to produce images that are experimental, using different techniques to create different outcomes. I have not received my Holga camera yet, so I am coming up with ideas on how I can use it to produce the images I want to produce. my friend coms home from uni this week (Friday 1st April) so  I am going to use her as a model and photograph her using my Holga camera.

For my first shoot, I am planning on going to a woodland area and photographing my friends. The location will be Edgworth which is a countryside spot with lots of forests and woodland which will be great for my shoot. I haven’t firmed down an exact date as I am seeing when my friends are free to do the shoot.

I want them to wear dresses as that is stereotypically feminine and I feel it is what makes a woman feel more feminine and elegant. I also want to capture the movement of the dresses when my friends move, as well as their hair which is why I will ask for them to wear it down. There won’t be a massive focus on the face so natural makeup or non can be worn as their faces will be blurred and I want to focus on natural beauty.

I feel that this first shoot will go very well and I will be able to produce lots of images which I’ll be able to experiment with in the darkroom, and it will be good to use 120 film camera as I have never used 120 film before.


Artist Process

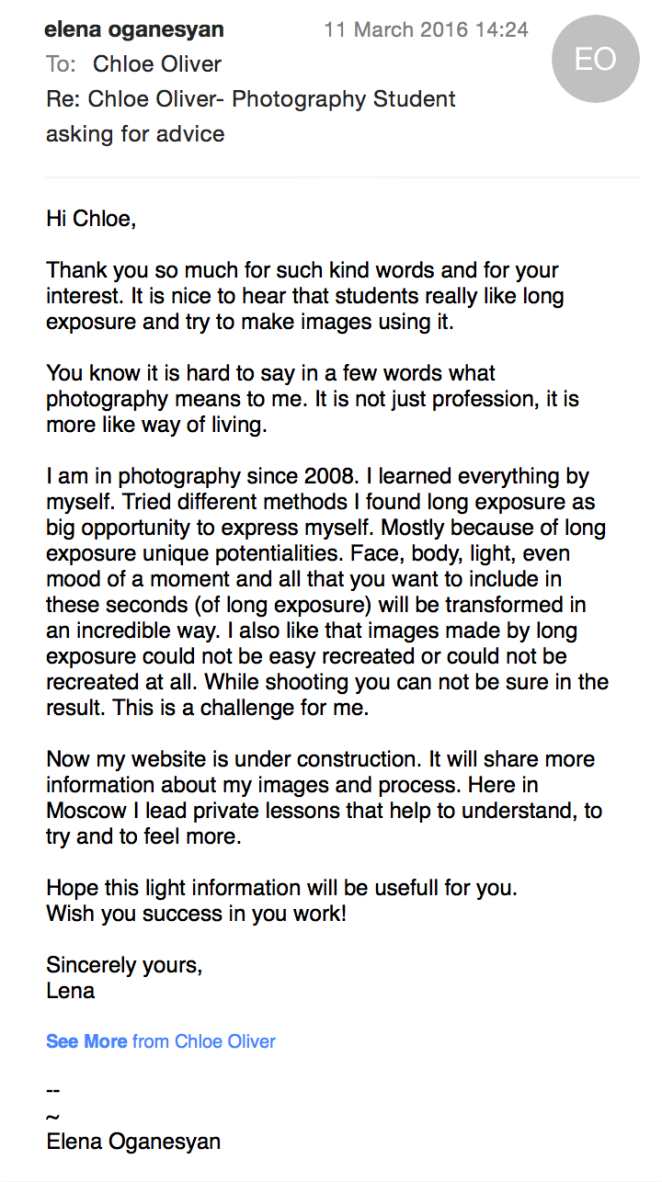
I had been researching long exposure as I have never experimented with the method. I chose to email some photographers which I found inspirational but couldn’t find information about them. One photographer I emailed was called Elena Oganesyan which can be found through this link-https://chloeoliverfmp.wordpress.com/2016/02/28/elena-oganesyan/ 
She emailed me back on the 11/03/16 which inspiring words which helped to get to know her work ethic. She also told me that her website is under construction which means once it’s finished, there will be more information on her and her work.

Screen Shot 2016-03-14 at 21.11.40

This helped me to know more about her images however- it didn’t give much information into her process, but her website, once finished will give me more guidance.


Work Plan

Project Action Plan and Timetable
Week Date Week

Beginning


Activity / What you are intending to do – including independent study Resources / What you will need to do it – including access to workshops
1


February Half Term: 15th February Research: ideas for FMP

·       Movement- long exposure

·       Analogue photographs

·       Femininity

Laptop: Pinterest looking at artist research
2


22nd February Decision made for FMP:

·       Femininity and movement through film and long exposure

·       How to portray women stereotypically and realistically


Proposal Pitch with Shaun and Kim:

·       Presenting artist research, ideas through Powerpoint

·       Write up FMP pitch and critique from tutors

·       Look into how I can narrate my work

Laptop:

·       Looking into how to produce long exposure images and how artists have done so

·       Showing tutors Powerpoint presentation for pitch

3


29th February Further research and techniques/ methods into producing the work


Planning shoots and contacting models

Laptop
4


7th March Crit with Shaun about FMP and where it’s going

·       Talk about looking more into it and processes and craft behind it

·       Gave techniques to look at- camera-less technology on the V&A website


Write up crit that I had with shaun and research camera-less photography

Laptop and room to have crit with Shaun
5


14th March Further research into camera-less photography and the methods behind it.


Look into the artists work and familiarise myself with the technique.


Laptop: Looking on V&A website
6


21st  March


University interviews- planning for them and prepping portfolio


Talking to friends about photographing them when they come back from University


Buy a Holga camera especially for the shoot as well as 120 film

Laptop, space in house to prep uni work


Ebay- buying camera

7


28th March


Looking at artists- Elena Oganesyan’s work and contacting her to find out more about her process


Planning first shoot with friends and discussing location, dress code etc


3rd April: First shoot done with friends

·       2 rolls 35mm film


Planning how to expose the images and how to experiment with them

Emailing on laptop


Messaging over Facebook with friends about first shoot


Location: Using friend’s back yard to shoot images (2 hours)

8


4th April


Plans for second shoot- discussing with friends, and talking to tutors about taking day off to shoot


6th April: Second shoot done

·       2 rolls 120 film

·       1 roll 35mm


Processing first shoot film roll


Working in darkroom to produce images from first shoot

Location: Edgworth- forest/ woodland area for 2 hours


Using Holga and Canon camera


Photography processing room: processing film


Darkroom: exposing negs to produce positive images

9


11th April


Planning next shoot and location of it


Processing second shoot film rolls in college


Working in darkroom to produce images from first and second shoot

Contacting friends on Facebook


Laptop


Photography processing room: processing film


Darkroom: exposing negs to produce positive images

10 18th April


19th April: Third shoot done

·       2 rolls 120 film

·       1 roll 35mm


Location: Doffcocker lodge
11 25th April


Processing third shoot film rolls in college


Working in darkroom to produce images from second and third shoot

·       Look at images and figure out developments for them

·       Developing methods and techniques to improve images and make them visually strong for my final images


Putting images onto blog and writing up about each image produced- contact sheets

Photography processing room: processing film


Darkroom: exposing negs to produce positive images


Laptop

12 2nd May Updating blog


Having crit with Jo and Shaun:

·       came to conclusion to create two moving image pieces using my images

·       talked to Jamie and Brian about helping make it

Went into Media and Jamie went through Premiere Pro with me to produce the moving images

Mac in media suite: producing moving image pieces
13 9th  May Updating blog and setting up exhibit

·       Emptying studio and painting walls with white emulsion

·       Setting up exhibit space

Studio for exhibition space
14 16th May Continuing to set up exhibit space and putting work In studio Studio for exhibition space
15 30th May Spring bank holiday:

·       Updating blog

·       Finishing sketchbook

·       Printing off sheets for deadline

Laptop


Sketchbook (x2)


Printer and paper

16 6th June DEADLINE