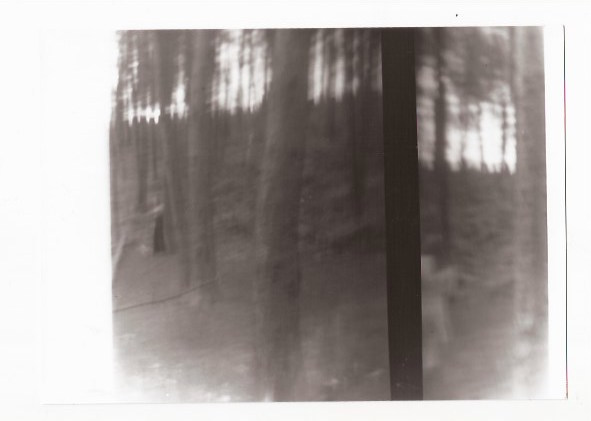
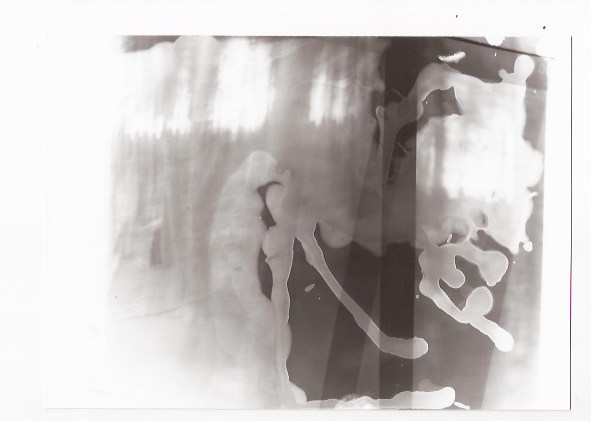
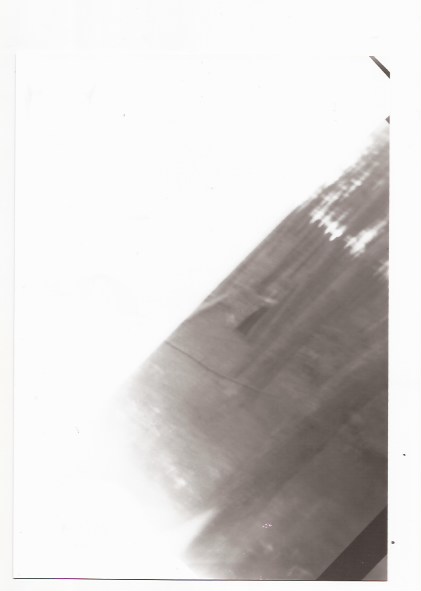
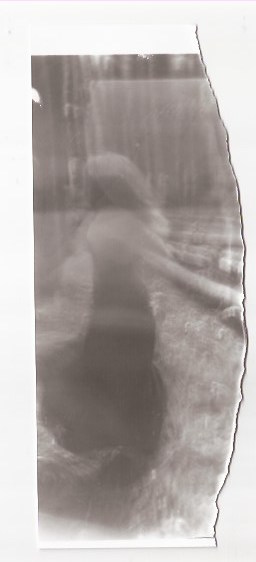
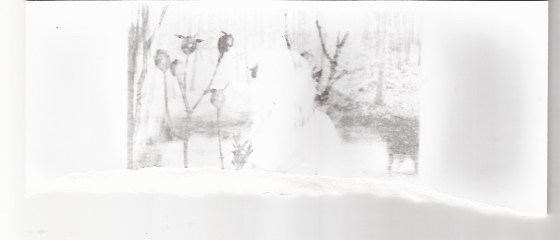
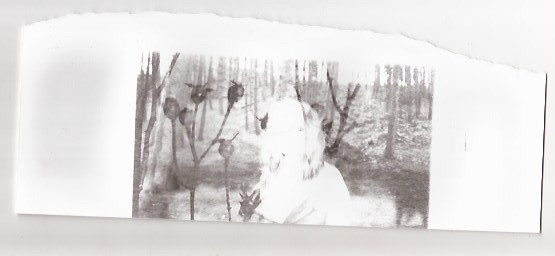
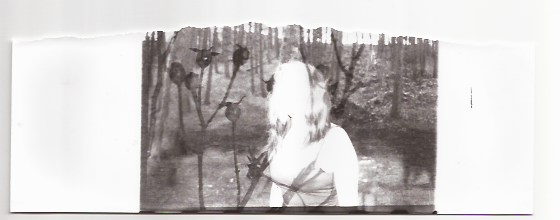
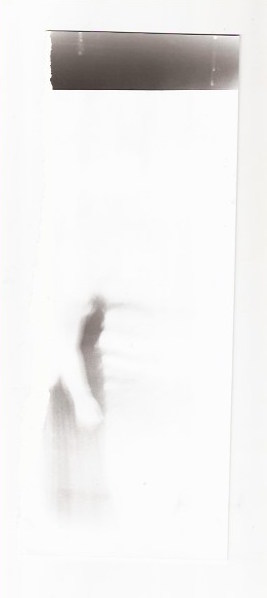
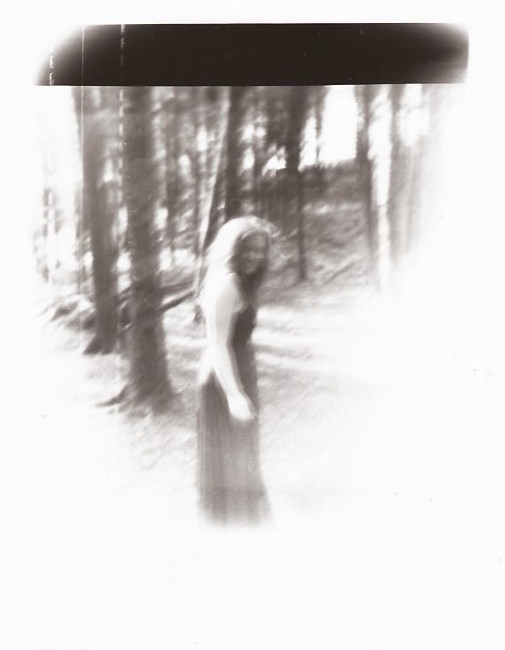
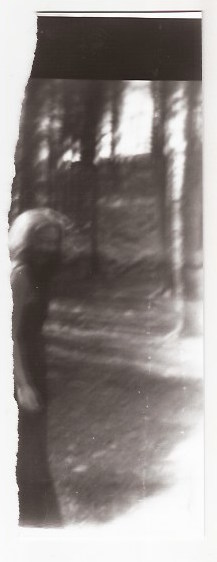
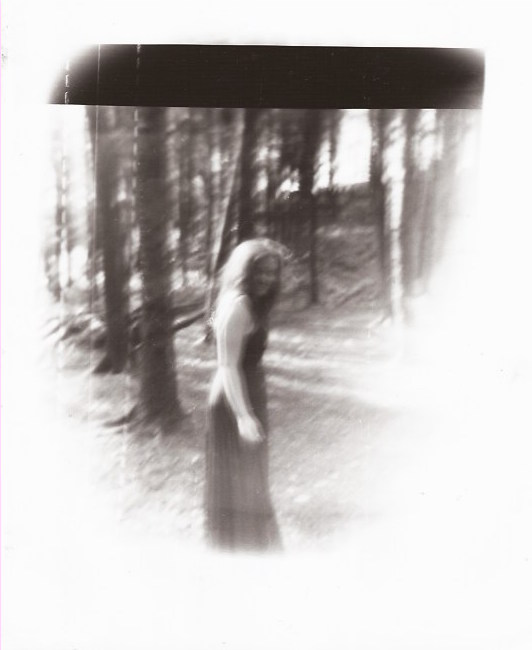
Fifth Darkroom Experiments

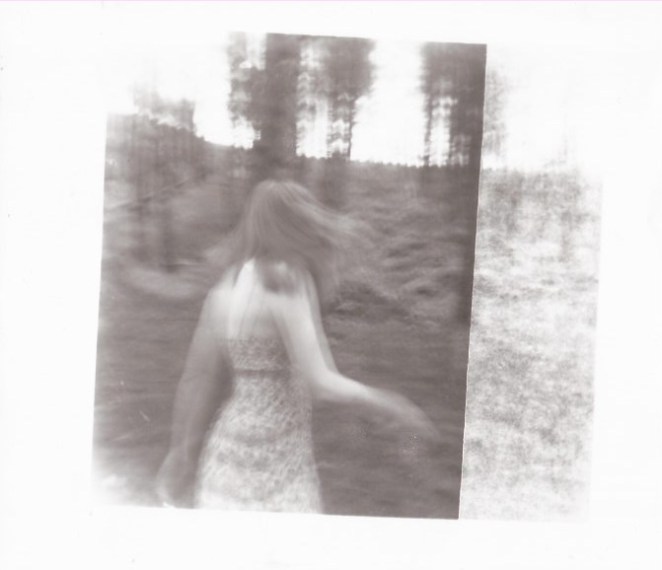
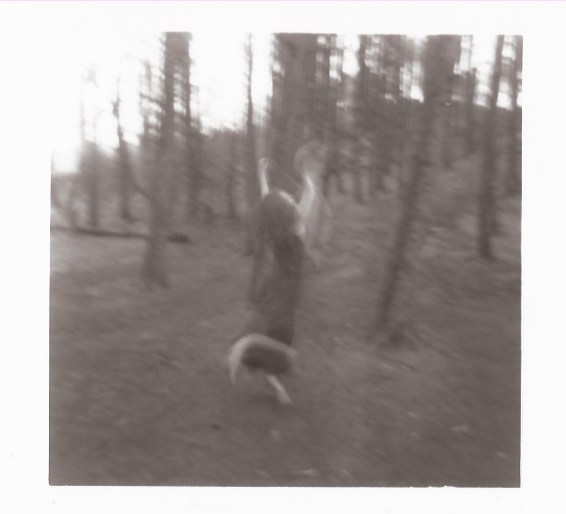
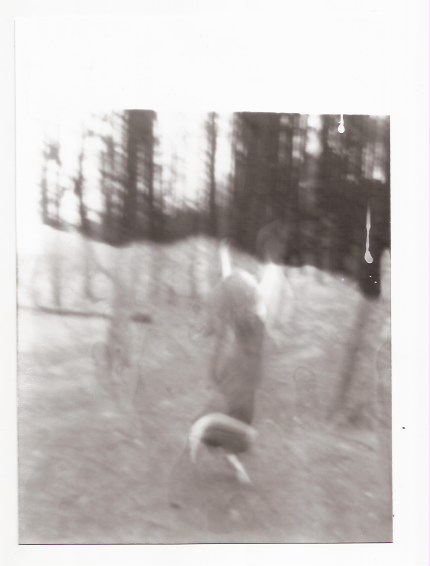
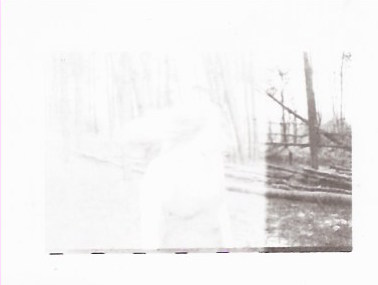
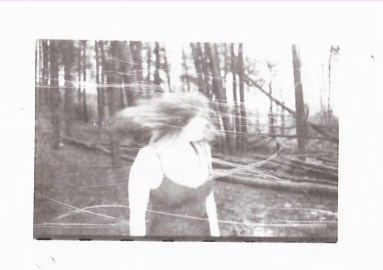
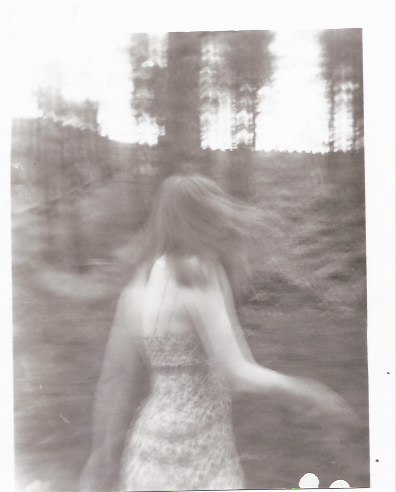
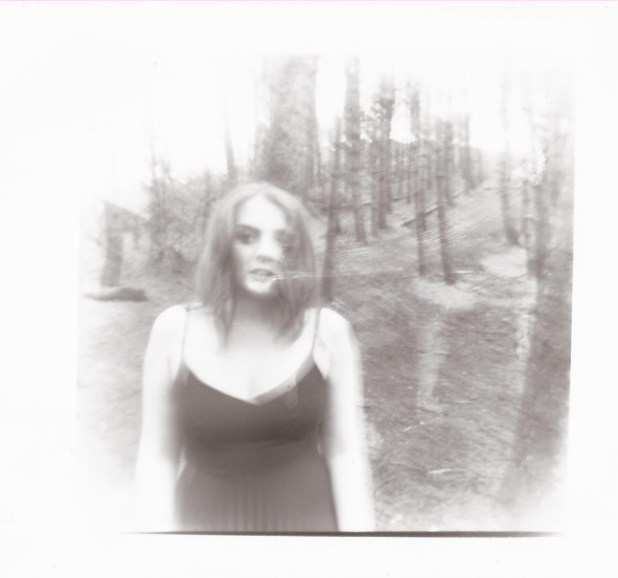
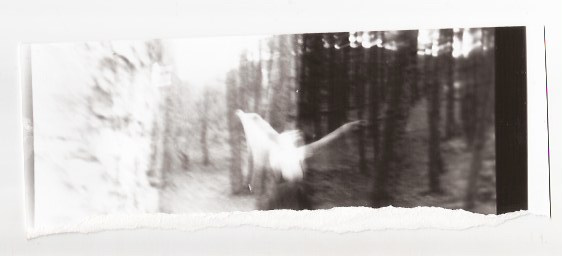
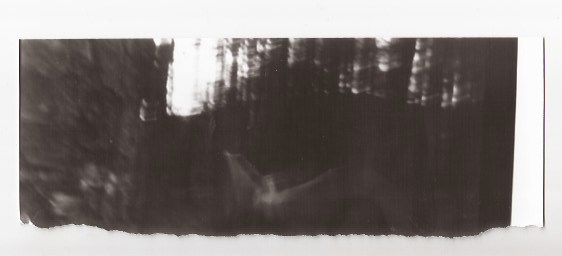
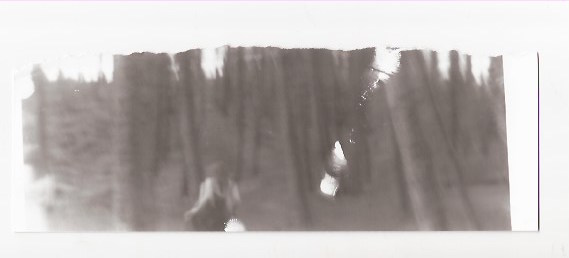
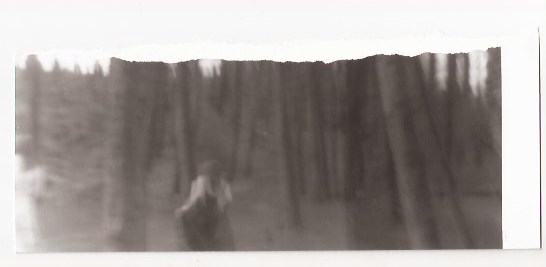
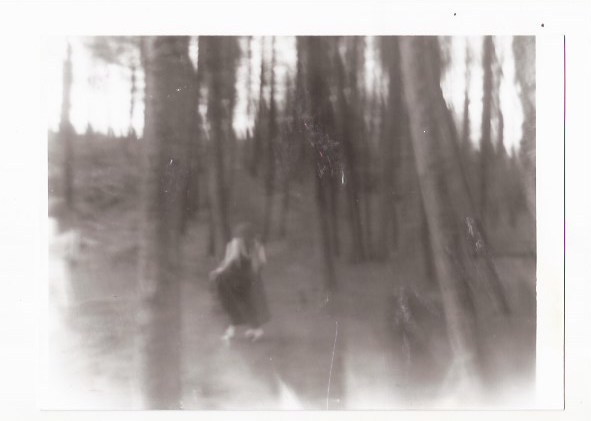
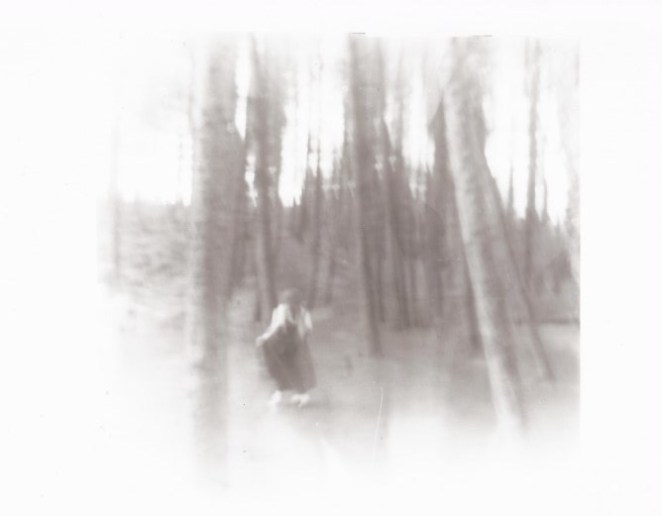
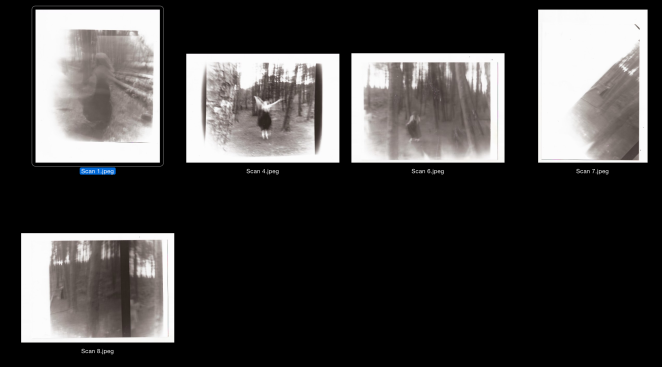
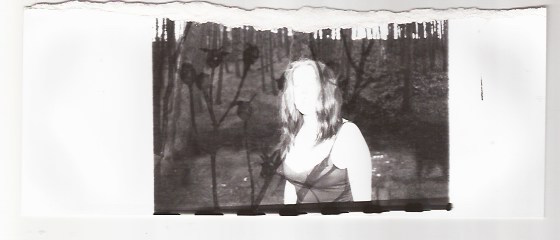
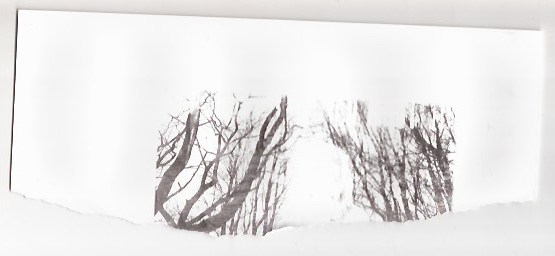
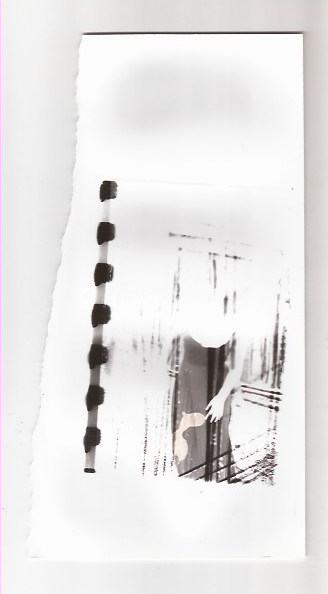
Some negatives from third shoot:

Darkroom experiments:

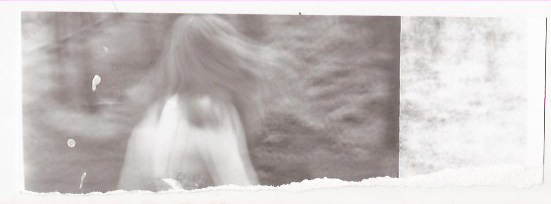
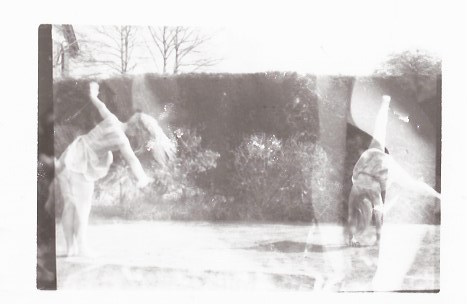
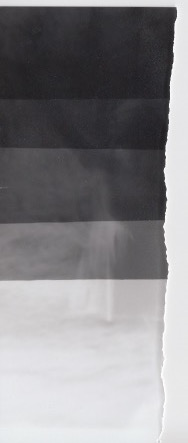
The first image I produced was one of my friend composing a ballet pose. At first, I got a test strip and exposed the image for 5, 10, 15, 20 and 25 seconds.
Scan 29

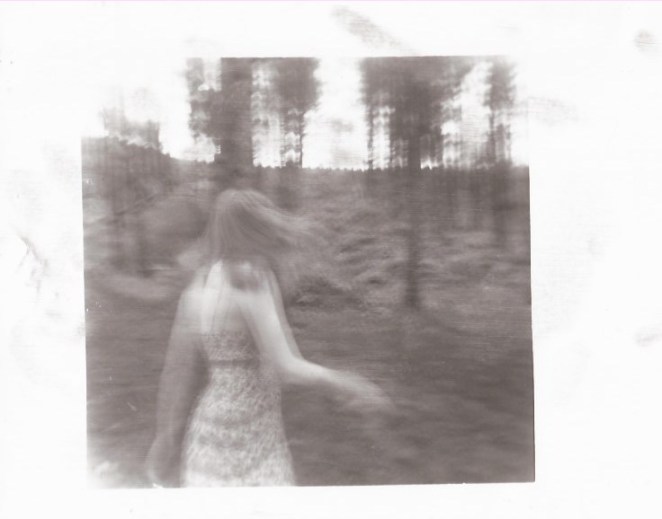
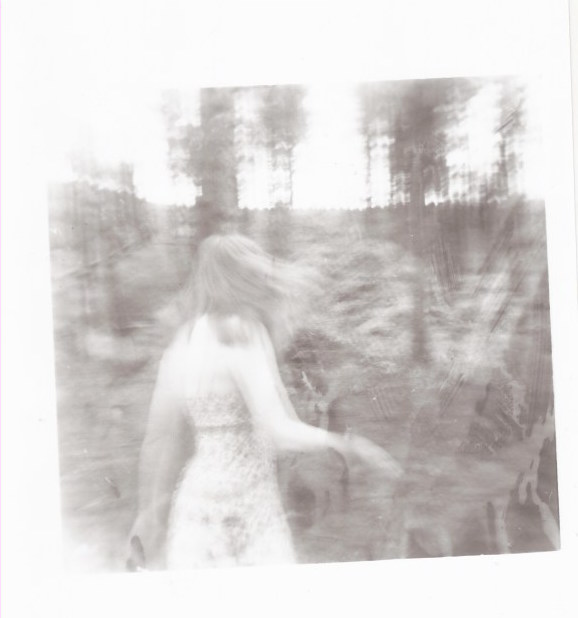
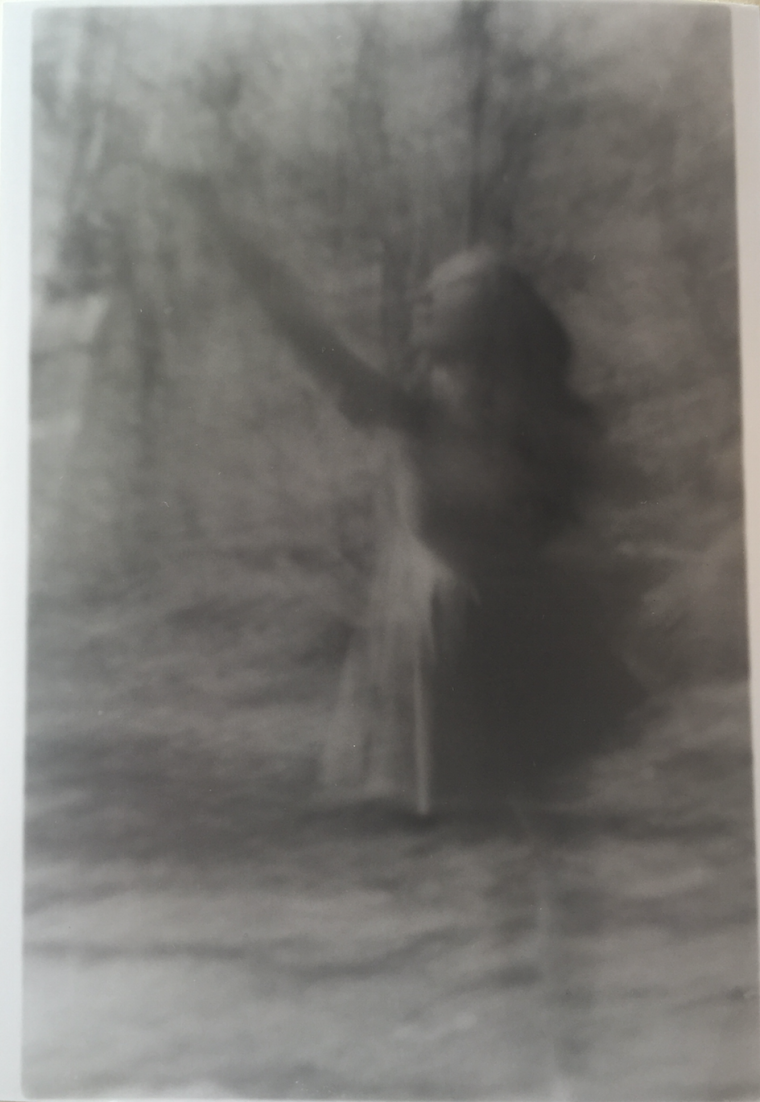
I found that the 10 seconds was the right exposure for my image. I went on to exposing the image onto 6×4 paper for 10 seconds, however after the 10 second exposure I moved the image right a little and exposed yet again for 10 seconds.
Screen Shot 2016-05-31 at 14.47.41.png


I quite liked the effect that the moving of the image created however, the image had  low contrast which I feel makes this image weak in comparison to others that I’ve produced.

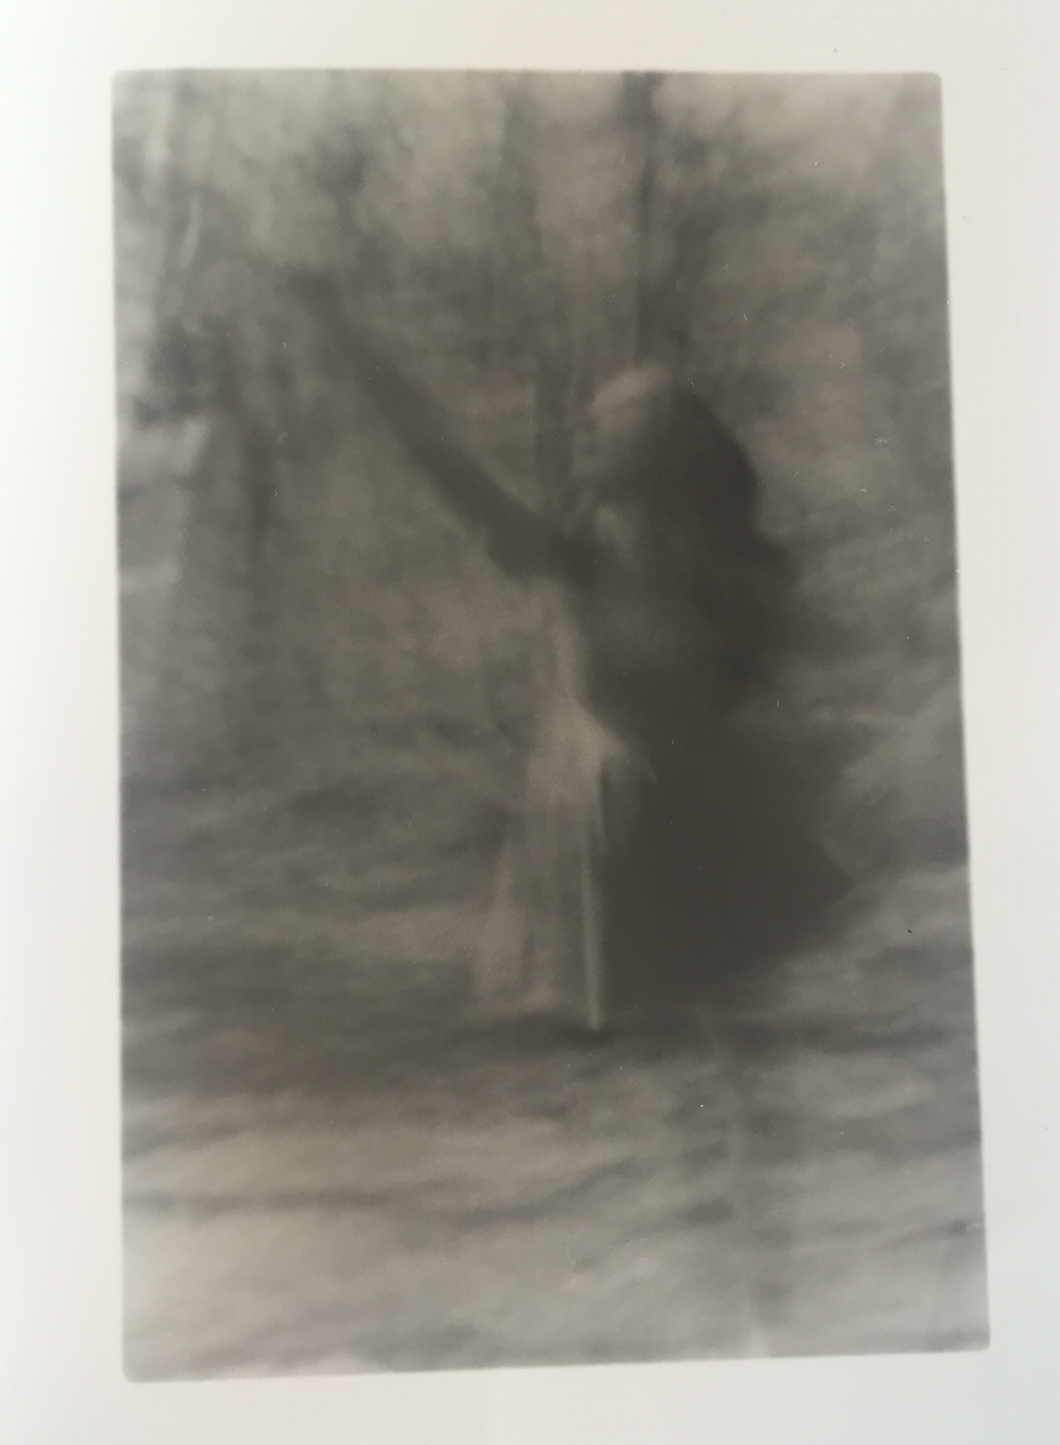
I went on to exposing the image yet again onto 10×8 paper.
Screen Shot 2016-05-31 at 14.48.02.png

I think that the image looked better exposed onto 10×8 paper however still found that it wasn’t strong enough to be in my final project.

I decided to move the image when I exposed the image onto 10×8 paper to see whether it was more effective or made the photo visually stronger. I exposed the image for 5 seconds, moving the image and exposing for another 5 seconds.

Scan 65

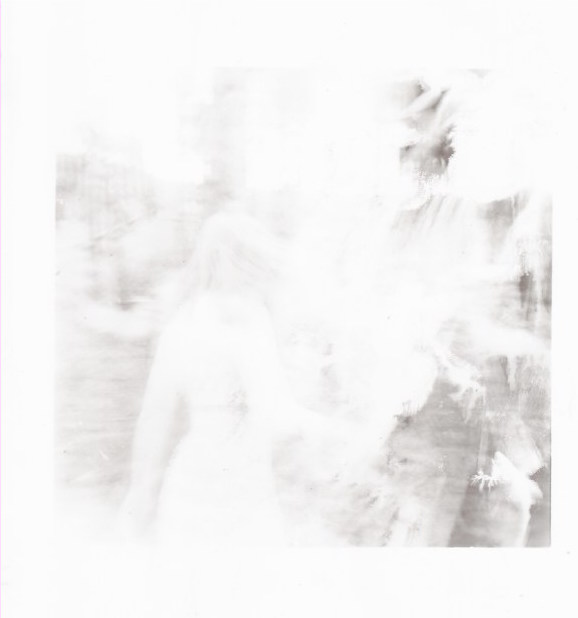
The photograph came out under exposed and had very low contrast which meant that the image wasn’t clear or shown in much detail. I went on to trying different methods to produce stronger imagery. I decided to expose the image for 10 seconds, move the paper and expose for another 10 seconds, move the paper again and expose.

IMG_1082.JPG

I liked the effect that this process caused however, the image I exposed first came out too over exposed showing clearly the outline of the negative frame. I find that this has made the image weaker.

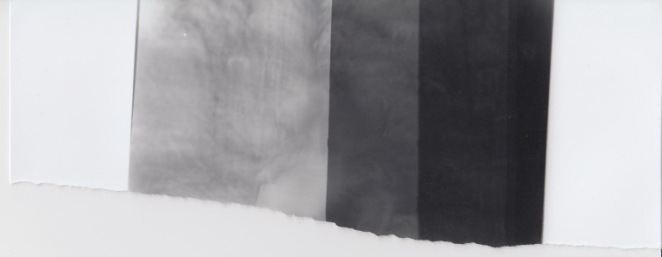
I exposed another image, using a test strip to determine the right exposure time. I exposed the image for 5, 10, 15 and 20 seconds.
Scan 58.jpeg

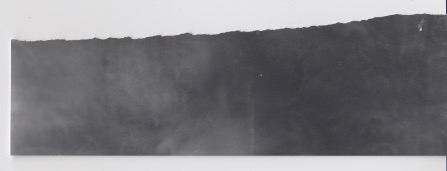
I found that between 5 and 10 would be the best exposure. I went on to exposing the image on a test strip for 7 and 10 seconds.
Scan 55

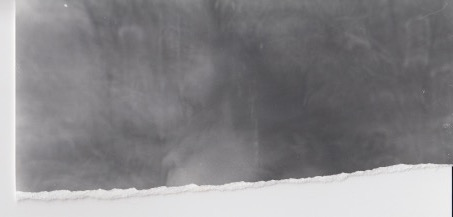
I found 7 and 10 seconds to be too dark when exposing them again so I went for 5 second exposure on test strips. I tried changing the contrast as the portraiture blended in too much with the background leaving the image looking flat.

Scan 60

5 second exposure

I still found the image flat so I continued to adjust the contrast.
Scan 54

Scan 52

I found that the contrast wasn’t adjusting well and the image just looked flat.

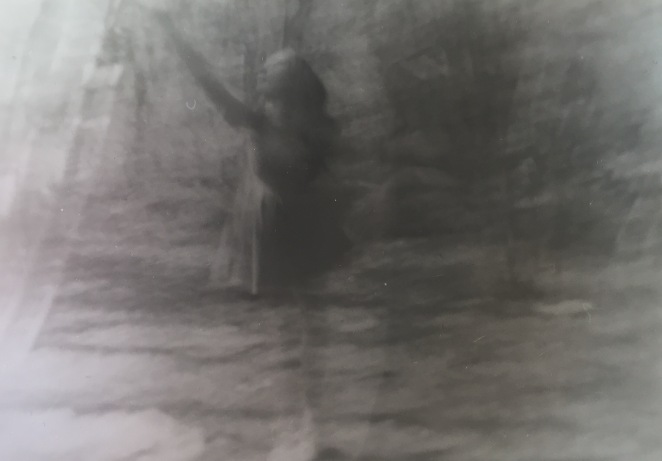
I decided to expose the image on 5×7 paper to see the full image.
FullSizeRender.jpg

5 second exposure

I found the image had low contrast and wasn’t very strong. I went onto enlarging the image onto 5×7 paper again this time adjusting the contrast once again.

FullSizeRender 2.jpg

5 second exposure

I found the enlargement of the image visually weak and the adjustment of the contrast still left the contrast low. Overall, I found this image not very strong and quite flat in comparison to the other images I have produced.

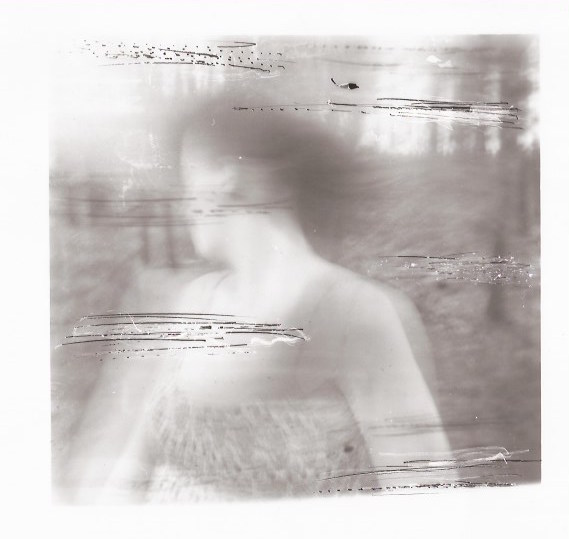
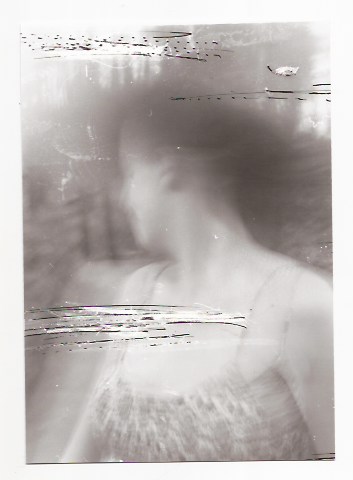
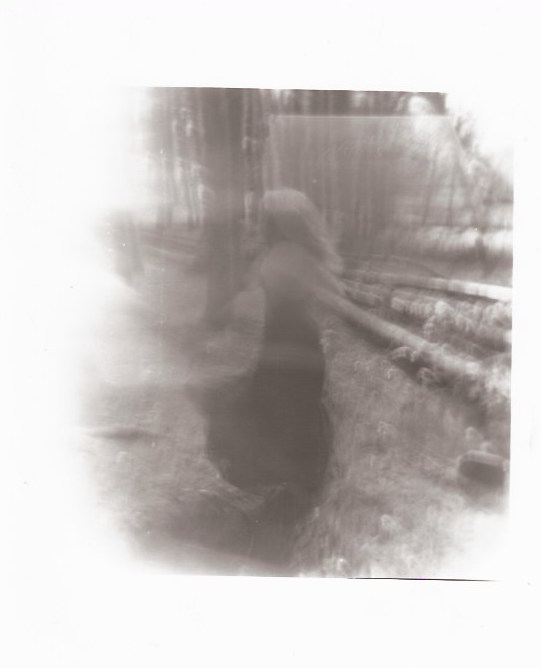
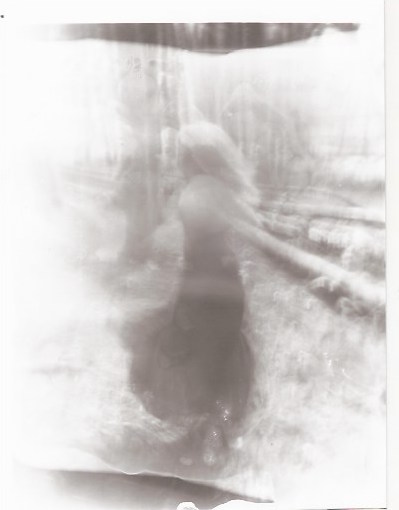
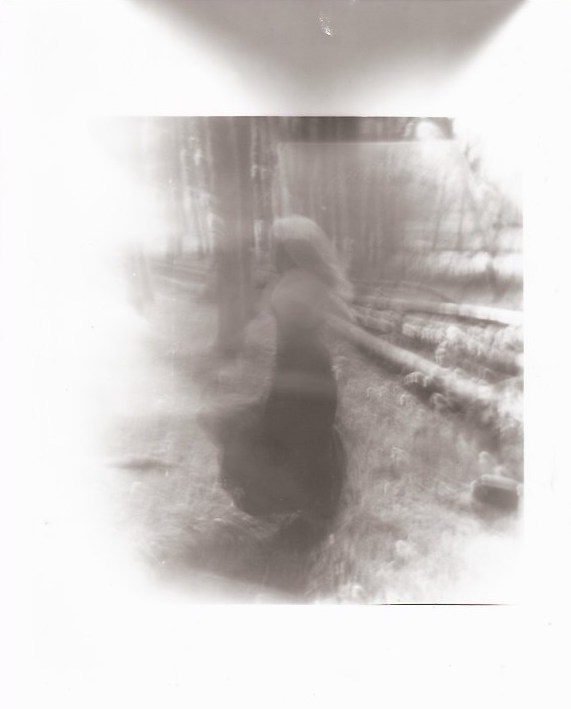
I decided to try experimenting further with this image to develop it. I moved the image whilst exposing it for 10 seconds. I moved the paper after 5 seconds so that the full image was exposed and you could see the portraiture however you could see the movement also.
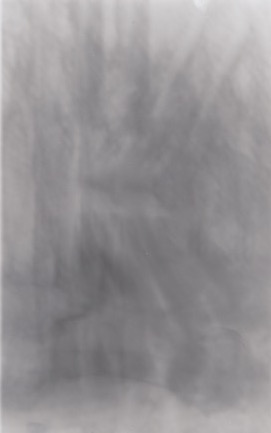
Scan 39

10 second exposure

The experiment came out successfully however the brightness and contrast was low meaning that although it was successful and you could see the image, the image wasn’t as clear as I wanted it to be.

I wanted to change the scale so decided to expose onto 10×8 paper. For the next image,    I exposed the image for 7 seconds, moving the image from right to left for 3 seconds.
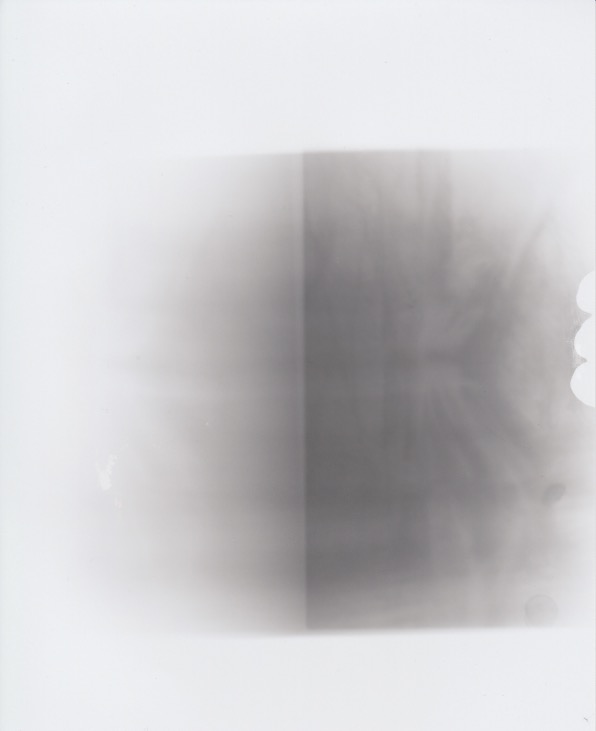
Scan 63


1o second exposure

I liked this image however, fingerprint marks were left when exposing the image which ruined the photo. I do think that this image would have worked well and fitted in well in my project if there were no fingerprint marks.

I tried movement again, this time moving the image from bottom right corner to the middle after 7 seconds.
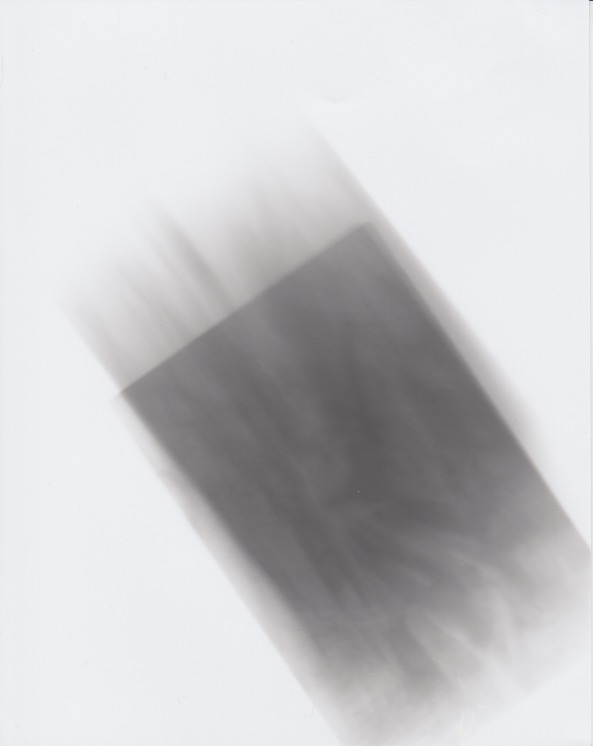
Scan 37.jpeg

10 second exposure

I really liked this image and felt that it’s a strong piece. I like the shadows presented that are caused by moving the paper, and the faded look they give. The only negative sides are that the contrast is low and the image is quite flat which lets the image down. However, overall I find this image very successful and fits in with my project.

I went on to exposing another image but only exposing a section of the negative to see how it would look.
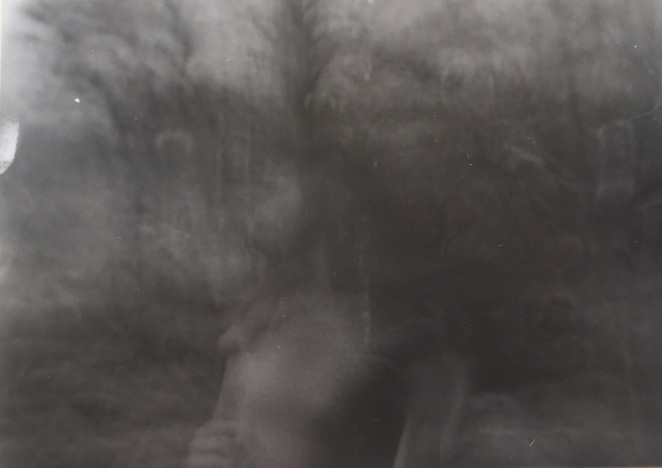
FullSizeRender 3.jpg

1o second exposure

I found that this image came out too over exposed when I had developed it. The image isn’t very clear however, from what I can tell from the photo, the imagery is very flat and the portraiture blends into the background. I didn’t find this image strong and chose not to carry on exposing it as it would just be flat.

I exposed another image and used test strips to determine the right exposure.
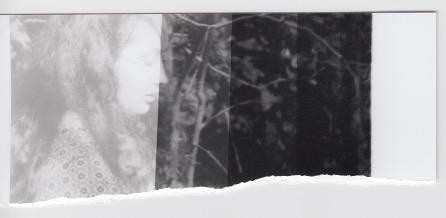
Scan 30.jpeg

This test strip shows 5, 10, 15, 20 and 25 second exposures. I found that 10 and 15 seconds looked the best so went on to exposing the image on a test strip for 13 seconds.
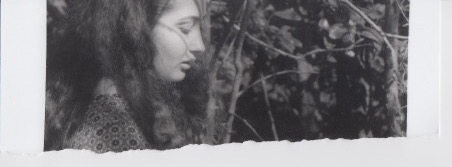
Scan 32

13 second exposure

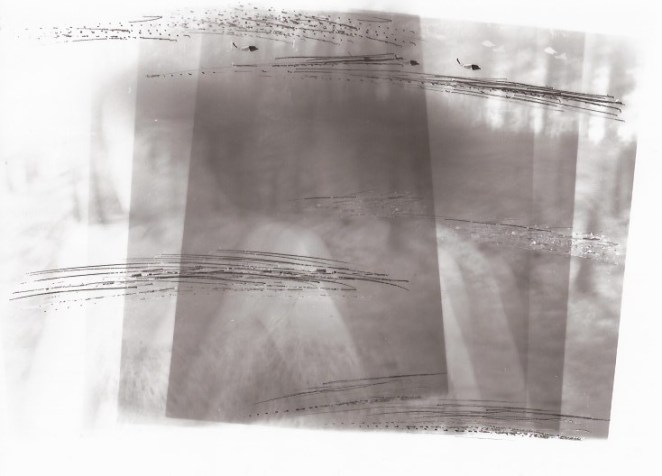
I found this exposure just right. I decided to experiment with this image as the photograph itself is too focused for my project and doesn’t show movement. I went onto experimenting and spontaneously moving the paper around to form intricate and abstract imagery.

I exposed the image for 10 seconds moving the paper fast to see the effect of this.
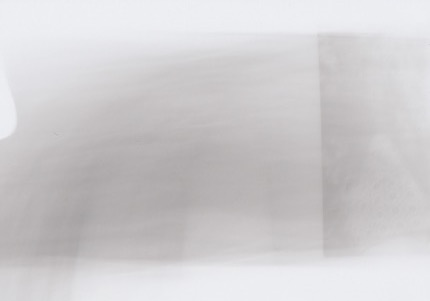
Scan 23

As a result of moving the paper too fast, the image isn’t shown through and it looks very faded and under exposed. I missed exposing the face so you can only see the back half of her which made this image unsuccessful.

I decided this time to expose the image for 5 seconds so the image would appear fully and clearly on the paper and then quickly move the paper for another 5 seconds.
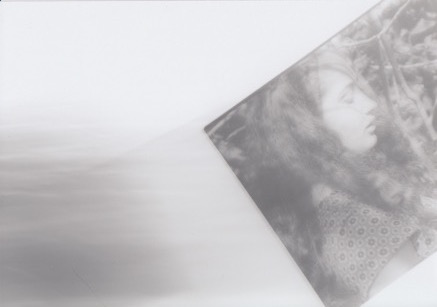
Scan 24

10 second exposure

I found this successful and looked interesting with the faded movement of the negative. I wish that the outline of the image would have faded with the moving image as it would have looked more effective blended together.

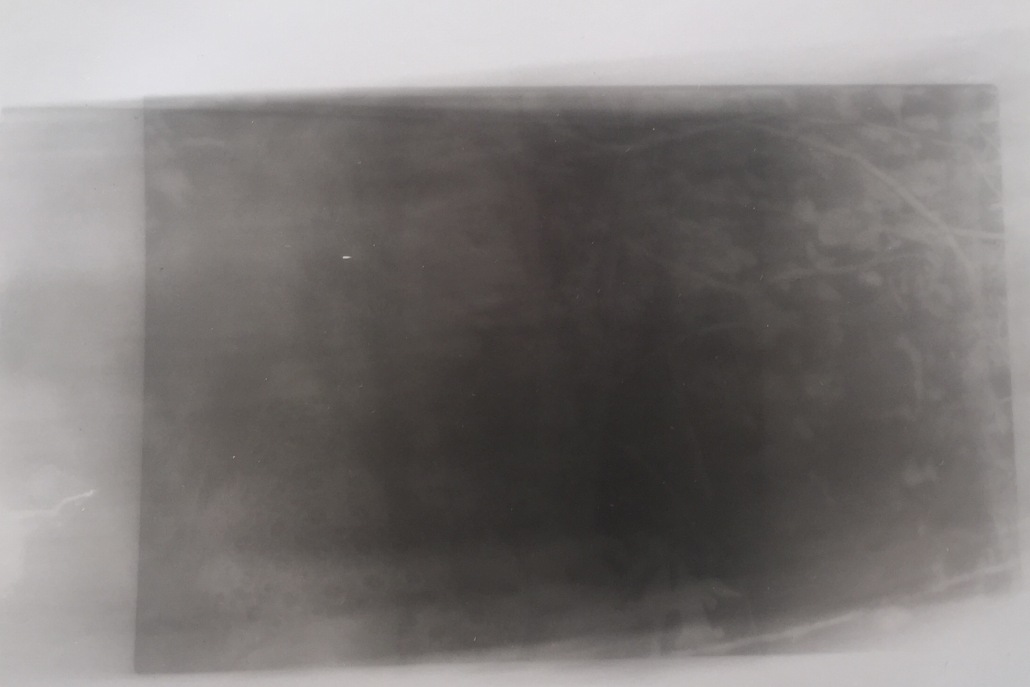
I went on to trying to move the paper in other ways; moving the paper from left to right for 13 seconds.
FullSizeRender.jpg

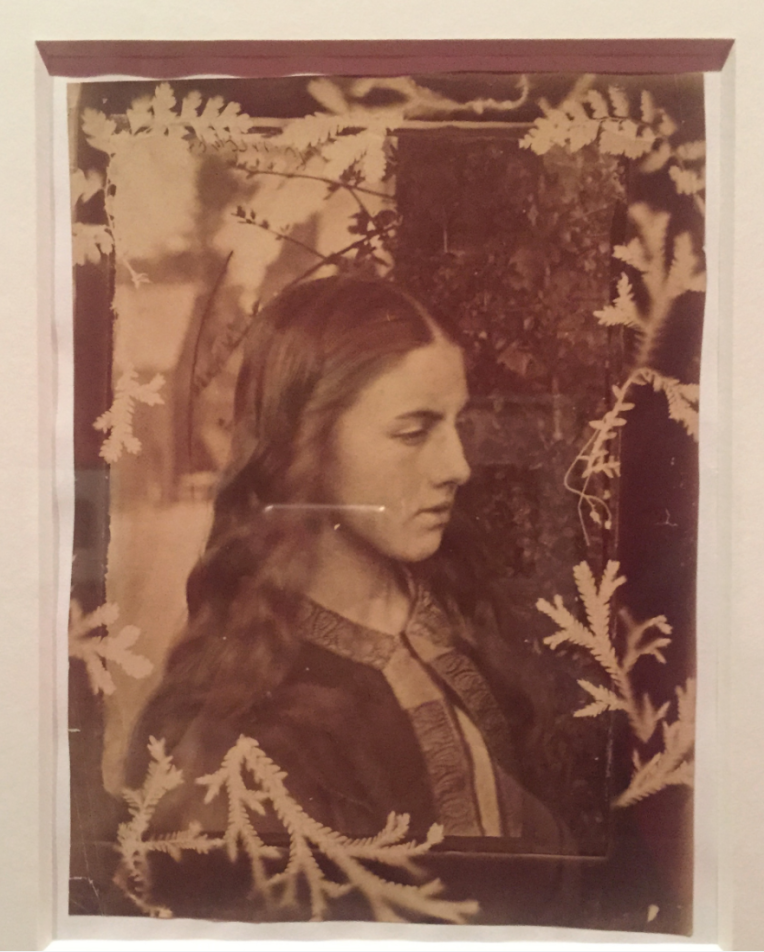
I liked this image and how it created dimensions with the different shades and shadows. I found the portraiture faint however you could still see it clear when looking closely. I like how effective it is and it reminds me of Julia Margaret Cameron’s work.
Screen Shot 2016-05-18 at 20.00.14.png

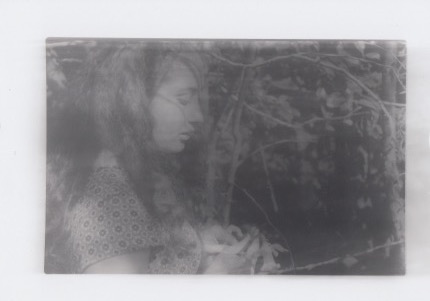
I went on to exposing more of this image and developing my work. I left the paper to expose it for 10 seconds and then move it slow for 3 seconds.
Scan 25

This image left shadow marks and subtle movement however the portrait was still very clear which is not what I wanted it to be, making this outcome unsuccessful.

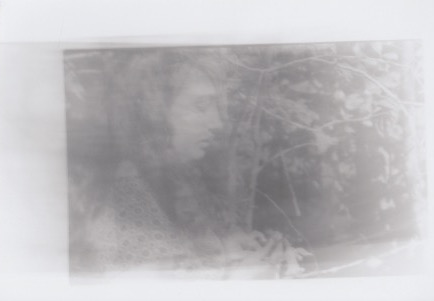
I went on to playing around with speed of movement, slowly moving the paper left and right for 13 seconds as oppose to quickly like I had previously done.
Scan 27

I found this image under exposed and dull which made it visually weak. I think that if the exposure was stronger then the image would have looked more effective.

I continued with movement however tried from different angles. I exposed the image again for 10 seconds, then exposed it again moving the paper from right top corner to bottom middle for another 10 seconds. Screen Shot 2016-05-31 at 18.02.10.png
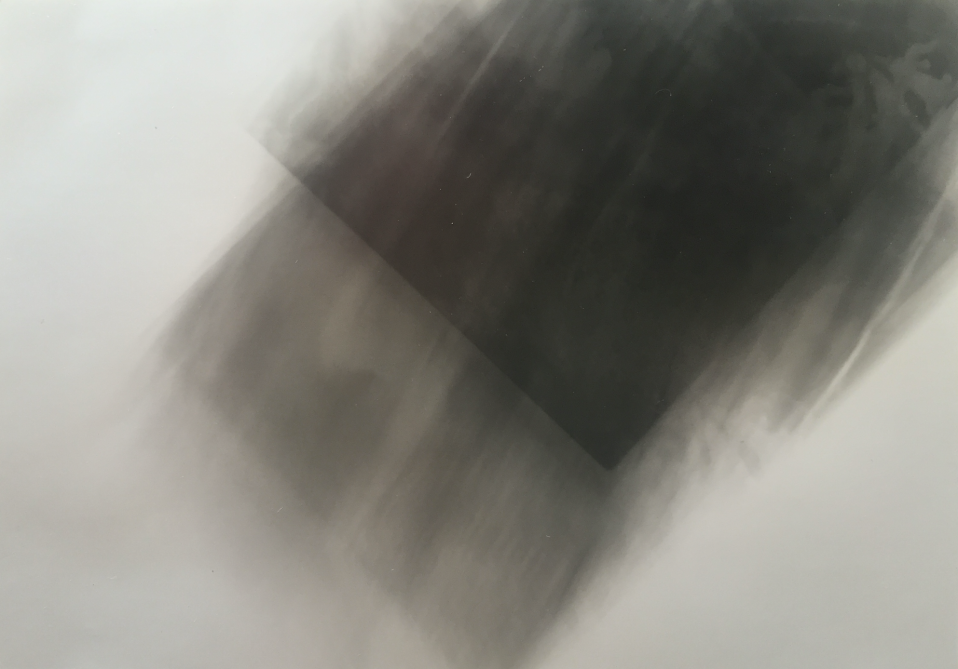


I found this image over exposed as a result of exposing it too much and this resulted in  the image being very dark and difficult to see the face. Overall for this image, I liked the effect it had however, the image itself was very over exposed and dark which didn’t look good.

I went on to exposing the image for 10 seconds, then moving the image, exposing again for 10 seconds, moving and exposing for 5 seconds.

FullSizeRender 2

The outcome of this was quite unsuccessful as the image came out very under exposed so I couldn’t see the face very well. I think that the abstract style that the experiment produced was effective however the exposure time was not right. I think that because I exposed it so many times that the image came out very dark and over exposed.

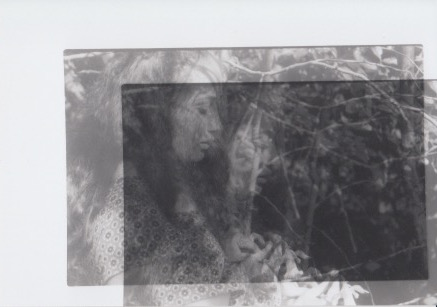
I decided to try the expose, move and expose again but in a different way. I exposed the image for 10 seconds, moved the paper and then exposed it for another 10 seconds.
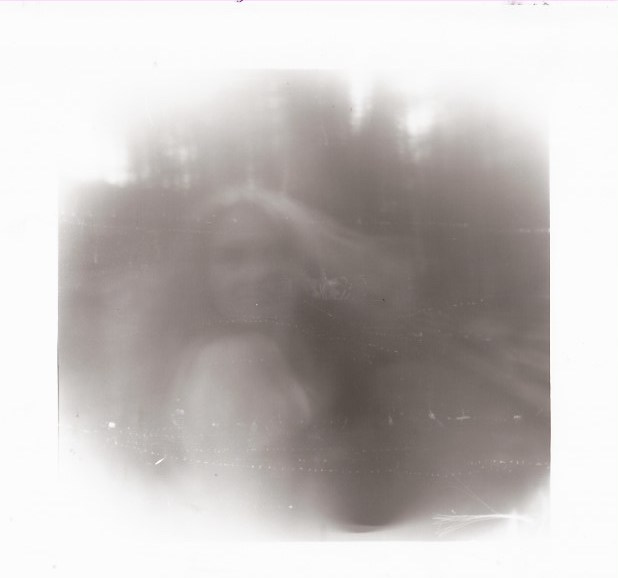
Scan 26

I really didn’t like the outcome as I felt that the outline was too harsh as oppose to the faded appearance I want to show. The overall photograph wasn’t a successful outcome because of the harsh lines produced, I just found that it doesn’t fit with my project as I prefer a more faded and soft appearance.

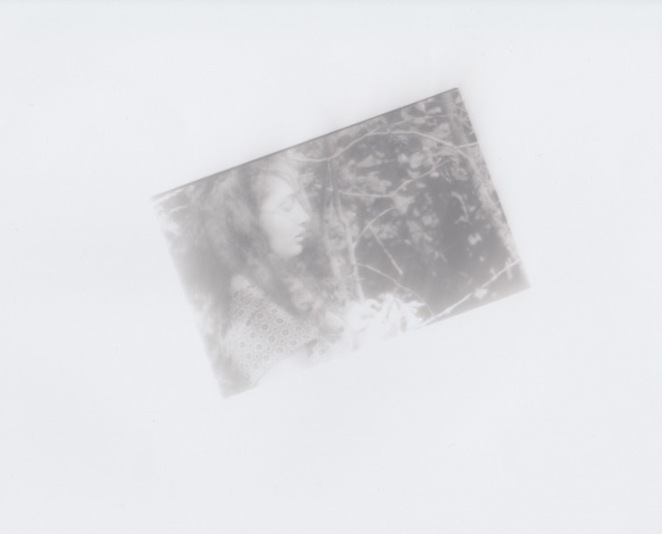
I decided to try different scales and go larger to see the effect and how it would change the imagery. I decided to expose the image for 10 seconds without any effect but at an angle. I wanted to do this as I found it to be more effective then just placing it in a neat and formal manner on the paper as I feel that it would look too empty on the paper.
Scan 61

I found that the placement of the image was successful and worked well with the large paper to small image ratio. I felt that adjusting the angle filled up the space well and was very effective in displaying the imagery in the large white space. The only issue shown is that the image is under exposed, looking very bright and faded which didn’t look appropriate.

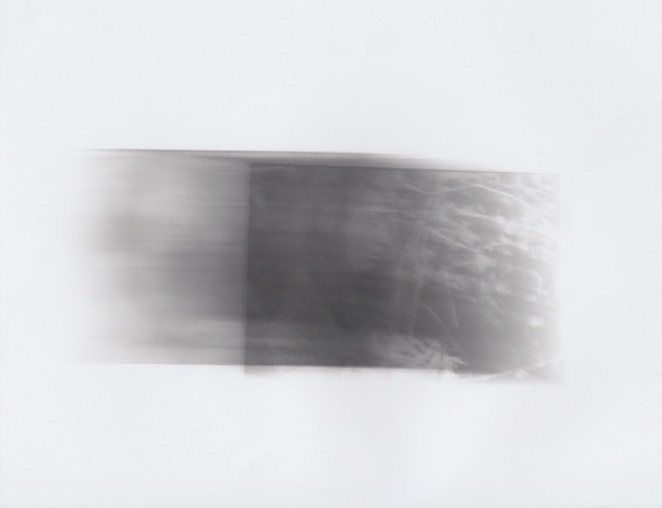
I decided to expand out of the space of just having the image still on the paper and chose to involve movement like previous images. I exposed the image for 13 seconds whilst moving it quickly after 10.
Scan 64

I liked the outcome and found it interesting how the fully exposed image showed the face and the fast movement also showed a slightly distorted face as it fades out. I think that this was successful and very effective. The overall composition I found was satisfactory however I didn’t find it very effective or that the space was used well, meaning that overall it wasn’t as strong as some of the final images I had picked out.

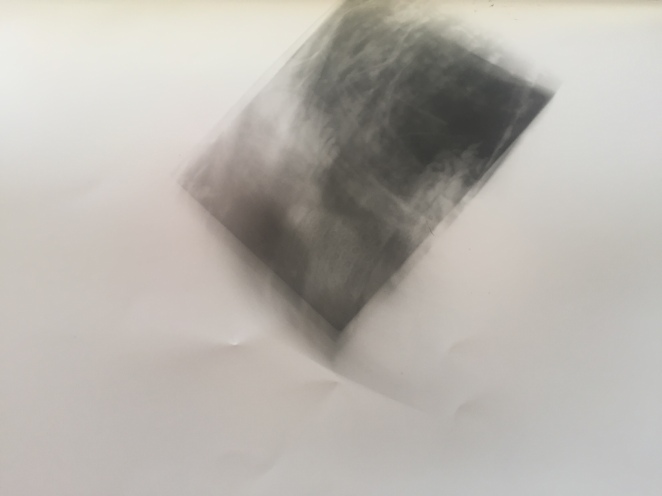
The last development I tried on this image was moving the paper in a circular motion whilst exposing the image. I have never tried this concept and thought that it would be interesting to see how it turned out.
IMG_1093.JPG

13 second exposure

I really liked the outcome of the this experiment. I found that the positioning of the image was a success and worked really well. I find that the image filled the space well. The outline of the image when exposed for 10 seconds merged well with the faded movement of the paper which previously didn’t work well when trying out that experiment.

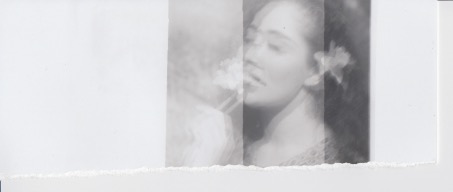
I liked the outcome of this image so decided to go onto exposing another image. I used a test strip to determine the right exposure time, exposing the image for 5, 10 and 15 seconds.
Scan 53

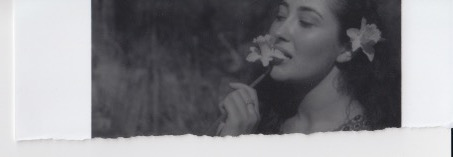
10 seconds seemed like the best exposure time for the image so went onto exposing the image on another test strip for 10 seconds to see whether it was right.
Scan 50

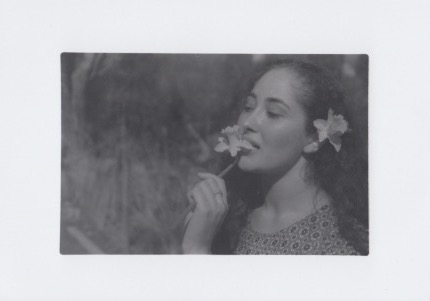
The test strip showed that 10 seconds was the best exposure time for this image so I went onto exposing this image on 6×4 paper.
Scan 17

10 second exposure

I liked this image and found the composition really nice however, the image is too focused and doesn’t fit into my work so I decided to experiment and create movement with the image so that it’s more out of focus.

FullSizeRender.jpg

Firstly, before experimenting I exposed the image originally again but I offset it to see whether this would develop the image further. I found that this image wouldn’t work with my project even offset, and the original image looked visually stronger displaying  the full photograph than this one.

I went on to moving the next image; exposing it for 10 seconds but after 5 seconds moving it down slowly.

FullSizeRender 2

I liked the effect of this image as it only displayed some of the face and then faded upwards. I still found the original image stronger however and felt that although it looked interesting, visually was weak.

I decided to try more abstract methods by spontaneously moving the paper without thought to see the effect of this.

The first image was the paper shaken slowly for 10 seconds.
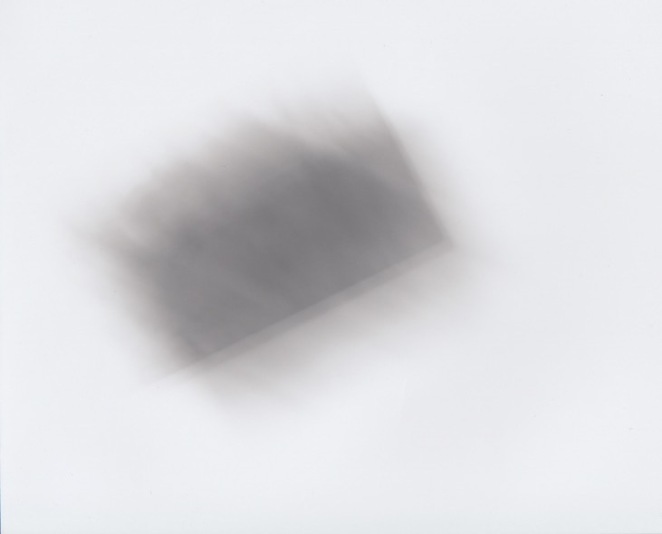
Scan 62

I really liked the effect of this method and found the abstract form very interesting and effective. I found the movement worked really well but the only issue with this image was that there’s no portrait shown and it is more abstract then I wanted which didn’t fit in with my work.

I went onto producing another image using spontaneous movement. I exposed the image for 10 seconds moving the image from the left bottom corner swinging the paper towards the middle.
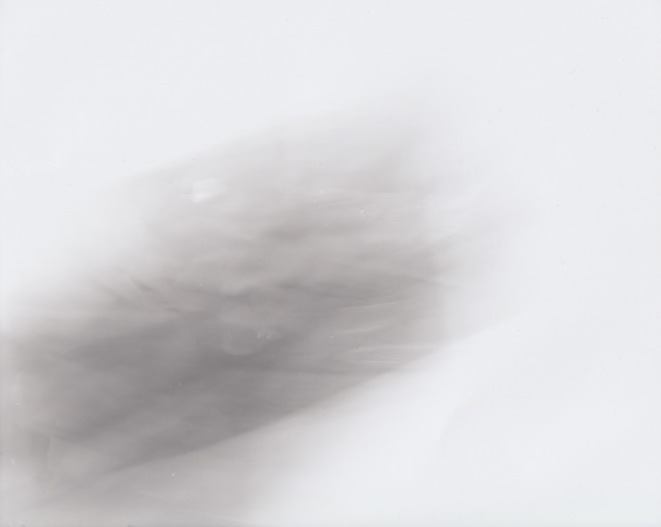
Scan 36

Again, I really liked the effect this experiment had however yet again it isn’t appropriate for my work and wouldn’t fit in as there’s no portrait.

I decided to expose another image, firstly using test strips to find the right exposure time. I exposed the image for 10, 20 and 30 seconds.
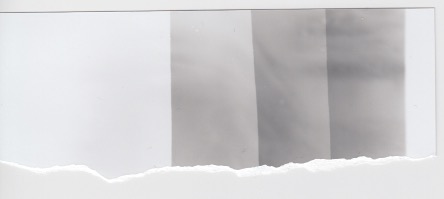
Scan 40

I found that the 20 second exposure was best so went onto exposing on 5×7 paper.
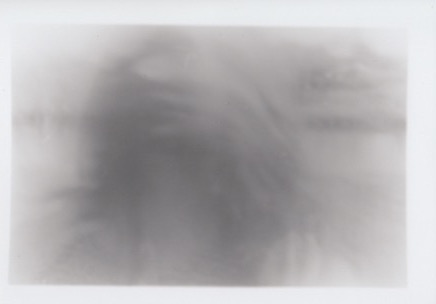
Scan 42

I really liked this image and found it really eerie and interesting with the long exposure of the face. I found that the 20 second exposure time worked well and even though the contrast was quite low, I found it created an unnatural and ghostly appearance. I decided that I should expose it onto a large scale as it would look more spacious, not cramp like it does on the 5×7 paper.
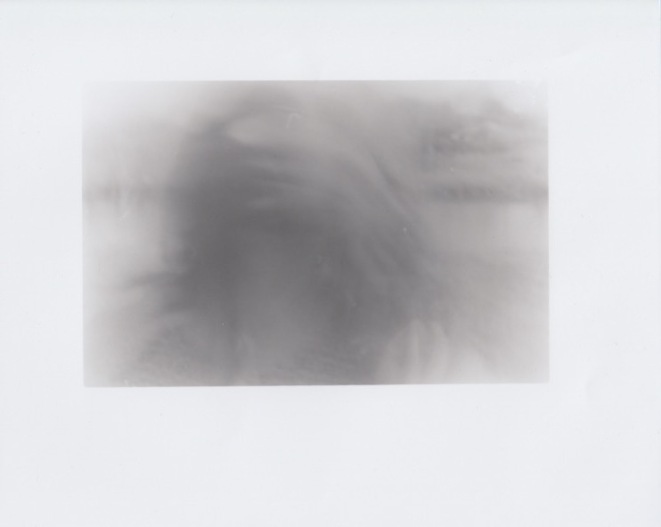
Scan 35

20 second exposure

I found using 10×8 much better as the space was used well and didn’t look too overcrowded like the image on the 5×7 paper. I really like the effect that this long exposure has caused and find it really effective. It’s a lot different to the other images and I feel that it’s more creative and visually strong.

I decided that this was the best image so went onto trying to explore more ways I could make this image stronger. I chose to expose onto 5×7 but this time expose for longer; 40 seconds moving the paper whilst exposing.
Scan 18

I found the outcome of this experiment unsuccessful as although I liked the overall imagery of this piece as I find it aesthetically strong and abstract, the photo doesn’t fit in with my project as it doesn’t show the portraiture, it’s just shades and patterns. I feel that this is a visually strong piece however, it just doesn’t work well with my project.

I exposed another image, using a test strip to establish the right exposure time. I exposed the image for 5, 10 and 15 seconds.
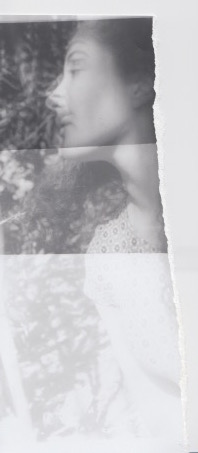
Scan 57

I found that 15 seconds was the best exposure time so went onto 5×7 paper.
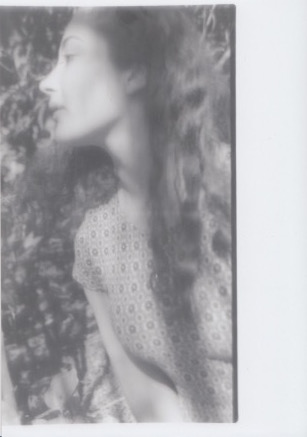
Scan 16

15 second exposure

I decided to offset the image to the left top hand as I thought that it would look better than just in the middle of the page like I had done previously. I didn’t however find this image visually strong just exposing and not manipulating the image somehow, so I chose to go onto experimenting and seeing how I could develop the photo.

This time, I enlarged the neg so that it would cut off some of the image. I found that it would be interesting as it would disguise the model’s identity.
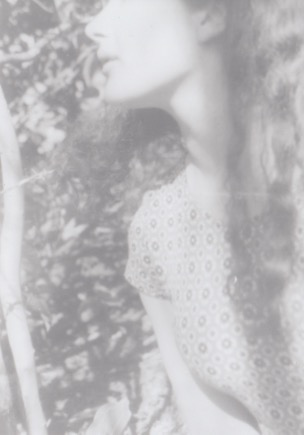
Scan 44

10 second exposure

Overall, the image was under exposed a lot so I went onto exposing the image for 5 seconds more to make a final impression on the photo.
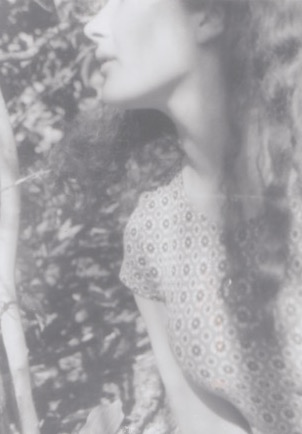
Scan 43

15 second exposure

I tried to manipulate the image by enlarging it however it didn’t make it visually stronger so I decided to manipulate the image even further.

This time, I exposed the image for 15 seconds, moved the image left and exposed for 10 seconds. Moved the image to the left again and exposed for 5 seconds.

FullSizeRender.jpg

By doing this I was expecting the model to look like she was moving and this is how it came out. I really like the effect it had and how the image faded due to less exposure time and found it very successful. The exposure and contrast are just right and I feel that manipulating this image to look as if she’s moving is very effective. I feel this is a strong piece of work and I would contemplate using this in my final piece.

I went onto exposing onto a larger scale and manipulating the image so that they weren’t flat and just rectangle of the paper. I held up the paper to the lens to give it an concave appearance and exposed for 15 seconds, moved the image and exposed for 10, move and expose again for 5 seconds.
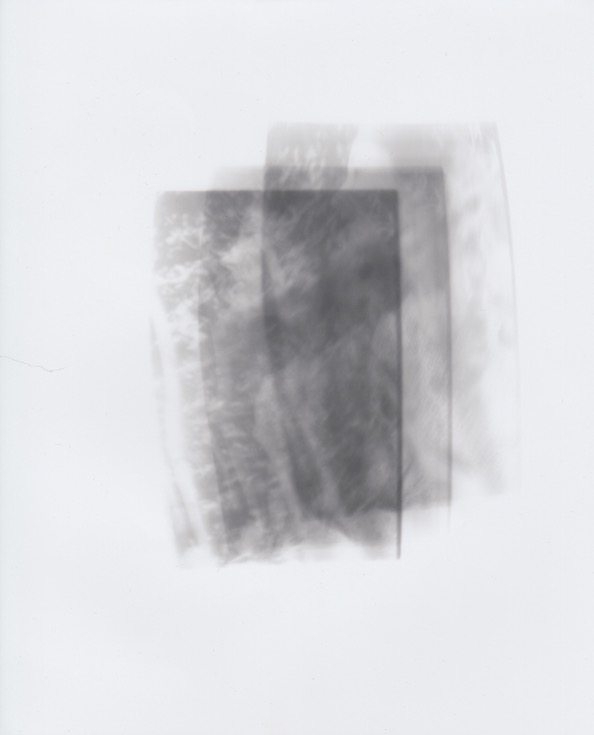
Scan 66

I found this experiment successful as I liked the concave effect it had however, overall I didn’t like this photo as I don’t find the different exposed image merge well together and I feel they don’t work well. I don’t feel this is strong enough to go into my final project however, it was a good experimental piece.

I decided to apply water to a 10×8 piece of paper and expose the image for 30 seconds.
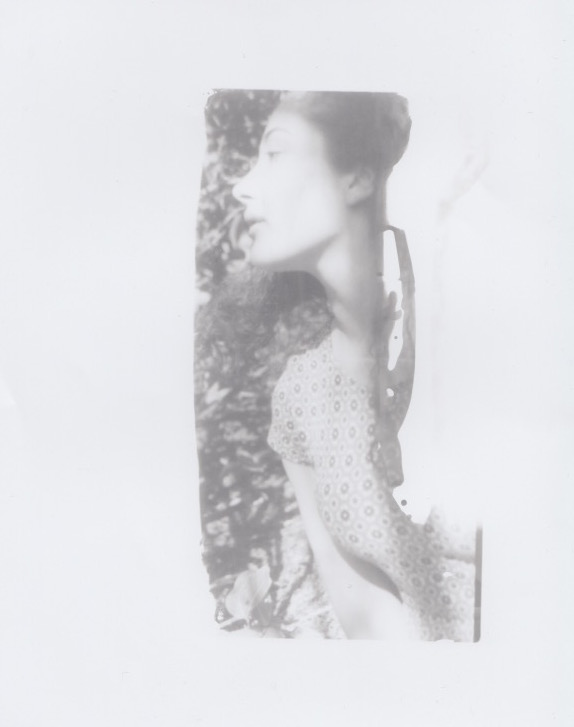
Scan 41.jpeg

The outcome of this was unsuccessful as the water had only covered some leaving heavy and harsh marks which didn’t look good. I was hoping for the water marks to be soft and faded but it was the opposite and didn’t work well. The image is very under exposed and the overall experiment using water was unsuccessful.

After this, I decided to expose a different image. I got a test strip and exposed the image for 5, 10, 15 and 20 seconds.
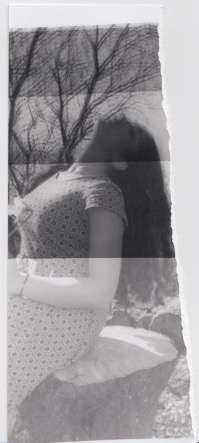
Scan 59

I found that 10 and 15 were the best exposure times so used another test strip to expose the image for 10 and 15 seconds to determine the best time.

Scan 34

I found that 10 seconds was the best exposure time so exposed onto 6×4 paper. I wanted to expose this image just normally first but I wanted to then try manipulating the image.
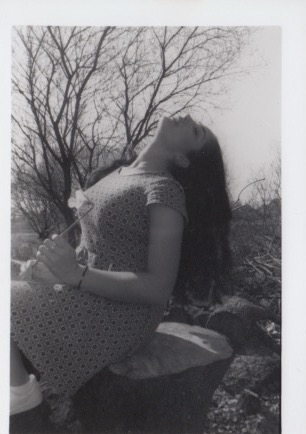
Scan 49

10 second exposure

I liked the outcome of this image and felt it was well focused however that’s not how I want it as my project features blurred, movement pieces which are quite abstract. I wanted however to see what the negative looked like and I am glad that it did come out so well however it’s not what I include into my project.

I decided to manipulate the image by exposing it for 10 seconds; moving it after 7 seconds.
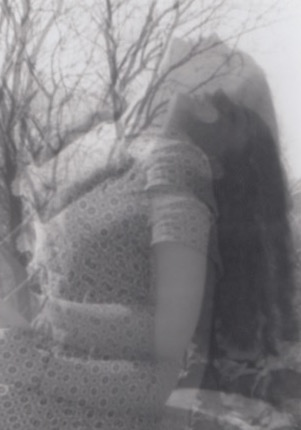
Scan 19.jpeg

I didn’t like the outcome of this image and found that the exposure and contrast was too low. I find that it isn’t a strong photo so I went onto trying different methods to see whether they would be more successful.

I wanted to try water again so I applied water and exposed the image for 15 seconds, moving the paper after 10 seconds.
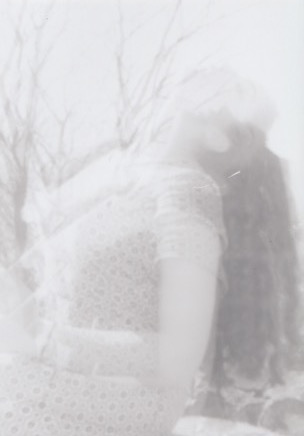
Scan 47

This image came out very under exposed due to the application of water which mean’t there wasn’t enough light getting to the paper. I feel that this image would have been successful given more light. Overall, this image is very weak due to the under exposure however, if more exposed then this image would have been stronger.

I tried the application of water again on the paper and shook it to remove excess water. I then exposed the image for 15 seconds.
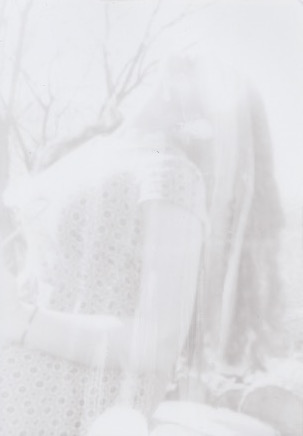
Scan 48

The outcome of this was unsuccessful as the image is very under exposed and faint. The water ran which made the image distorted which was another issue but some ripples of the water looks quite interesting. Overall, this photo isn’t strong and is unsuccessful.

I wanted to continue to develop this image and try the application of water once more. I exposed this image with water on the paper for 15 seconds.
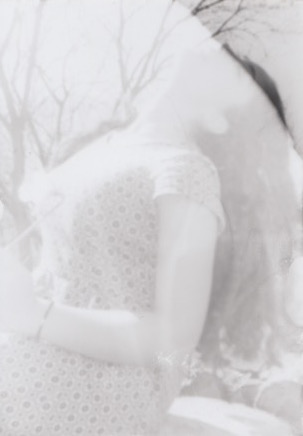
Scan 46

The water caused some ripples which was an interesting concept as it connected nature with people. The image features a contrast between the image with water which is under exposed and without which is over exposed, which doesn’t work.

I decided to try another image as the overall experimentation of this image hasn’t worked and there aren’t any strong pieces. I took a negative image and scratched into it to see the effect when exposed. I exposed the image for 10 seconds, offsetting it to the left side.
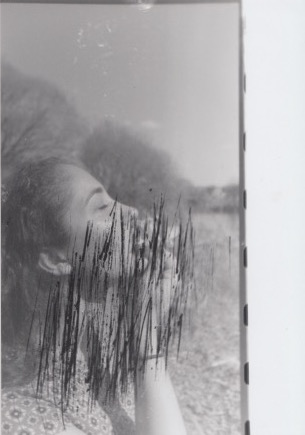
Scan 10

I found that when I developed this image, it came out too focused which is not what I would use in my work. The scratches in the negative came out too harsh and sharp, so I tried to scratch into the paper with my fingernails once developed to soften the black marks however, it didn’t work and was overall unsuccessful.

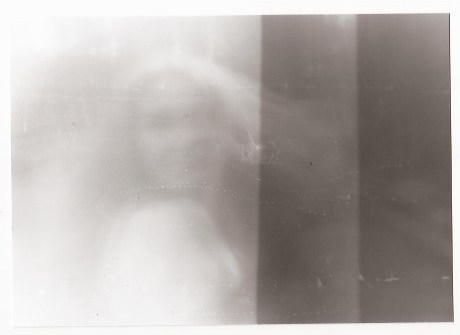
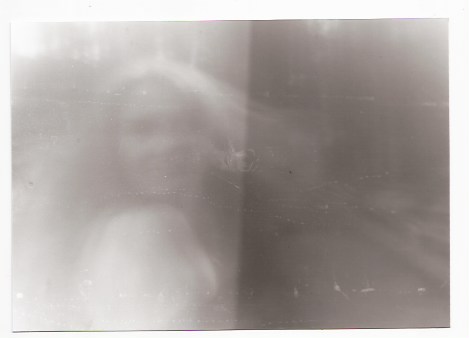
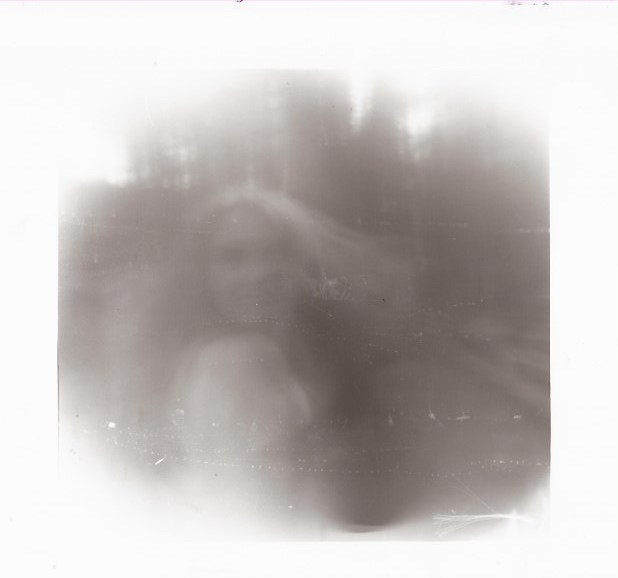
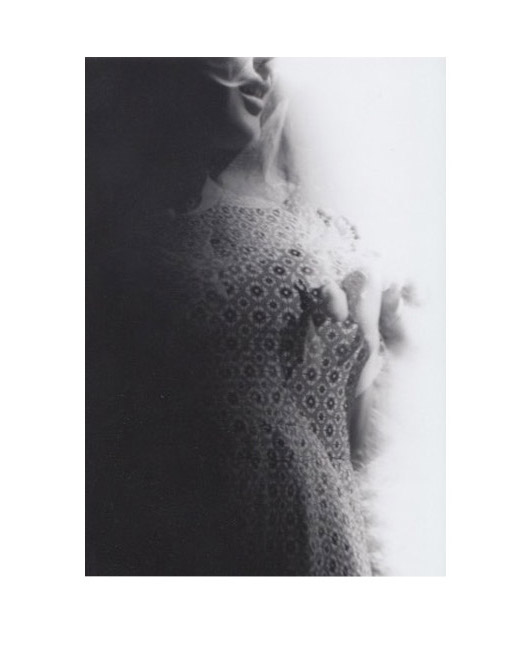
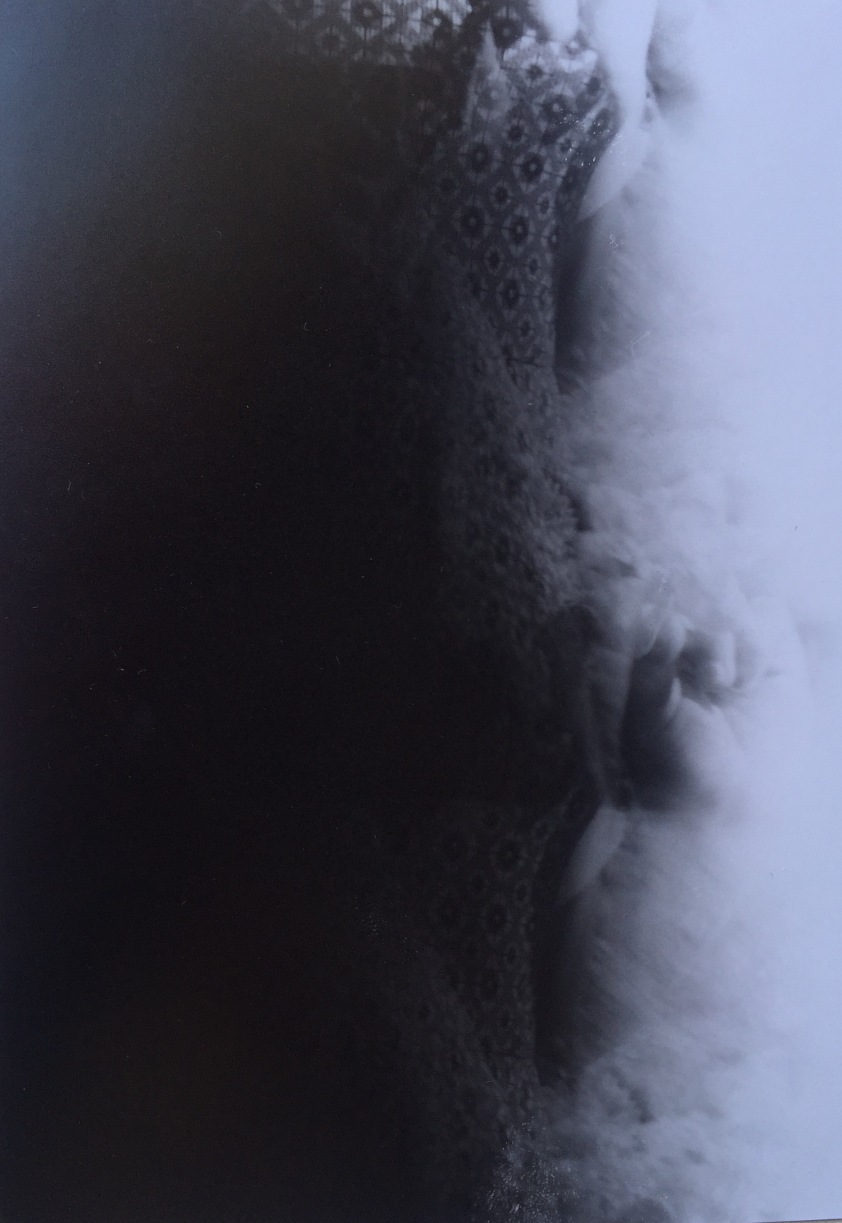
I went onto exposing another image which when looking at the negative couldn’t see what it was, and it almost looked smokey and like light had exposed it. I put it in the neg carrier and exposed it onto 6×4 paper.
thumb_IMG_0740_1024.jpg

60 second exposure

I found this successful and I really liked the image and the contrast between dark and light tones. The image creates a smokey, almost water like appearance which I fine effective, and it is more obscure and dramatic which I find appealing. Overall, I really like this image and would use this for my final project.

Although I really like the outcome of this negative, I wanted to see whether I could develop the image more. I exposed the image for 60 seconds, moving the image every 2o seconds.
FullSizeRender.jpg

I found this piece visually strong and successful. I expected the exposure to be quite low because I was moving it every 20 seconds however the exposure was just right.I found this image came out very unusual and looked like it was layered, which gave it dimension. I found that although I did like this piece, the original piece was stronger as it had the model’s face on.

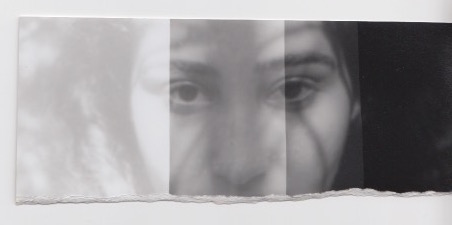
After exposing this image and being satisfied with the results, I went onto exposing a final image. I photographed my friend in the woods and found that the branches left shadow marks due to the sun which I found interesting so photographed the shadows on her face. I exposed this image onto a test strip for 5, 10 and 15 seconds.
Scan 56

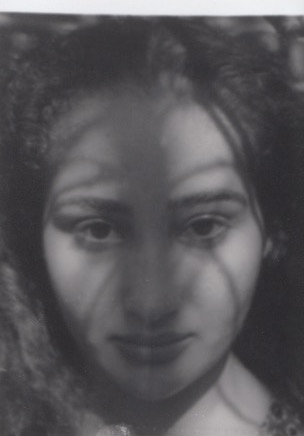
I found 15 seconds to be the best exposure so exposed the image on 5×7 paper.
Scan 45

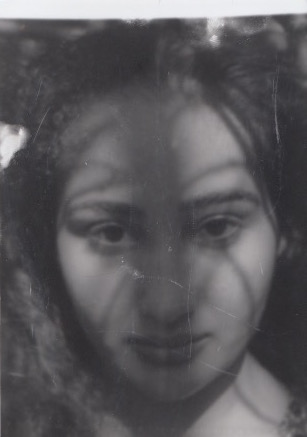
I found that this image was too focused and the tones were too harsh. The image doesn’t portray what I want it to do which is femininity and instead looks sinister and menacing. I carried on experimenting to see whether I could change this look and the next thing I did was expose like the first time but then scratch with my fingernails.
Scan 22

I found that this didn’t improve my image but made it weaker with the random scratches which did nothing for it. I knew as soon as I scratched into it that it didn’t look right so went onto trying different ways to present the image on the paper. I offset the image so only half the face was showing and exposed for 15 seconds.
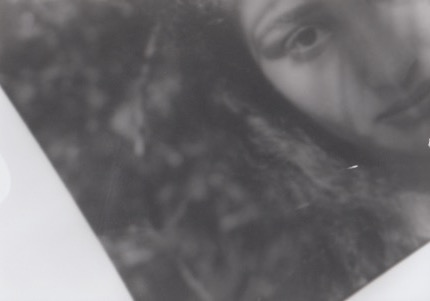
Scan 21

I found that even changing the presentation and offsetting the image hasn’t made any difference and I still feel this image is weak visually. I tried one more time to see whether I could use this image somehow as I felt that it had some potential. I chose this time to expose the image for 15 seconds; moving the paper to the left after 7.5 seconds.
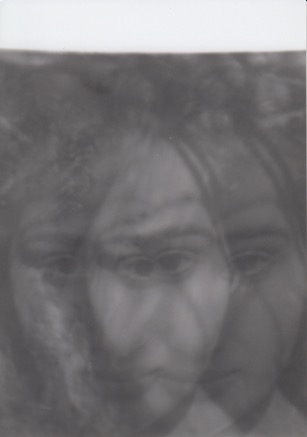
Scan 20.jpeg

I find that this image looks almost like an illusion and looks mirrored. I like the effect that it has caused however, I don’t really like the image itself as I find that it’s too sinister and dark. I decided this negative image wasn’t right and concluded that I would not use this image in my final project.

Overall, I have found this darkroom session very productive and although most of the photographs produced haven’t been strong and won’t be used for my final piece, I have experimented and allowed myself to be more creative and spontaneous with my work. It has allowed me to develop skills and come out of my comfort zone, producing high quality images.

Contact Sheet of potential final pieces:

Screen Shot 2016-06-02 at 19.40.24.png


Experimentation with my Images

After I developed my negative films in the darkroom, I decided to scan my images in and edit them on Photoshop. I wanted to see what they looked like in colour and see whether it changed the outlook of the photographs.

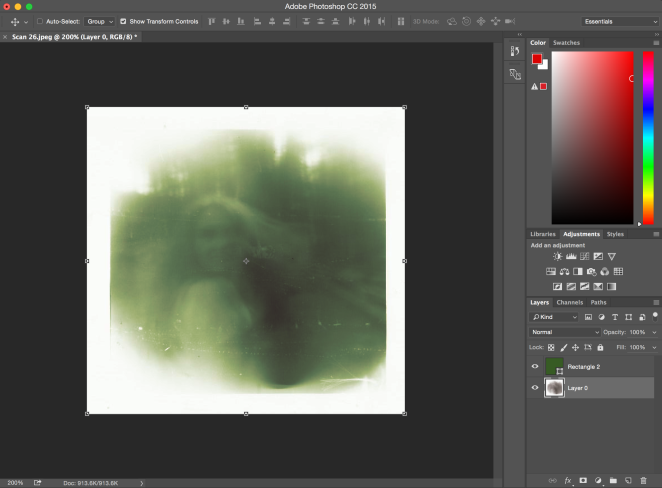
I took this image as I thought colour would work well with the model and would make it look more interesting and bold.

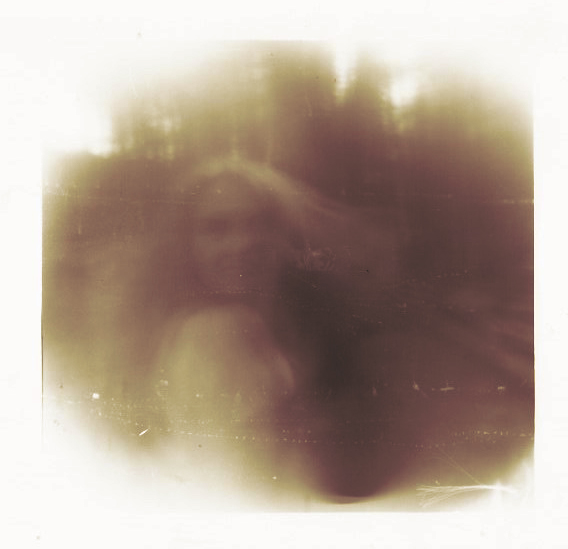
Scan 26.jpeg

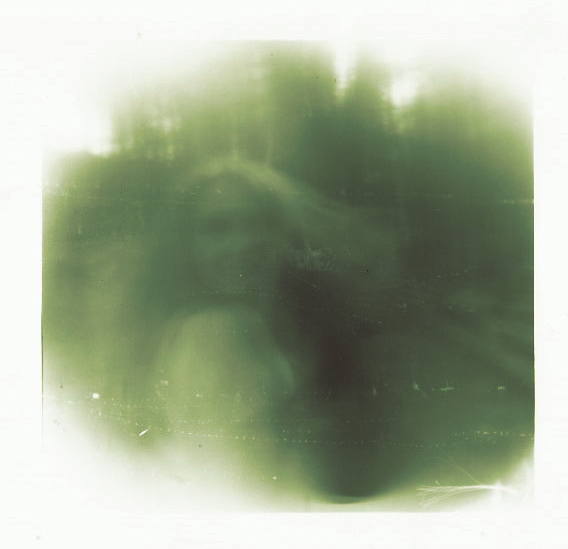
I first of all took the square tool and covered the whole image with a square. I selected a green colour for the square.


Screen Shot 2016-04-28 at 10.25.10

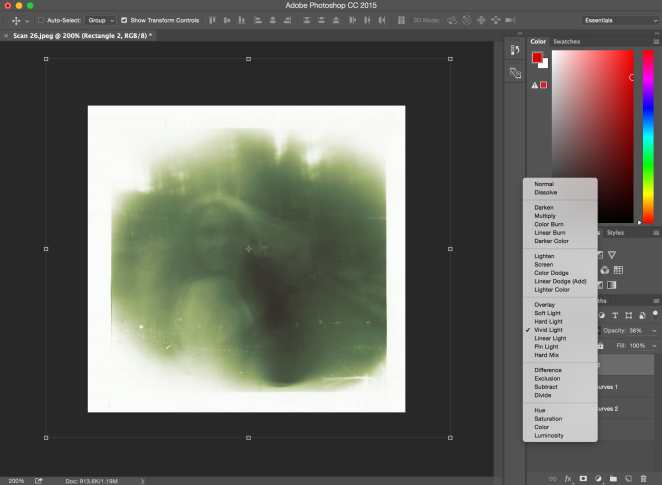
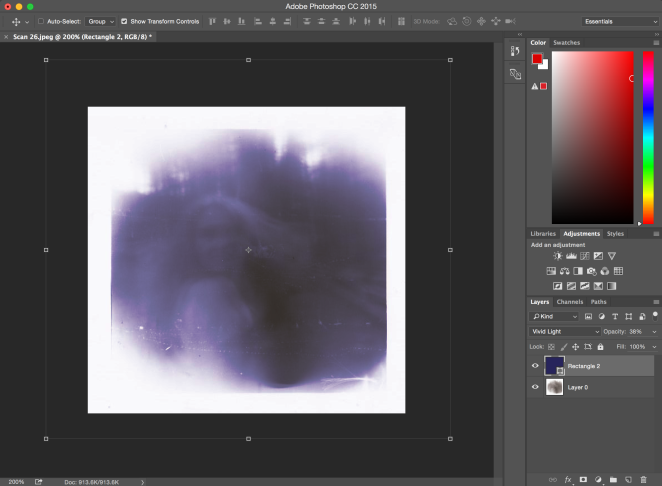
I then selected the effects tool to see how I could alter the appearance of the photo. I looked at each effect to see which had the most effective look and chose Vivid Light as I found the imagery to look quite eerie and almost like water; a cloudy and out of focus appearance.

Screen Shot 2016-04-28 at 10.24.43


I really liked the effect this image had; all my images are black and white and it was nice to add some colour to my images. This image had a cool yet bold tint, and looks almost discoloured and like swampy water which I find interesting.

Scan 26.jpeg copy.jpg

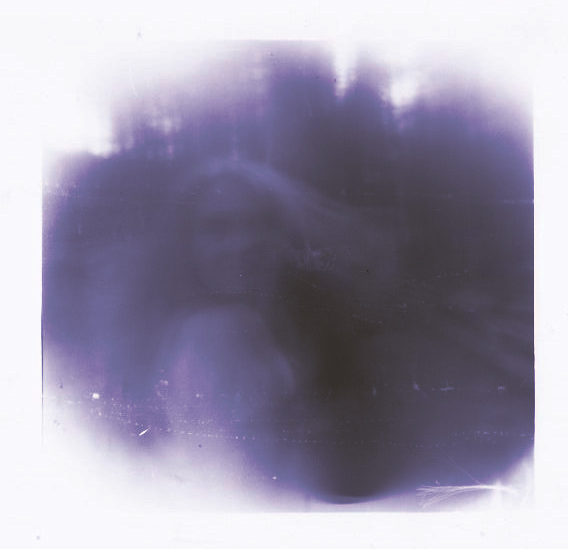
I went onto adjusting the hue to a purple tone. I kept the Vivid Tone effect as I found the other effects weren’t as effective. I liked this colour however, I prefer the green hue as it’s more effective and it looks more appropriate for my project.

Screen Shot 2016-04-28 at 10.25.40.png

Scan 26.jpeg copy2.jpg

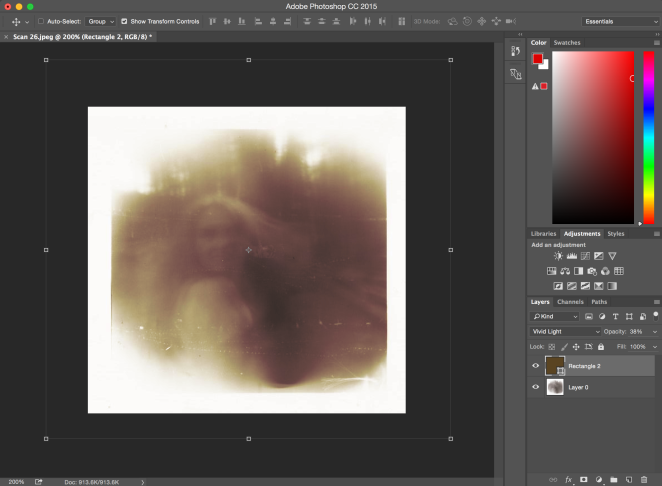
I carried on trying different tones to see whether any were as effective as the green, I kept with the Vivid Light as that was the most effective effect. I changed the image to a browny, muddy colour.

Screen Shot 2016-04-28 at 10.29.12.png

I really liked this colour and preferred it to the purple colour. I am not too sure whether I prefer the green or this one however. I feel that this image looks effective however is too similar to my black and white photographs, whereas the green colour has a pop of colour and although is very bold and fresh, fits with my project also.

Scan 26.jpeg copy3.jpg

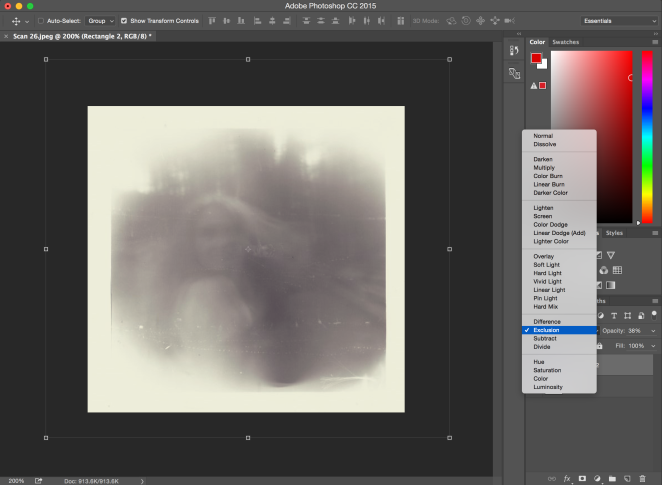
I thought that I would try different effects with this same brown colour. I found an effect called Exclusion which was quite interesting however, it discoloured the white border and didn’t make the image look as effective. I like the navy kind of colour that the effect gave to the image however, it was too similar to my original image.

Screen Shot 2016-04-28 at 10.26.11.png

After trying all these options, I felt the green toned image was the most effective and suitable for my project. Even though I knew that image would be the one I would use, i wanted to try other effects and attempt to develop the image more.


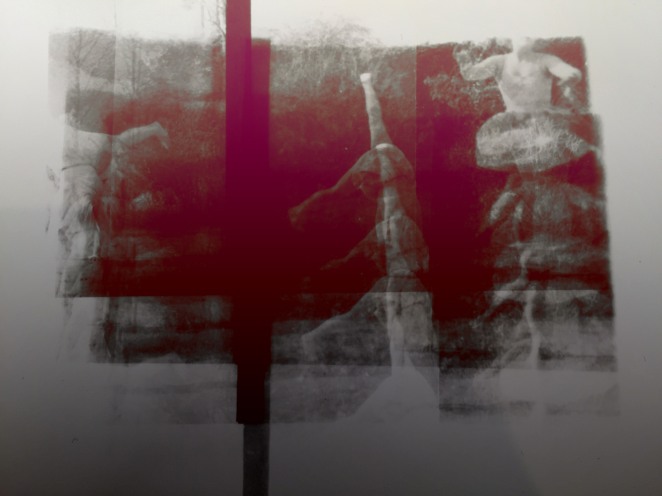
I went through the same process with another image. I tried gradient instead and mixing different tones of colours.

24a5fadbe4b26e1c692546e867a2c37b.jpg

For this image, I merged a few colours together; I had bright pink, orange, purple and a very dark/ almost black pink tones. I then used the Screen effect as that was most appropriate. I do like the image however, I don’t prefer it to the original image as I feel that this image is too bold and hides a lot of the detail of the photograph.

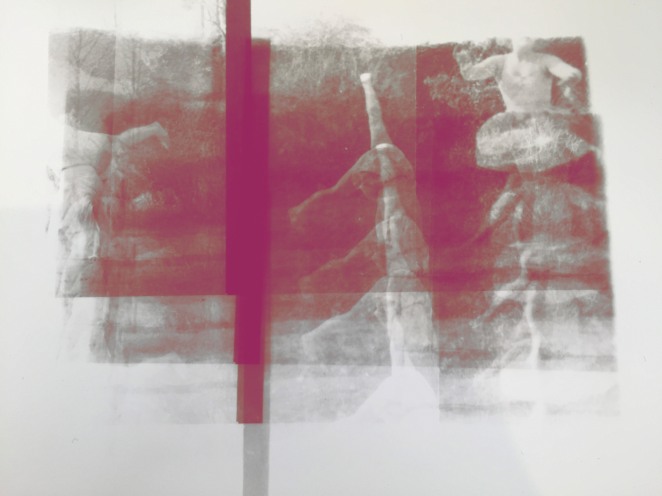
I then tried having lighter tones using just pinky colours.

IMG_9257 copy.jpg

I didn’t like this image either and found it didn’t do anything for the image. The original image which is black and white is much more effective and is bolder than these I had photoshopped.


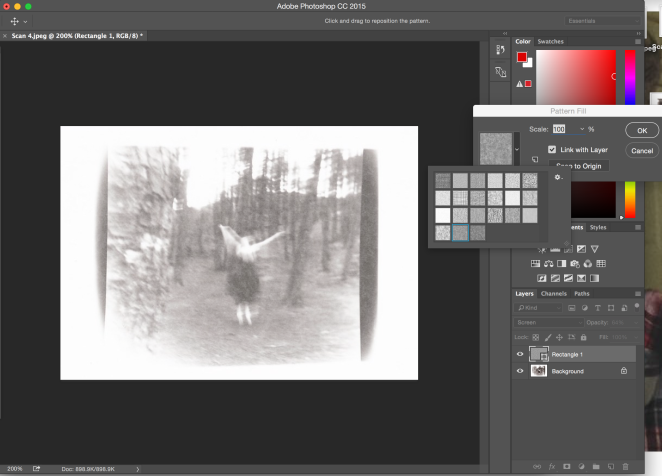
I wanted to try other images but, I wanted to add textures instead of colours to see whether this would have an effect. I went on to adding a rectangle over the top of the image and then edited the fill of the rectangle.

Screen Shot 2016-05-13 at 21.08.55.png

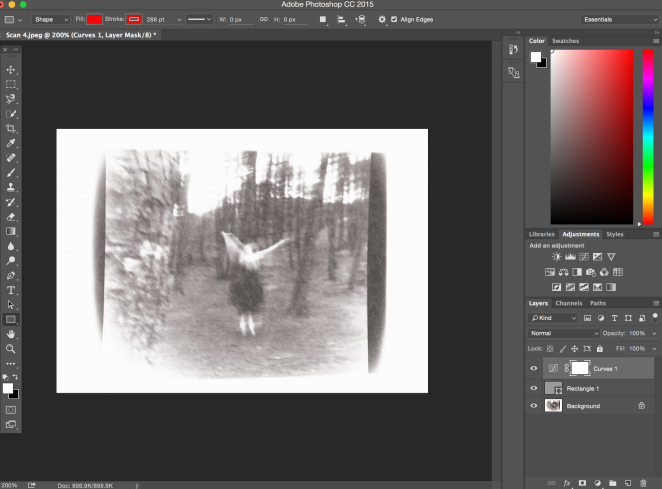
I had left the Screen effect on the rectangle as that is the most suitable effect. I tried out the different effects until I came to the second to last one. I really liked the effect it had on the image and felt it looked more three dimensional. I thought that the contrast was too low so I went on to edit the contrast of the image.

Screen Shot 2016-05-13 at 21.07.36.png

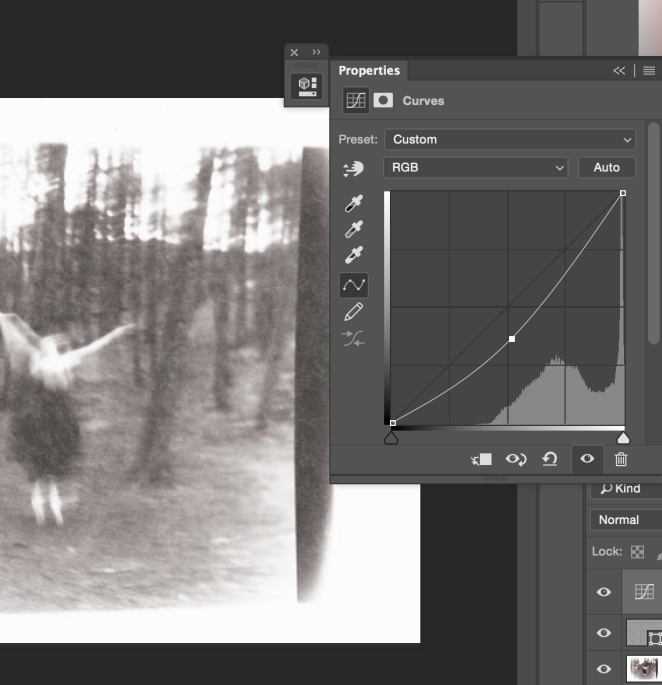
I added an adjustment tool called Curve to adjust the overall contrast and tonal range of the image.

Screen Shot 2016-05-13 at 21.14.44.png

I moved the line slightly down which made the image darker and added highlights to the photo showing some of the details. This adjustment helped the image’s contrast and tone a lot, making it a lot darker and less faded then it was before.

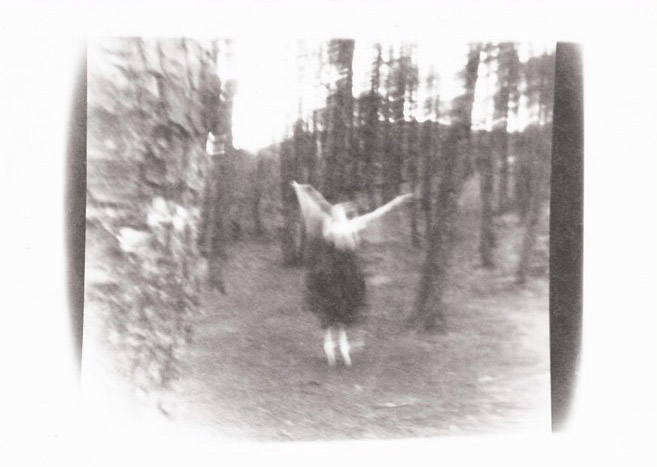
Scan 4.jpeg copy.jpg

I liked the complete change of appearance in the photo and how it changed the look of the whole image. I think that this image adds texture and is a lot less harsh than the original photo due to the pattern fill. I like that just this fill makes a lot of difference and changes the whole character of the photograph.


Overall, I found this Photoshop session interesting and productive as I was able to experiment further but in a digital way which is what I am used to doing. I wanted to see whether the images would look more intriguing in colour however, in my opinion I feel that the black and white original images are best left in black and white than colour. I am glad that I experimented as it allowed me to see whether I could develop the images further however, the original images are more effective and I feel that I should keep them that way.


Exhibition Space Prep: Research

After having a tutorial with Jo on how I should present my images, we came to this conclusion;

  • Use originals images; I scanned my images and reprinted them but all the same size as Jamie had recommended that concept to me as he thought it may look more effective. This idea didn’t work out as well as using my original images and I felt that it would make my exhibit more authentic using the real images, and the variety of scales would look more interesting.
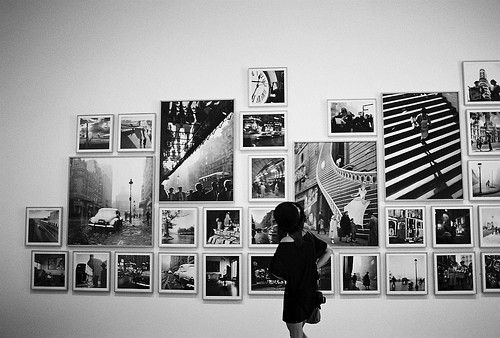
  • Display the images in a more creative and perhaps three dimensional manner- not just framing them or hanging them on the white exhibition wall.
  • Research photography exhibitions on Pinterest to find inspiration; hang images on string with bull dog clips or put the images on lightboxes.

When I had finished the tutorial, I went home and researched further into different methods for displaying my images. I looked on Pinterest and searched things like lightbox photography displays and photography exhibitions. Below are some ideas and artists I had found:


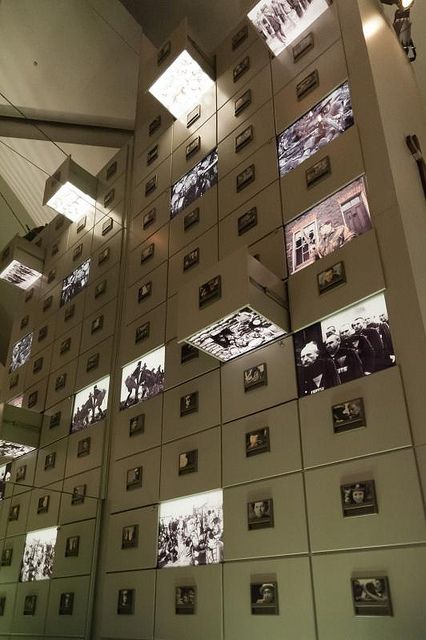
Tris Vonna-Michell: Use of Light boxes and Projection 

I liked this idea of displaying images. I find the use of light in art is a powerful tool and can manipulate the image and meaning. I think using a lightbox to exhibit my images would be an effective way and I feel that it will highlight and capture the imagery effectively in the photographs. I found that juxtaposing the natural light in the photos with artificial light that the lightbox produces would make for an interesting appearance.

I looked more into the use of light boxes in photography exhibitions and found some examples on Pinterest.


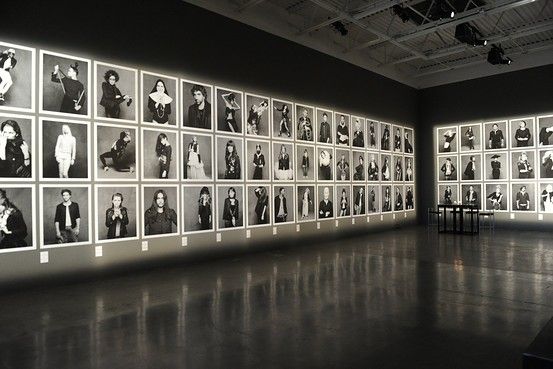
I liked the diverse ways you could use light boxes or even just light. These methods are very effective and like the outcome it creates. I feel that these ideas are too big however and wouldn’t fit in the exhibition space that I have; especially taking into consideration everyone else in the exhibition so these displays wouldn’t work. Although these ways wouldn’t work, I could still use them as inspiration to create a smaller exhibit that is influenced by this research.

I found other artist exhibitions who used light which I found interesting.

imperial war musuem manc

Imperial War Museum, Manchester.

karl laferfeld on the little black jacket

Karl Lagerfeld on the Little Black Jacket

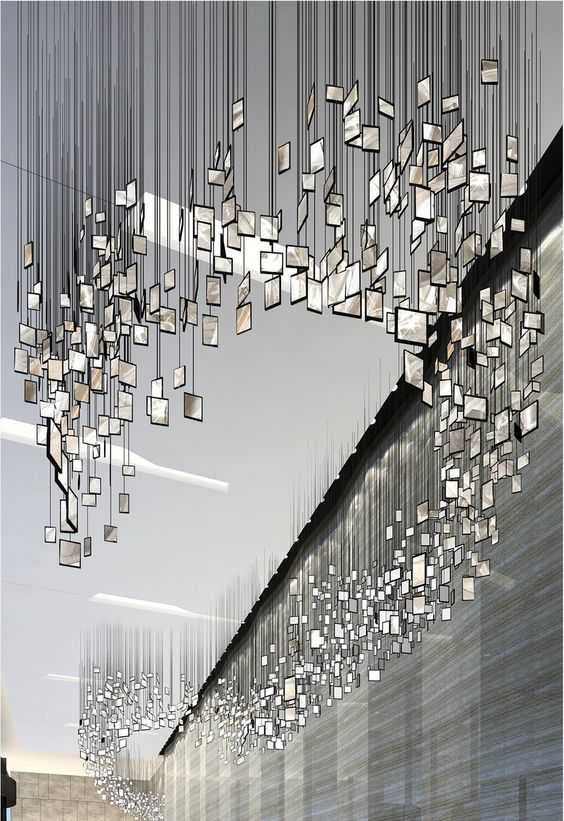
Snapshot Memento: Scenography for a Photography Exhbition

Below is the link to the page which describes the ideas and concepts for this photography exhibition and the process which took place in developing the exhibition space.

http://www.designboom.com/readers/snapshot-memento-scenography-for-a-photography-exhibition/


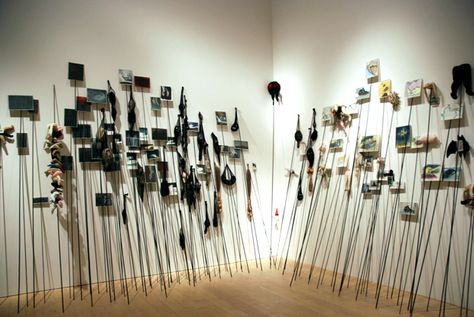
I went on to looking at other methods for displaying photographs in exhibits. Another way was hanging images or using string to connect them all together.

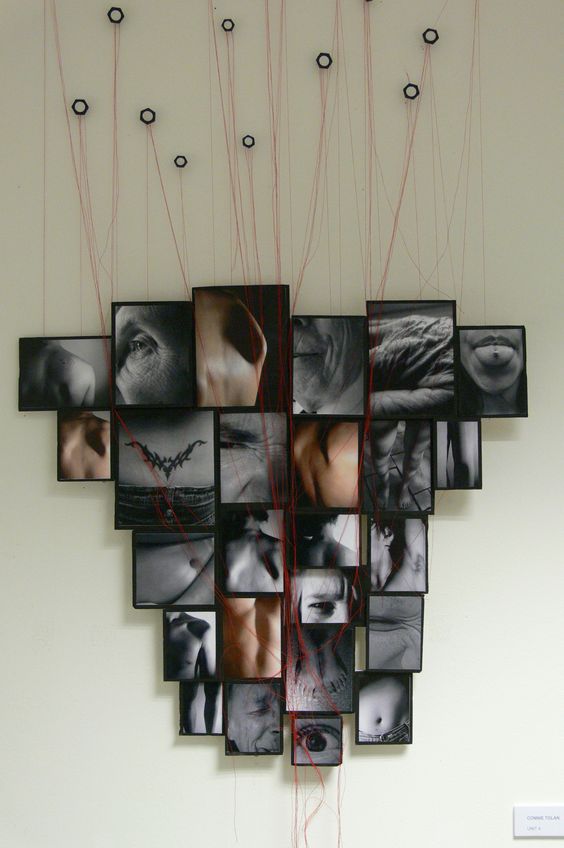
I looked at an artist called Annette Messager who focused on close ups of different body parts and then hanging at different levels and overlaying them over one another , almost connecting the different body parts together.


I find this concept effective and I really like this idea. I feel that this method would work really well with my images as overlapping them and hanging them at different levels would be really interesting, however it wouldn’t be as big of a scale as this.

I found other methods that she’s displayed her images using string as well.


e87dbcb1453eef2ee25d1f7e125ea78b

05acd44c9e68811819db1ad2b44727de

I feel that this method above is an effective way to display photographs; printing the images on acetate so when you look from different angles, you can see right through the image instead of it being blank on one side. I feel that using a different material like acetate is an effective method to exhibiting your photos.

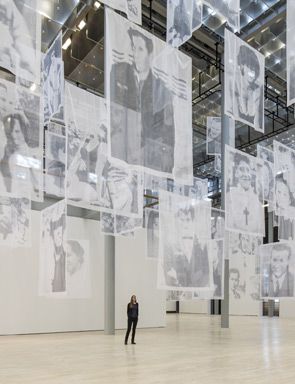
I had also found photos printed onto transparent fabric which was an interesting way also. This method is very effective and unconventional for displaying photographs as they are usually exhibited on high quality paper.

04c4e374f4bb91feda344fb74574db88

I found other ways of using string to display photographs and found these different methods.

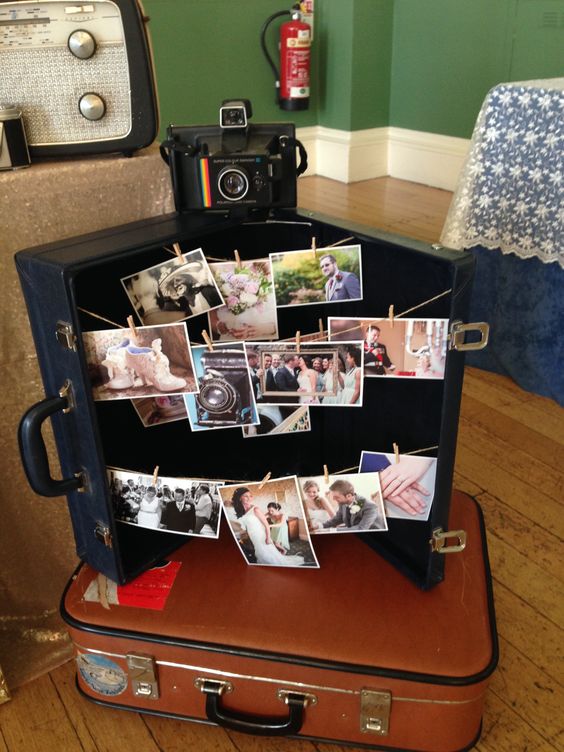
Hanging string like a washing line and clipping the images on using bull dog clips and pegs.


Hanging images using string.


More abstract way of hanging images.

4c2e03d06120216c76e0460f0656287b


I found these different methods interesting and the presentation very effective in exhibiting photographs. I find these ways influential and will be considered when thinking of how to present my photographs. I like the idea of hanging photographs from clothing lines and pinning them with bulldog clips or pegs.

I also found a photographer called Chloe Ostmo who produced an installation “Falling” of two dimensional images re-inserted into a three dimensional series showing a woman falling down the stairs hence the title “Falling”. She produced the work for her degree show at Brighton University in 2006.


I found more alternate ways of hanging photographs which I found interesting.

fa85035de806263e39b88eed69dcb4fa

I thought that this was an interesting concept, and seemed more unconventional than just hanging photos. I found it to be a nice idea however, I felt that it may not be suitable for my images.

5f85633b450ddc3ea66eb81879387a9d

I liked this method also, I think that this would work well with my project as I have incorporated nature and the environment in my work, so using a branch would be an interesting concept.


I found other displays also like using wooden blocks to attached the photographs to which I really liked and found it effective, however it seemed too much like something you would put in your home not in an exhibition.


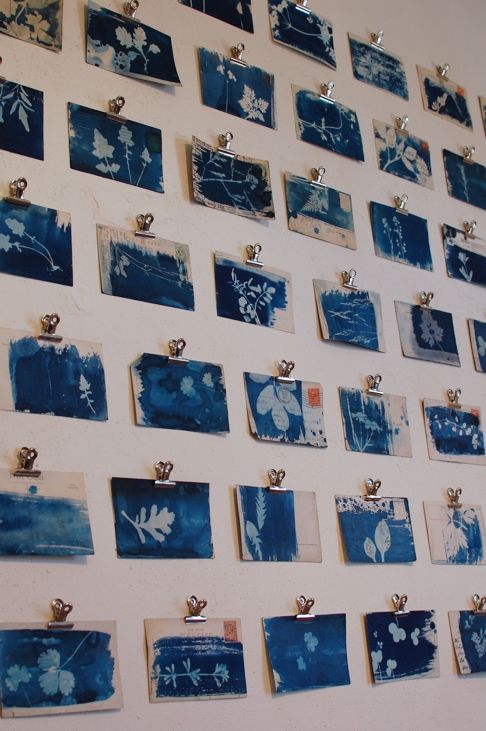
I also found a series of bulldog clips attached to a wall with Cyanotype images which I found effective.

5019124cd6fd5f2d885bd1ea62dfac9c


My images are different scales in terms of paper size; 6×4, 5×7 and 10×8 which meant that making an uneven grid of different scaled images would be visually interesting.

d95630d1f29630daa9f181e1af963bd8


Overall, I found the light box and string ideas most interesting and appropriate for my exhibition and I am thinking of how I could incorporate either one or both of them into my exhibit space.


Victoria and Albert Museum, London

Whilst I was visiting a friend in London, I thought I’d take the opportunity to visit the V&A museum. I thought that it would be useful to look at the family portraiture and get more inspiration for my work for my Unit 5 project.

Whilst I was there, I visited the Julia Margaret Cameron exhibit.

Cameron (1815-79) was one of the most important and innovative photographers of the 19th Century, being best known for her powerful portraits. She posed her sisters, as well as family, friends and servants as characters from biblical, historical and allegorical stories.

Her photographs rule-breaking, purposely being out of focus, and often including scratches, smudges another traces of artistic processes. Cameron was criticised for her unconventional technique, but also celebrated for the beauty of her compositions and commitment to photography as an art form.

The exhibit marks Cameron’s bicentenary of her birth and 150 years since her first museum exhibition. This exhibit was held in 1865 at the South Kensington Museum, now called the V&A.

(Taken from the exhibit)

The photographs below are some of interest to me and which I would like to use as inspiration for my work.

This slideshow requires JavaScript.

I was going to use Cameron as inspiration for my V&A project however, her work didn’t relate to my work. When I decided to do this project I am doing now, I knew that Julie Margaret Cameron would be appropriate for my work and she was a very big influence for Unit 7.

These photographs are quite angelic and feminine which is something that I particularly like about them and they almost seem magical and like these people are fairies watching over children. The particular aspects of Cameron’s photographs that I admire are the lighting and shadow that are created on the faces to give  a sense of mythology and eeriness.

I want to create some images using film as this is the technique that Cameron used and I like how artistic processes such as smudges and scratches are shown to create a used and imperfect piece that isn’t clear or  neat.


Fourth Darkroom Experiments

I went into the darkroom with all my negatives from both shoots. I started off with the second shoot reusing some of the images I had already done previously in the darkroom as well as some different ones. I started off with a 120 negative film image and used test strips to get the right exposure; I did 10 seconds, 15 seconds and 20 seconds.

Scan 31

I found that 10 seconds was just a bit under exposed and 20 over exposed, but I felt that 15 seconds was also a bit dark so I got another test strip a exposed the image for 12 seconds and 15 seconds.

Scan 34

I found that 12 seconds was just under exposed and felt I could add another second exposure to make it a bit darker.

Scan 26

13 second exposure

When developing the film, I didn’t develop it fully which mean that some edges looked feathered and faded which I liked about the image. I also scraped my nails on the image before fixing the photo and found the effect this had was very interesting and added a nice texture to it. The image itself had a water effect and looked like the model was floating in water which I found fascinating; it created a soft and delicate form. I really liked this image and think that it would fit well with my final project.

I felt happy with that image and decided to choose another image from the negatives. I got a test strip and exposed the image for 5 seconds and 10 seconds.

Scan 7

I found from this test strip that 5 seconds under exposed the image a lot and 10 second’s also a bit under exposed so I chose on exposing the image at 13 seconds.

Scan 21

When the image had been developed, I found that around the image had fingerprint shadows which I found interesting as it shows the artistic process of the image development. I liked this image just printed in its original state without any experiments however I decided to do some experimentation with the image as I thought that it would look more interesting.

I went onto applying water to the paper like I have done before. I exposed the image for 13 seconds and then developed the image which came out under exposed. I didn’t expose the photo for longer than when I expose the original image which meant that the water wouldn’t allow the exposing of the image very well.

Scan 23

From there I went on to applying water again but exposing the image for an extra 10 seconds.

Scan 24

This image came out more exposed when I developed it and felt that it looked good. I liked the effect that the water had on the image and gives the symbolism of purity and fertility. I feel that this image represents the virtue and power of women and that the  purity of the water helps to portray the meaning of what women are.

I went on to experimenting more with this image, I placed masking tape over one area of the negative image and went back into the darkroom to see the outcome.

Scan 22

I didn’t like the outcome of this experiment; I found that the contrast between dark and light was too much and created a harsh line. The effect the masking tape produced wasn’t a great outcome and I won’t be using it as a final piece.

After this, I went on to using other images; I changed the negative image in the neg carrier. I got a test strip and exposed the image for 5 seconds and 10 seconds.

Scan 6

I found that 5 seconds was the right exposure and 10 was just a bit too dark for the image. I went on to exposing the image for 5 seconds on 10×8 paper.

Scan 27

I exposed the image onto a 10×8 paper to see the image fully as I weren’t able to see the image clear. When I developed the image it showed a woman jumping, displaying the movement in her arms and legs. I find this image has come out well and makes the image look quite mythical and almost like she’s a fairy and some mythical creature moving. I tried one experiment; putting water on the paper before exposing the image. I used a 5×7 piece of paper so I focused on one area; the woman jumping.

I exposed the image for just a bit longer than when exposing the image with no water.

Scan 2.jpeg

10 seconds

I like the outcome of this experiment as I think that the two contrasts of under exposure and over exposure looks like a water pattern, and you can see the water ripples faintly in the image which gives it texture.

I tried experimenting with materials next and decided to put masking tape over a 35mm negative image. I exposed for 10 seconds and 20 seconds on a test strip.

Scan 32

I found that 20 seconds was the best exposure as 10 seconds was very under exposed. I tried it out again on a test strip but just as 20 seconds to see whether the whole image was the right exposure.

Scan 8

The image seemed under exposed so I added a few more seconds to the exposure time and printed the image onto 5×7 paper.

Scan 30.jpeg

25 second exposure

After developing the image before fixing it, I used my fingernails to scratch marks into the image to give some texture. I liked the effect these scratches had on the image and looked as if they were already part of the photo. I feel that it gave the image a bit more as the original didn’t stand out as much.

I went on to exposing another image I had previously exposed but instead of testing the exposure, I just decided upon the exposure that I felt would be right- I wanted to experiment and expose the images without over thinking it and just see how the image comes out; it would almost be a surprise.

Scan 5

I exposed this image onto 5×7 paper and found when I developed it, there were areas which didn’t show anything; however, I felt that this looked good and showed the imperfections that things can have.

I chose to expose another image, and carried on with spontaneously exposing the image without test strips. I applied water onto 10×8 paper and smeared the water all over the paper. I then exposed the image for 30 seconds.

Scan 25

When the image developed, I found that the water had smudged the right side of the face which I found looked unusual. I thought the exposure was right and overall the image looked ok. However, because of the smudge caused by the water I decided upon exposing the image again with the application of water.


I found that this image came out better and still faintly showed water marks. I like the exposure and think the image fits in with my project. I also feel that although it does fit in with my project, it isn’t strong enough to be part of my final piece.

I went on to exposing another image, this time I took a 35mm negative image and used a scalpel to scratch into the film. I put the image back into the neg carrier and went to expose the image.

Scan 29

10 second exposure

When I saw the image developed, I didn’t think that it looked good as I found the scratch marks came out too black which seemed too harsh. I tried to scratch over the top of the marks to form white scratches to soften them however, it didn’t work out as well. I feel this image doesn’t fit in well with my work as the scratches are too harsh in comparison with my other images which have a soft, delicate style.

I exposed the image again but on 5×7 paper and thought that I would try to scratch more into this image.

Scan 33

After the development, I scratched into the image. I found that I was able to scratch a bit more however I still didn’t feel that it fitted with my work and I didn’t like the scratches. I think that the image would have looked better without the scratches on it.

I still wanted to see whether there was any way this image could work so I ended up exposing the image for 10 seconds, moving it after exposure to then expose for another 10 seconds, and then move it again after exposure and expose for another 10 seconds.

Scan 28

I wanted to see whether the scratches would be fainter, however this was unsuccessful and the scratches were still shown; I feel that this effect looked good however and I do like this image. I think that it’c quite interesting and the contrasts in exposure look effective. I still feel that this image would not fit with my work though.

My last experiment was using two images from my first shoot and creating a double exposure with them like I had done previously. I wanted to make the image a bit darker.

Scan 4

I exposed this image for 20 seconds and liked the overall outcome. I found the double exposure interesting and working with images of two different scales works well. The double exposure wasn’t massively noticeable, but I found they blended together well and made the image look more interesting and added substance to the original photo.

Overall, I feel that this darkroom session produced good work that would work well in my final project. I enjoyed experimenting with double exposure to create more abstract pieces which added dimension and surrealism. I also found that making the image out of focus when exposing it created a blurry and obscure effect, which made the image look like it was taken under water which I found particularly interesting and effective. However, I found that scratching onto the film was too harsh and the marks created were too sharp and black. This wasn’t appropriate as most of my images are quite soft and subdued. I did nevertheless find that using water created a soft, distorted effect which was very effective. I found this session in the darkroom very productive and allowed me to see what worked and what didn’t.

Contact Sheet of potential final pieces:

Screen Shot 2016-05-16 at 14.42.29.png


Third Darkroom Experiments: Second Shoot

I went back in to the darkroom with the negatives from the second shoot. I put a 120 film into the neg carrier and started with test strips to see what the right exposure and contrast would be for the image. With the first test strip I exposed the image for 5 seconds and 10 seconds.

Scan 11

I found that 5 seconds was under exposed but 10 seconds seemed right, so I used another test strip to expose the image for 10 seconds to see whether it was right before printing onto the photo paper.

Scan 12

I found that when exposing the image for 10 seconds onto a larger area of the photo, the image was over exposed and came out too dark. So I thought about exposing the image half way between 5 and 10 seconds, using another test strip to expose the image for 7 seconds.

Scan 13

I liked the outcome of this exposure and found that it was just right for what I wanted to portray in my work; the 7 second exposure meant that the image had a darker exposure than 5 seconds however wasn’t as dark and harsh as the 10 second exposure. It created a soft tone that was just dark enough to see the detail.

I felt that this image didn’t need experimentation as it already captured movement and I felt for this image, it would look better as the original.

Both image are the same just slightly different. For me, I prefer the right hand image as I find the left too wide. I really like this image and would use it for my final piece in the exhibition.

When I managed to get the image I wanted from the negative, I went onto creating another piece with a different image. I put a new negative into the neg carrier and went back into the darkroom; I got a test strip and exposed the image for 5 seconds.

Scan 20

I found the image to be a bit under exposed so decided on exposing it for a few more seconds longer.

Scan 17

I decided to expose this image for 8 seconds and found that this was the right exposure. I then went on to get a 10×8 piece of paper and expose he image for 8 seconds; before doing so however, I rub my finger prints on to see the effect of it.

Scan 6.jpeg

When the image was developed, there were marks and smears on the photo which I found interesting as it showed the artistic process of my images. I also like that some of the image isn’t fully developed as shown on the bottom where it looks like it faded, I find it really interesting and adds more to the photo.

I went on to produce another image but this time trying a different experiment; splashing water onto the paper before exposing the image onto it to see how the water would effect the exposure of the image. I shook the paper to make sure some areas has water and some didn’t to see the effect and then projected the image for a few seconds longer to allow the image to fully expose onto the paper.

Scan 2

10 second exposure

The image didn’t really change as much as I thought it would; the only changes were that the image was under exposed and there were vague water marks on it. I still liked the image however, not as much as the original and hoped that there would be more of an effect.

After deciding that the first image I exposed was the right one, I went onto choosing another image. I juxtaposed two images together to form a new image as I thought the different segments in the images looked interesting together rather than just them. I got a test strip and exposed the image for 5 seconds and 10 seconds.

Scan 16

The test strip showed that the 5 seconds was under exposed however the 10 seconds wasn’t very clear so I went onto exposing the image onto a test strip for just 10 seconds so I could see a larger area of the image and how it looks exposed for 10 seconds.

Scan 18

I found this exposure right as it was dark enough to show all the details; especially my model in the background behind the trees. I went on to expose the image onto 10×8 paper.

Scan 8

I really liked this print and how it came out; it showed all the details, as well as the faded corners that hadn’t fully developed which looked interesting. I thought that this image could be one for my final project.

I then went on to experimenting with water again; I got a 10×8 piece of paper and sprayed water on it like the previous attempt. I then exposed the image however, I exposed it then exposed it again but in a different place so the image would look like it’s moved.

Scan 9.jpeg

I didn’t like this image as I found that the water was too harsh and just looked like splatters which I didn’t think fitted with the photos in my project. I also didn’t find the huge contrast in under and over exposure good and didn’t work in the photo. I am glad I experimented with water to see the end result however I did expect it to work so I am disappointed it didn’t.

I decided to print only a part of the image so I got 5×7 paper and put it at the corner of the image.

Scan 7

I liked the effect this image had when only being shown a part of it. I think that it is much more interesting then just exposing the image as a full image. This image had a different view to the other ones as is was only exposed on the corner of the paper. I would like to do more photos like this as I think that it is a good image.

I decided to use another image and experiment with a different photo. I then went onto using test strips to determine the right exposure time. I tested 5, 10 and 15 seconds.

Scan 15

There weren’t much difference in the different exposures however I found that between 5 and 10 seconds was probably the best exposure. I went on to try two exposures; one was 7 seconds and I tried 10 again.

Scan 14

I found that 7 seconds was the best exposure as 10 was just a bit too dark. I got 10×8 paper and exposed the image at 7 seconds.

Scan 1

I really liked this image as not all of it was developed properly meaning that it wasn’t a perfect rectangle but had faded areas which looks very soft and delicate. I found that this print had come out really well and decided to try experimenting and again added water.

Scan 10

I exposed this image for 10 seconds as previously, when exposing the image with water on for the same amount of time without water I found that because there was a liquid, the image was becoming under exposed. Therefore instead of exposing for 7 seconds I just did 10 seconds.

The outcome of this is that areas that didn’t have water were a lot darker than those with water which I found interesting however the two tones blended together instead of being two different block exposures. There was also some water movement shown on the image which I particularly liked and gave an eerie and mythical quality to it. I do like this image a lot however, I feel like it may be too under exposed.

I chose to expose the image again but just as normal with no experimentation just to see whether I could get a better image.

Scan

When I developed the image, a black mark which resembles a shadow appeared which spoilt the image and didn’t look as good as the first image I exposed.

I decided to do one last piece and just spontaneously expose a portrait image onto 10×8 paper. I held up the paper to the lens to kind of deform the image in some way and make the lines curved and bent.

Scan 3.jpeg

I found the result quite interesting however I wish I would have exposed it for a bit less time- I had exposed it for 10 seconds when I should have exposed for about 5/7 seconds. I think that this image has an eerie tone to it and I feel the texture of the image looks quite smokey and almost like water. It transforms this image into something quite mythical and fairy-like. I do think this image is interesting and was a good extermination however I don’t feel like it should go into my final piece.

From this darkroom session, I gained successful imagery which I can use for my final piece. It allowed me to experiment with water and even though on some occasions it didn’t work, I attempted applying water again and found successful images. I also experimented with ways in which I could display the images on the paper; only exposing certain parts of the image and have it coming off the page which I found effective. I was able to be more creative and find different ways to exhibit my work and how I could make them different to others using materials and methods in the darkroom. Even though some pieces didn’t work out, I was able to conclude that even just exposing the original image was effective and simply moving the image slightly was successful as well.

Contact Sheet of potential final pieces:

Screen Shot 2016-05-16 at 14.46.12.png

Second Darkroom Experiments: Second Shoot

Some negatives from second shoot:

Darkroom experiments:

After my second shoot, I chose to experiment more like I did in my first Darkroom experimentation. I like that for my second shoot, I used a different format- 120 film as it means that I can work with different sizes and forms (square 120 film as oppose to rectangle 35mm). This means that I can try different formats which allows me to work with scale, varying my work.

Scan 17.jpeg

For the first piece, I took an image of my friend who I had photographed in my second shoot. I then juxtaposed a closeup photo of a plant to form a double exposure image. I used a test strip and set the exposure time for 10 seconds however as shown above, there wasn’t enough exposure. The plant was showing through slightly however only the silhouette of the model was being shown.

I then went onto expose the image for 20 seconds and yet again the exposure wasn’t enough as shown below.

Scan 12.jpeg

I then began to expose the image every twenty seconds:

Scan 13.jpeg

40 second light exposure

Scan 16.jpeg

60 second light exposure

From this experiment, I realised that it didn’t work as well as I thought it would. The plants were over exposed and the model was under exposed however, when I tried to exposure the model more, the plant would be too over exposed. I just found that the image didn’t look as good as I thought it would.

I then decided to try another double exposure image however when I had exposed it, I found that it didn’t look as good and the contrasts were too harsh from the trees. The contrast between the trees and the model didn’t look right and I felt the image didn’t go with my project.

Scan 14.jpeg

I went onto experimenting with another image, but I chose to scratch onto the film before going into the Darkroom. When I went into exposing the image, I found that the image was too under exposed however, the scratches were too harsh with the film and I felt that it didn’t go with the subdued and sublime imagery I was trying to portray. The test strip of the image is shown below:

Scan 15.jpeg

I tried some more experimentations juxtaposing two images together to form a double exposure but yet again it didn’t work however, I wanted to try more double exposures.

Scan 8.jpeg

60 second exposure

Scan 7.jpeg

120 second exposure

Scan 6.jpeg

I decided to expose the same image for 180 seconds on 5×7 photo paper and although it doesn’t go with my project, I found it interesting and I liked the patterns created.

After this experimentation, I went onto just exposing the normal film images without doing anything to them. I started off with test strips; exposing the image for 5 seconds (as shown below).

Scan 9.jpeg

This image was under exposed so I went onto expose it for 15 seconds and found that there was a huge difference.

Scan 11.jpeg

I thought that this image was just right and went onto exposing the image fully onto a 8×10 piece of photo paper.

Scan 3

I really liked this image and I particularly liked how it didn’t show all of the image but it looks as if it has faded out. This effect creates a softer tone and makes the image more interesting as oppose to just a rectangular image. I decided upon doing another test strip and adding a couple more seconds just to add a bit more contrast and more exposure to the image to make it darker. I exposed the image for 17 seconds.

Scan 10.jpeg

I found this exposure was right so from there I exposed the image on 8×10 paper.

Scan 2

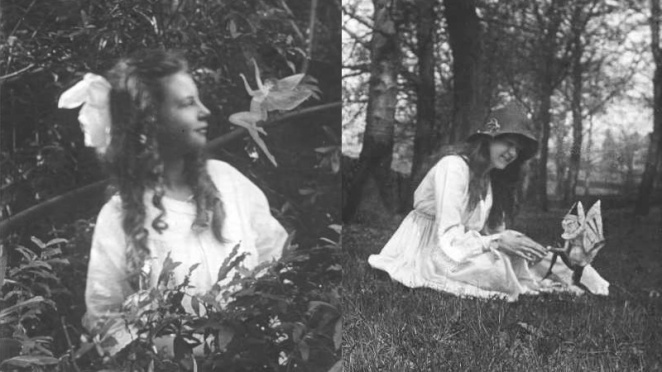
I really liked this image and found it fitted perfectly with my project. This image looks quite mythical and spiritual which is something that I like and find it has a nice effect with the faded effect. The image looks old and like Victorian fairy photographs which I particularly find interesting. The movement is quite subtle in the photo however, it creates an elegant and feminine image.

18isn6guitbhdjpg.jpg

Victorian Fairy Photographs

I went on to another image, I found this image very interesting as looking at the negative, the image looks abstract and I couldn’t quite tell what it is. I went on to exposing the image and spontaneously exposing it onto 8×10 paper at 10 seconds.

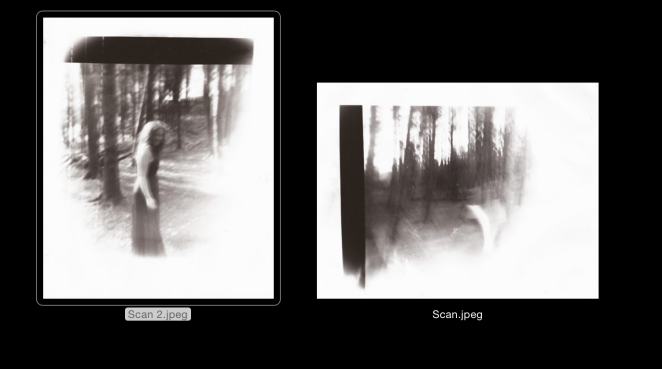
Scan.jpeg

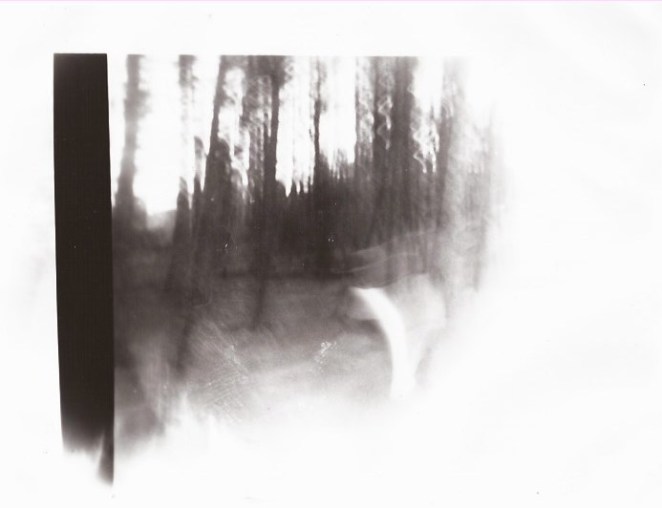
This negative had been exposed to light which is why I chose the image; as I wanted to see what the image was as it was unclear due to the exposure. Once I had developed it, I noticed a hand moving in the right hand side, and what would have been a body there also however, the light exposure had cut it out. I found the image abstract and very intriguing. I really like this image and find that although it is more abstract, it goes very well with my project. I find that the image has water like pattern on the image as well as finger prints which I particularly find interesting about the image. I wanted to incorporate artistic processes in my project so the finger prints were something that I liked and found it gave my image substance and depth, as well as a uneven and almost gritty and grainy appearance to it.

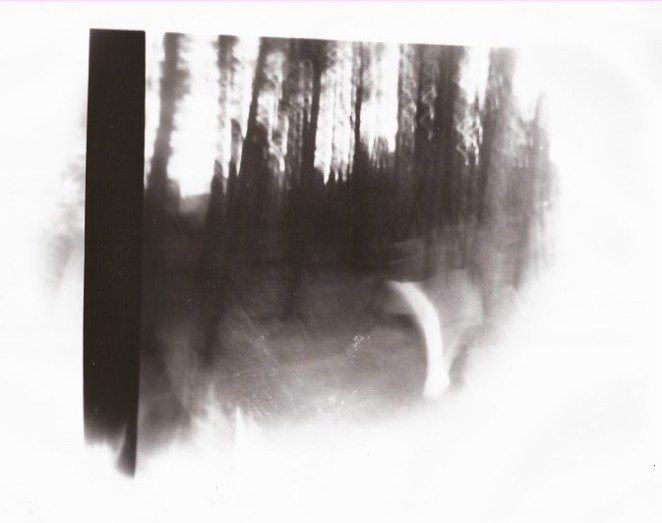
I went onto printing this piece again but with a bit more exposure time, adding 3 seconds to create a darker contrast. I didn’t take into consideration setting the image in the middle of the page all neat, and I liked the way it came out.

Scan 1.jpeg

I found this image yet again really interesting and I think the darker tone is more effective. I find that the light exposure caused to the film causes the image to fade towards the bottom and look almost like flickering. It shows the imperfections and flaws of the film which is something I find powerful about the photograph.

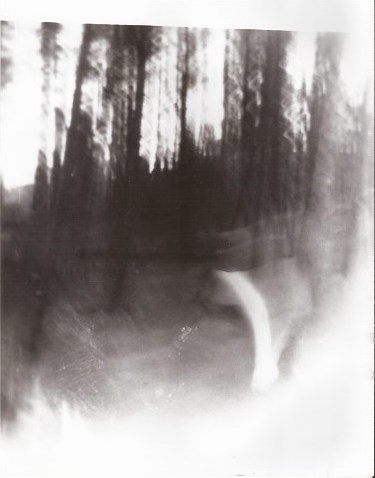
I continued to print some more of this image, but printing onto 5×7 paper instead of 10×8. I wanted to try different scale, and see whether the image would look different.

Scan 4

I liked the way this image came out, the exposure was just right and using 5×7 paper meant that only an area of the image was printed; thus more detail would be shown. There are finger prints on the paper when developing and fixing the image which I find interesting as it shows the artistic process which is what I was looking to portray. Even though I did like the varied scale, I think I still prefer the image on the 10×8 paper.

Overall, I found this darkroom session very productive and managed to produce lots of high quality work that I can use for my final piece. I was able to experiment with scale and see which images worked best on which size paper. I found that doing this and working with different scales allowed the work to be portrayed in different ways. I narrowed the images down to these two. I found that for the first image, the exposure in this was just right as the other was under exposed and wasn’t showing all the detail. For the second image, I preferred the 10×8 image instead of the 5×7 as with the 5×7, it did feel like the image has been cut off and I preferred showing all the image and found this format more appropriate.

Contact Sheet of potential final pieces:

Screen Shot 2016-05-16 at 15.03.16.png