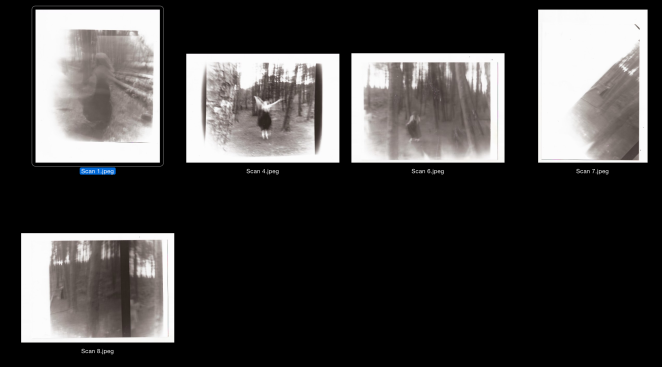
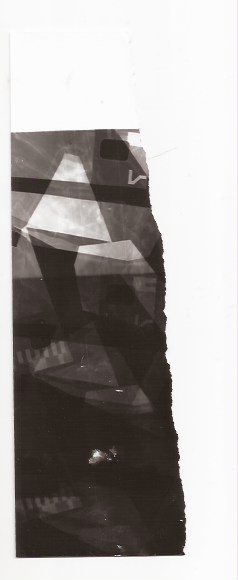
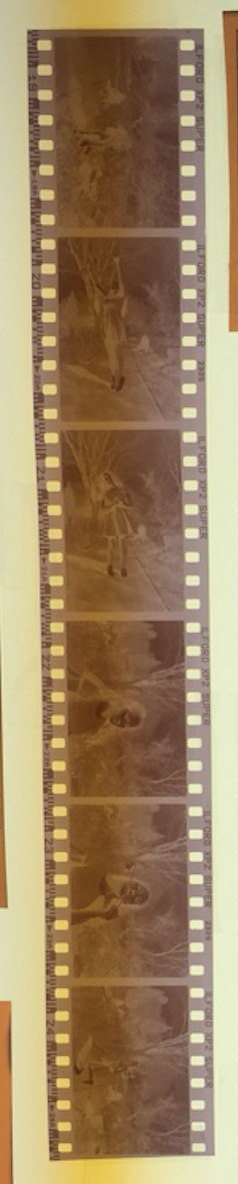
Some negatives from third shoot:
Darkroom experiments:
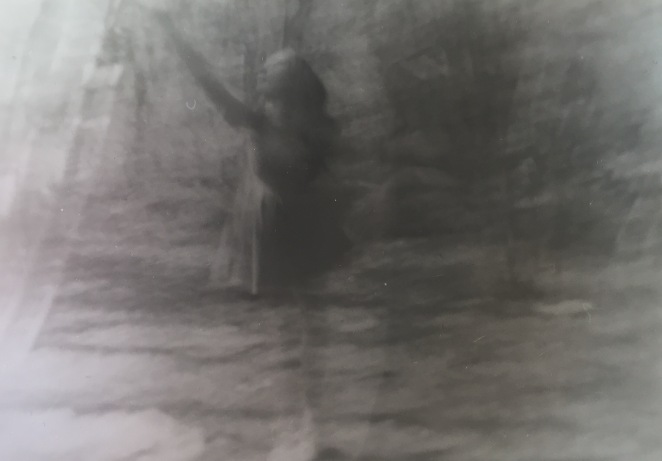
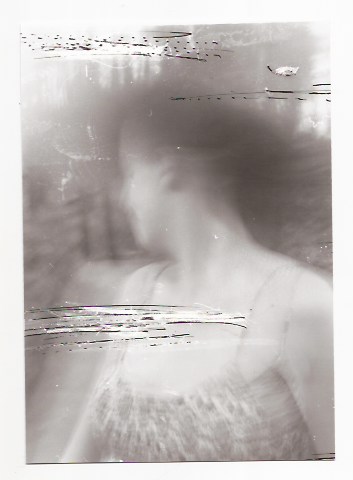
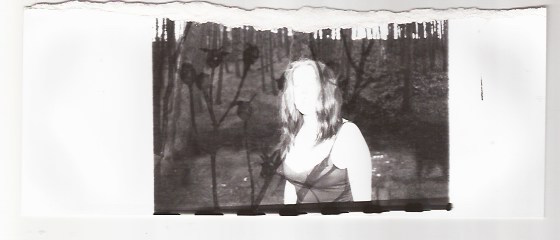
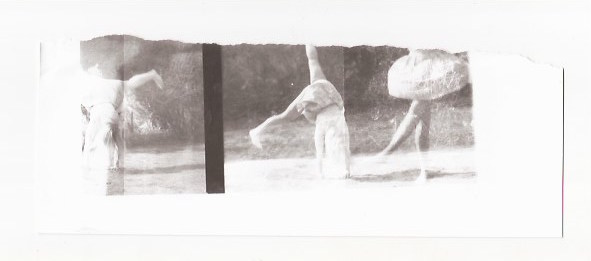
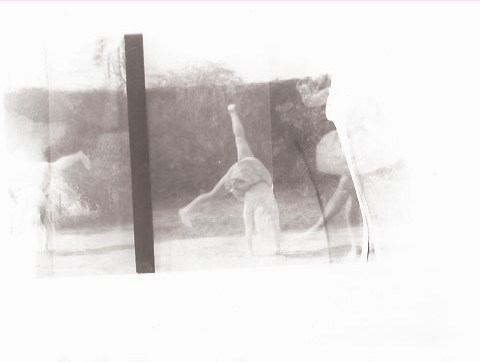
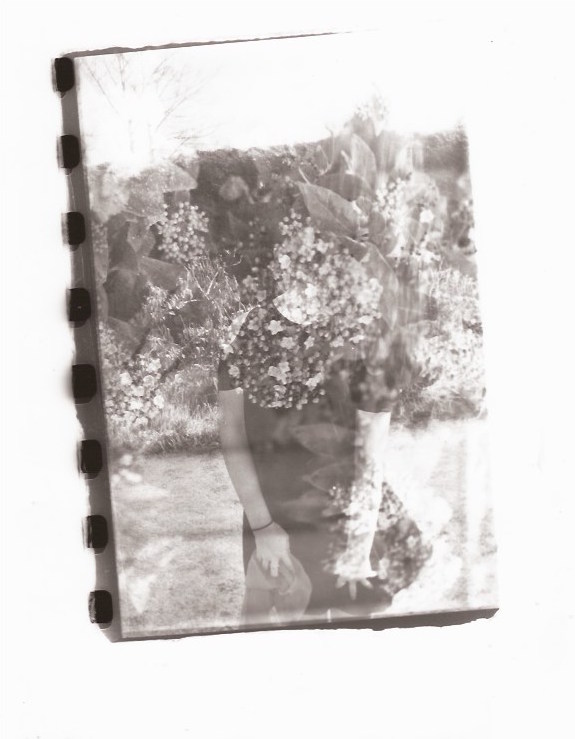
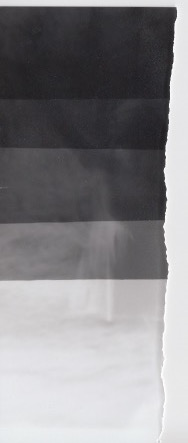
The first image I produced was one of my friend composing a ballet pose. At first, I got a test strip and exposed the image for 5, 10, 15, 20 and 25 seconds.
I found that the 10 seconds was the right exposure for my image. I went on to exposing the image onto 6×4 paper for 10 seconds, however after the 10 second exposure I moved the image right a little and exposed yet again for 10 seconds.
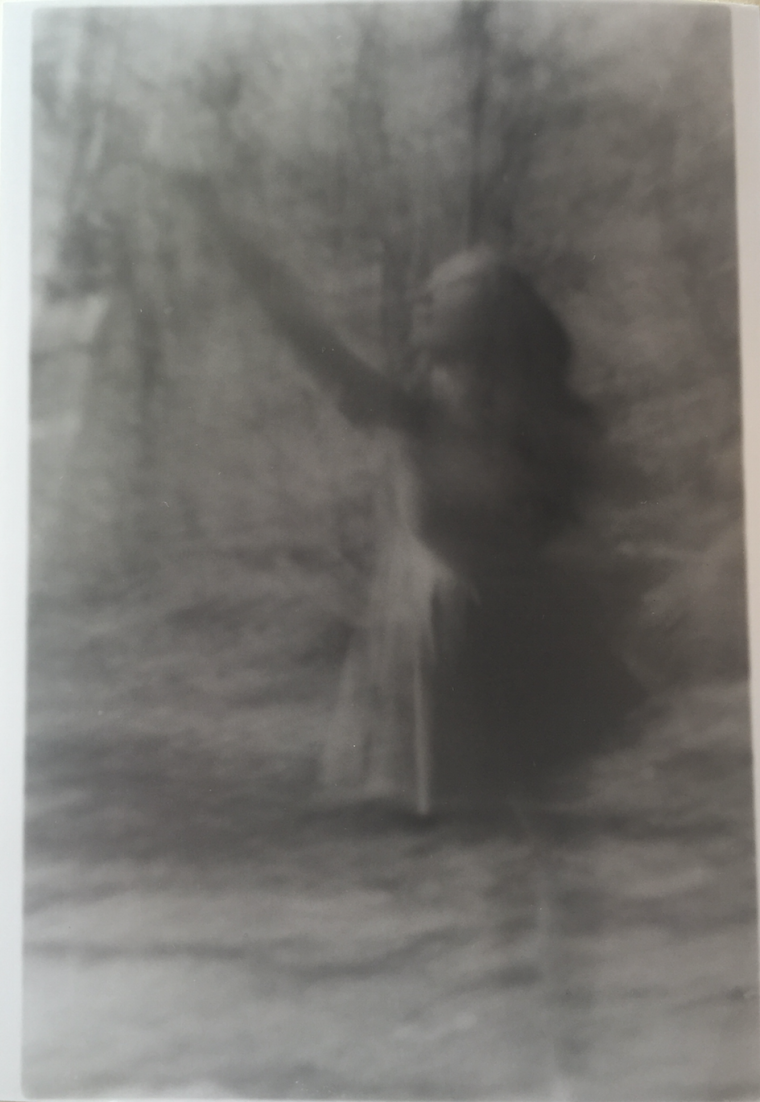
I quite liked the effect that the moving of the image created however, the image had low contrast which I feel makes this image weak in comparison to others that I’ve produced.
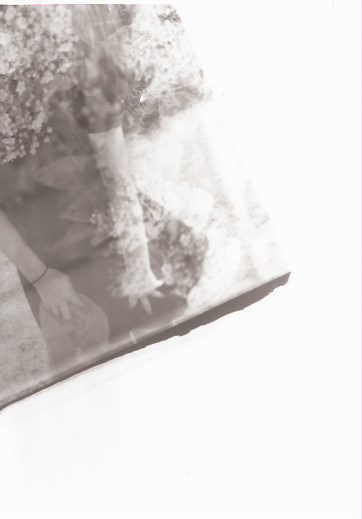
I went on to exposing the image yet again onto 10×8 paper.

I think that the image looked better exposed onto 10×8 paper however still found that it wasn’t strong enough to be in my final project.
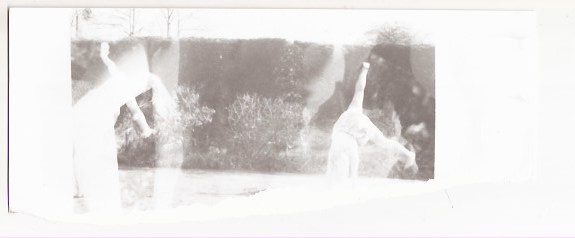
I decided to move the image when I exposed the image onto 10×8 paper to see whether it was more effective or made the photo visually stronger. I exposed the image for 5 seconds, moving the image and exposing for another 5 seconds.

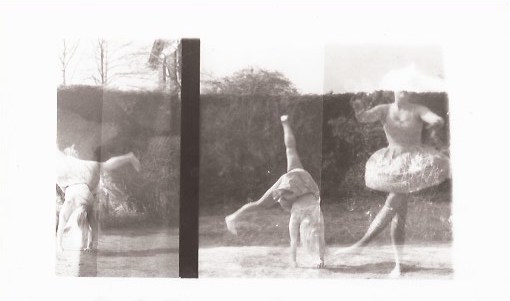
The photograph came out under exposed and had very low contrast which meant that the image wasn’t clear or shown in much detail. I went on to trying different methods to produce stronger imagery. I decided to expose the image for 10 seconds, move the paper and expose for another 10 seconds, move the paper again and expose.

I liked the effect that this process caused however, the image I exposed first came out too over exposed showing clearly the outline of the negative frame. I find that this has made the image weaker.
I exposed another image, using a test strip to determine the right exposure time. I exposed the image for 5, 10, 15 and 20 seconds.
I found that between 5 and 10 would be the best exposure. I went on to exposing the image on a test strip for 7 and 10 seconds.
I found 7 and 10 seconds to be too dark when exposing them again so I went for 5 second exposure on test strips. I tried changing the contrast as the portraiture blended in too much with the background leaving the image looking flat.
5 second exposure
I still found the image flat so I continued to adjust the contrast.
I found that the contrast wasn’t adjusting well and the image just looked flat.
I decided to expose the image on 5×7 paper to see the full image.
I found the image had low contrast and wasn’t very strong. I went onto enlarging the image onto 5×7 paper again this time adjusting the contrast once again.

5 second exposure
I found the enlargement of the image visually weak and the adjustment of the contrast still left the contrast low. Overall, I found this image not very strong and quite flat in comparison to the other images I have produced.
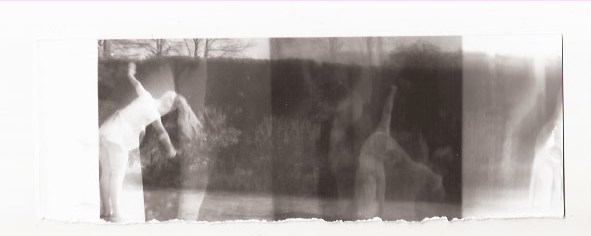
I decided to try experimenting further with this image to develop it. I moved the image whilst exposing it for 10 seconds. I moved the paper after 5 seconds so that the full image was exposed and you could see the portraiture however you could see the movement also.
10 second exposure
The experiment came out successfully however the brightness and contrast was low meaning that although it was successful and you could see the image, the image wasn’t as clear as I wanted it to be.
I wanted to change the scale so decided to expose onto 10×8 paper. For the next image, I exposed the image for 7 seconds, moving the image from right to left for 3 seconds.
-
- 1o second exposure
I liked this image however, fingerprint marks were left when exposing the image which ruined the photo. I do think that this image would have worked well and fitted in well in my project if there were no fingerprint marks.
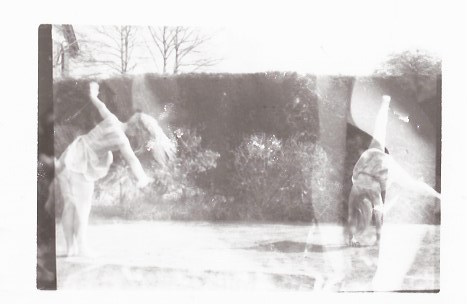
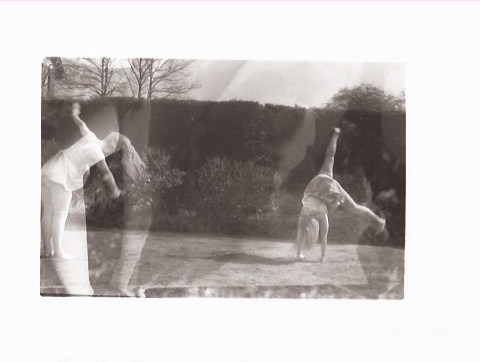
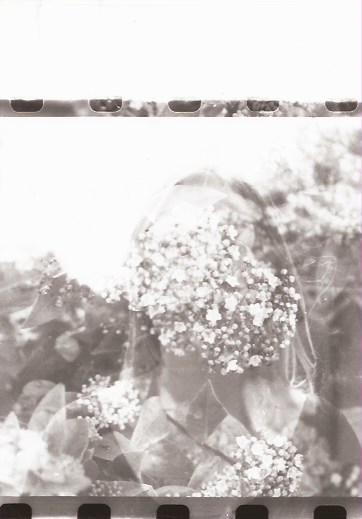
I tried movement again, this time moving the image from bottom right corner to the middle after 7 seconds.
10 second exposure
I really liked this image and felt that it’s a strong piece. I like the shadows presented that are caused by moving the paper, and the faded look they give. The only negative sides are that the contrast is low and the image is quite flat which lets the image down. However, overall I find this image very successful and fits in with my project.
I went on to exposing another image but only exposing a section of the negative to see how it would look.
1o second exposure
I found that this image came out too over exposed when I had developed it. The image isn’t very clear however, from what I can tell from the photo, the imagery is very flat and the portraiture blends into the background. I didn’t find this image strong and chose not to carry on exposing it as it would just be flat.
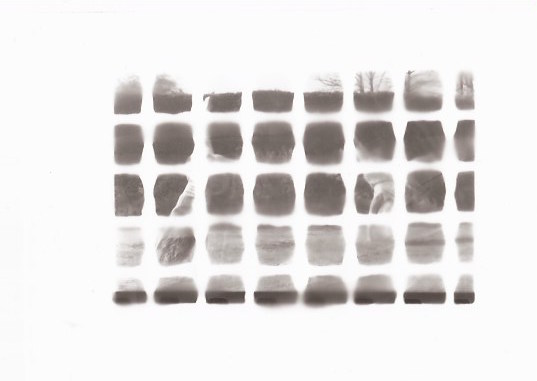
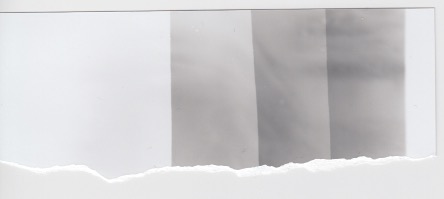
I exposed another image and used test strips to determine the right exposure.
This test strip shows 5, 10, 15, 20 and 25 second exposures. I found that 10 and 15 seconds looked the best so went on to exposing the image on a test strip for 13 seconds.
13 second exposure
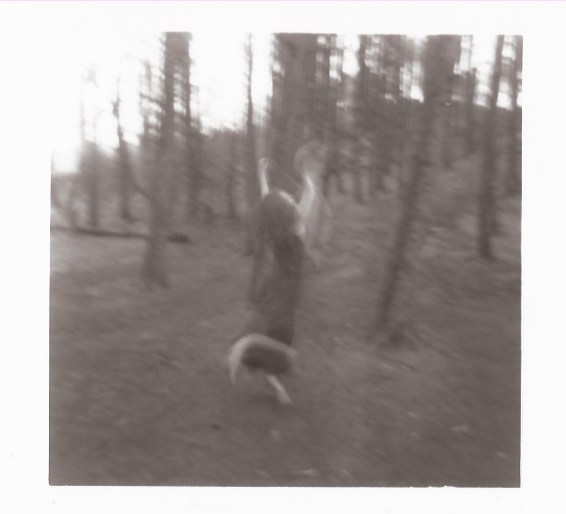
I found this exposure just right. I decided to experiment with this image as the photograph itself is too focused for my project and doesn’t show movement. I went onto experimenting and spontaneously moving the paper around to form intricate and abstract imagery.
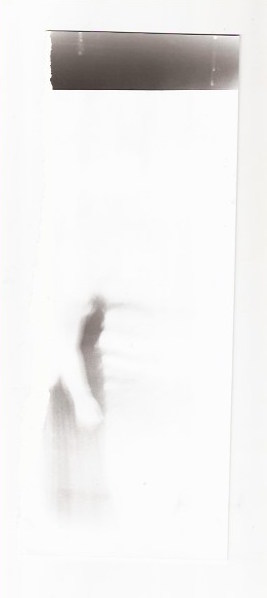
I exposed the image for 10 seconds moving the paper fast to see the effect of this.
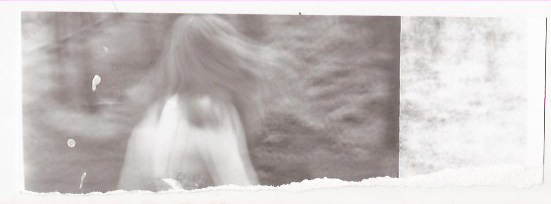
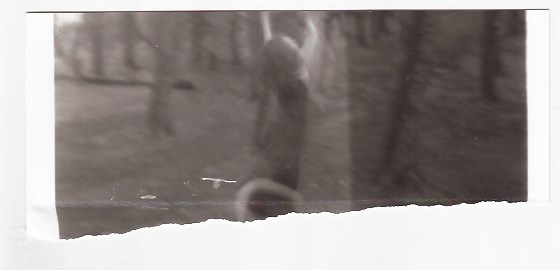
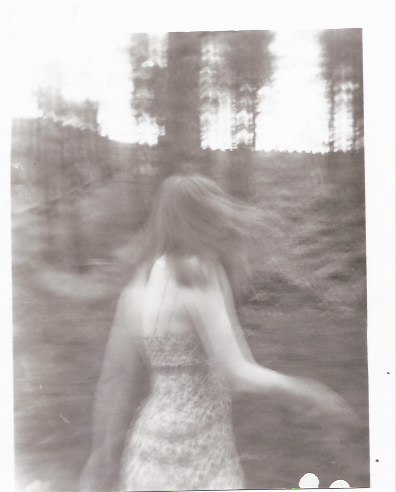
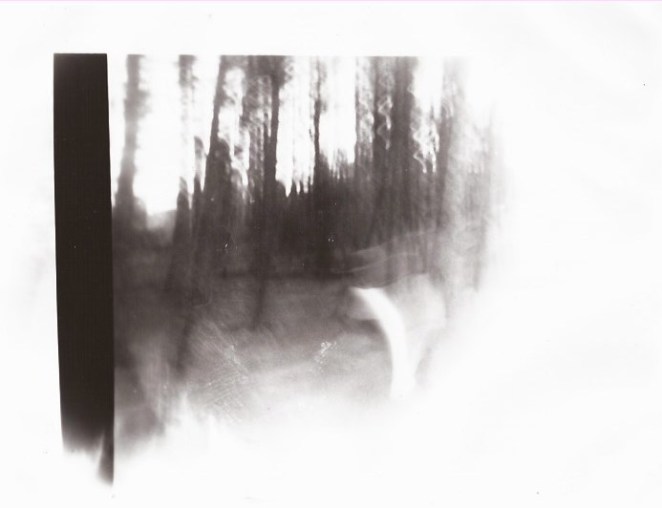
As a result of moving the paper too fast, the image isn’t shown through and it looks very faded and under exposed. I missed exposing the face so you can only see the back half of her which made this image unsuccessful.
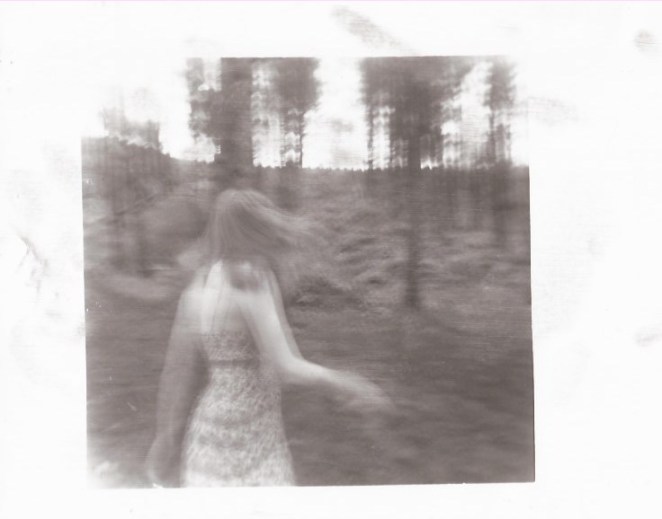
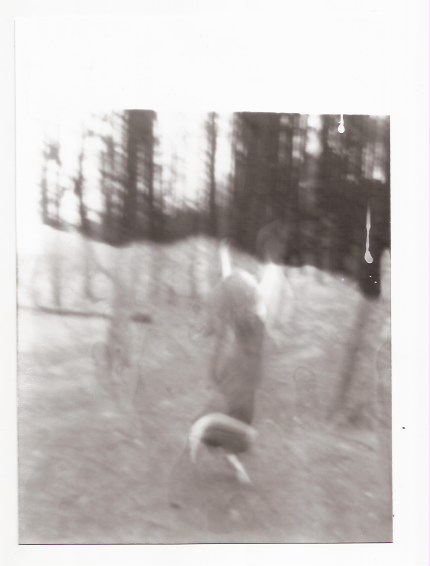
I decided this time to expose the image for 5 seconds so the image would appear fully and clearly on the paper and then quickly move the paper for another 5 seconds.
10 second exposure
I found this successful and looked interesting with the faded movement of the negative. I wish that the outline of the image would have faded with the moving image as it would have looked more effective blended together.
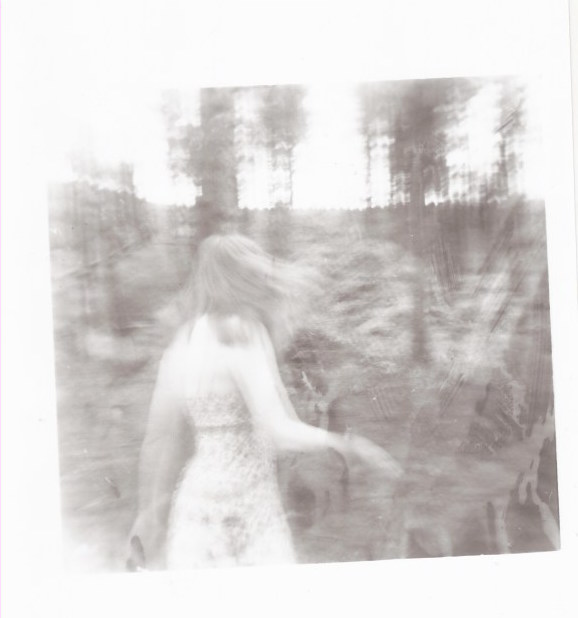
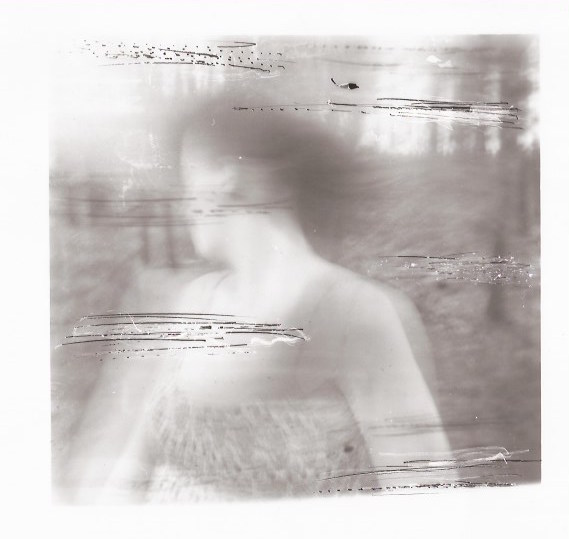
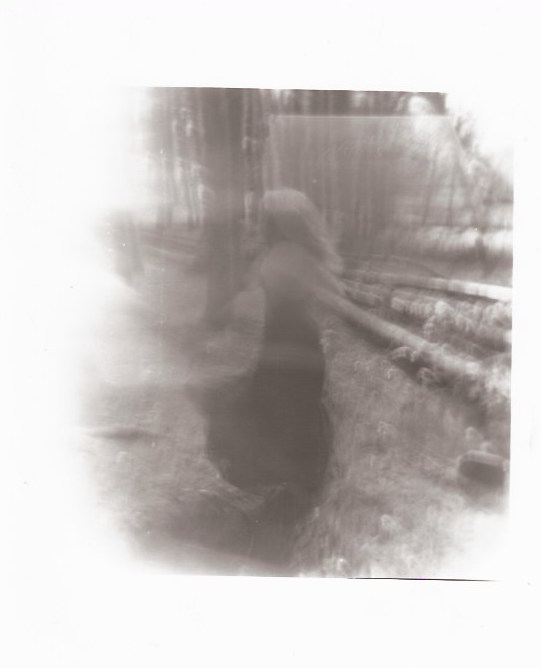
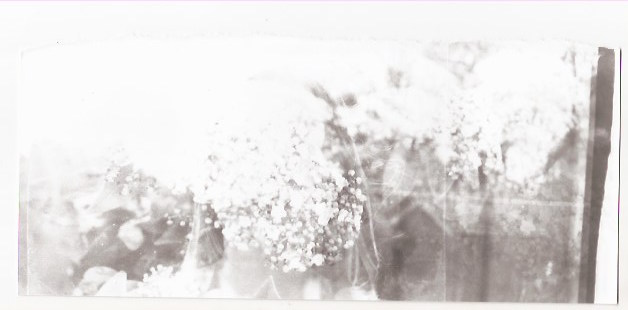
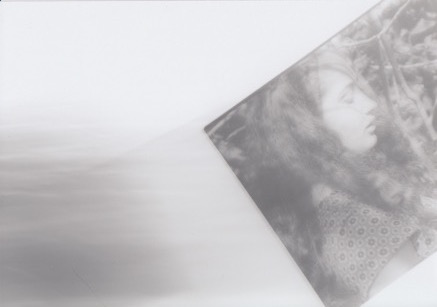
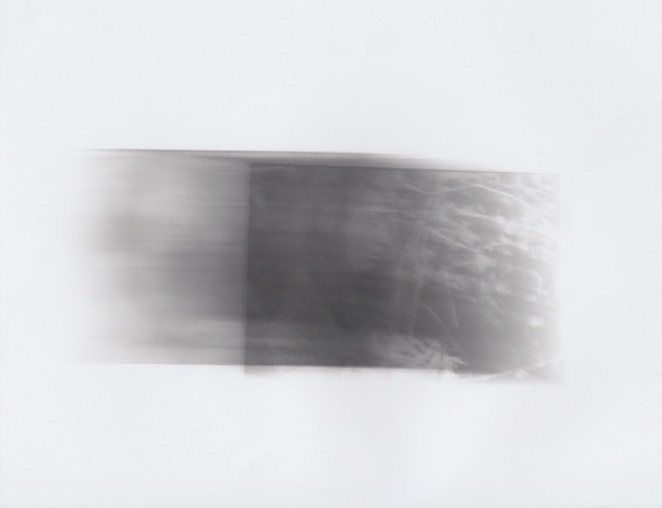
I went on to trying to move the paper in other ways; moving the paper from left to right for 13 seconds.
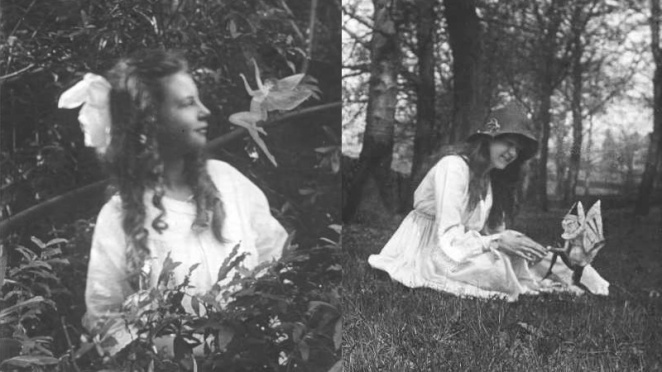
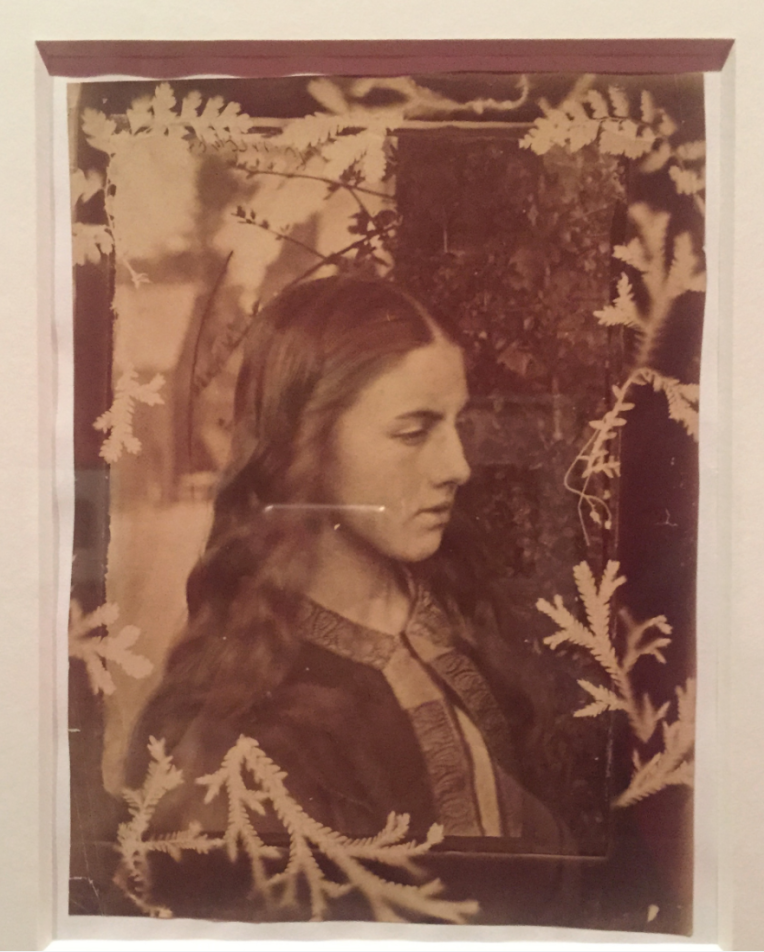
I liked this image and how it created dimensions with the different shades and shadows. I found the portraiture faint however you could still see it clear when looking closely. I like how effective it is and it reminds me of Julia Margaret Cameron’s work.
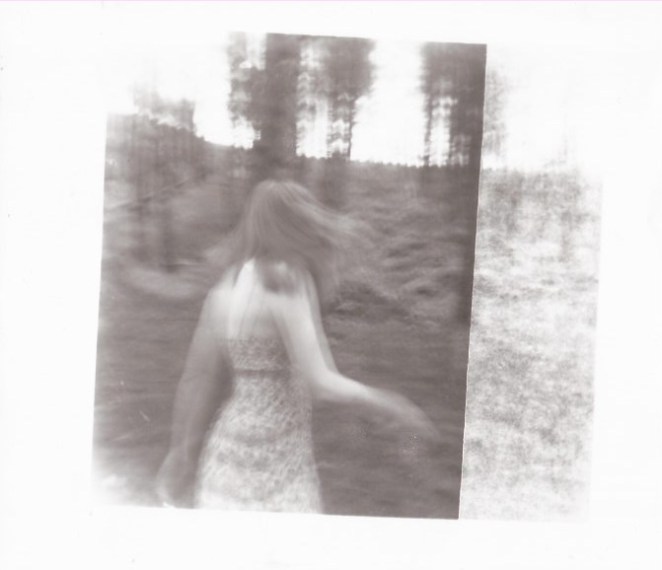
I went on to exposing more of this image and developing my work. I left the paper to expose it for 10 seconds and then move it slow for 3 seconds.
This image left shadow marks and subtle movement however the portrait was still very clear which is not what I wanted it to be, making this outcome unsuccessful.
I went on to playing around with speed of movement, slowly moving the paper left and right for 13 seconds as oppose to quickly like I had previously done.

I found this image under exposed and dull which made it visually weak. I think that if the exposure was stronger then the image would have looked more effective.
I continued with movement however tried from different angles. I exposed the image again for 10 seconds, then exposed it again moving the paper from right top corner to bottom middle for another 10 seconds. 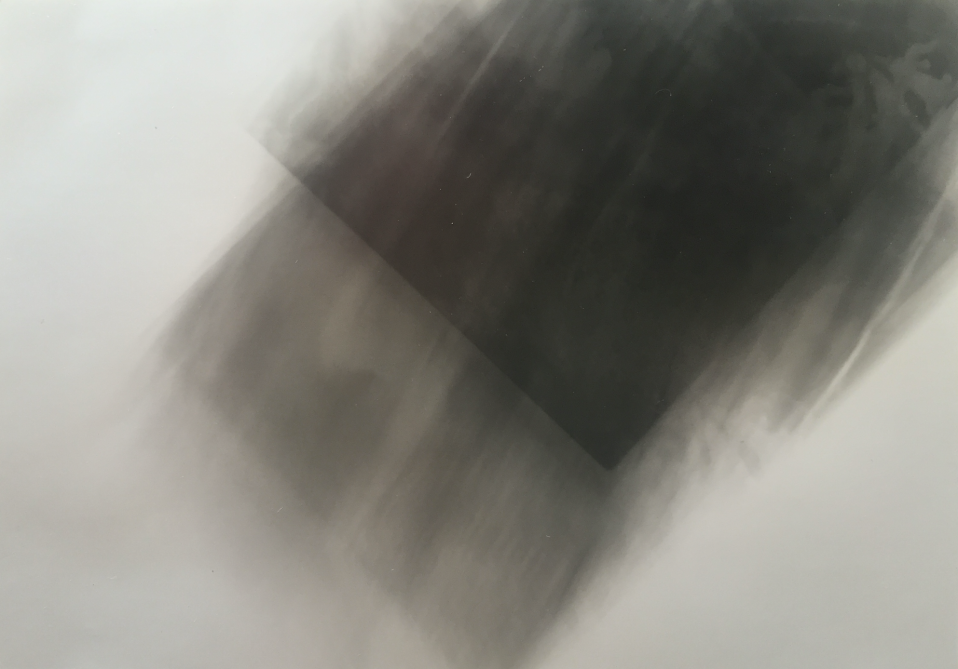
I found this image over exposed as a result of exposing it too much and this resulted in the image being very dark and difficult to see the face. Overall for this image, I liked the effect it had however, the image itself was very over exposed and dark which didn’t look good.
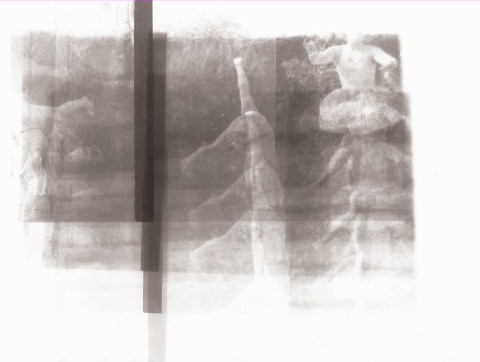
I went on to exposing the image for 10 seconds, then moving the image, exposing again for 10 seconds, moving and exposing for 5 seconds.

The outcome of this was quite unsuccessful as the image came out very under exposed so I couldn’t see the face very well. I think that the abstract style that the experiment produced was effective however the exposure time was not right. I think that because I exposed it so many times that the image came out very dark and over exposed.
I decided to try the expose, move and expose again but in a different way. I exposed the image for 10 seconds, moved the paper and then exposed it for another 10 seconds.
I really didn’t like the outcome as I felt that the outline was too harsh as oppose to the faded appearance I want to show. The overall photograph wasn’t a successful outcome because of the harsh lines produced, I just found that it doesn’t fit with my project as I prefer a more faded and soft appearance.
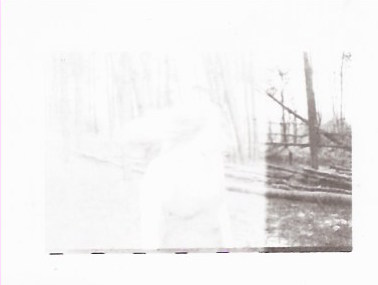
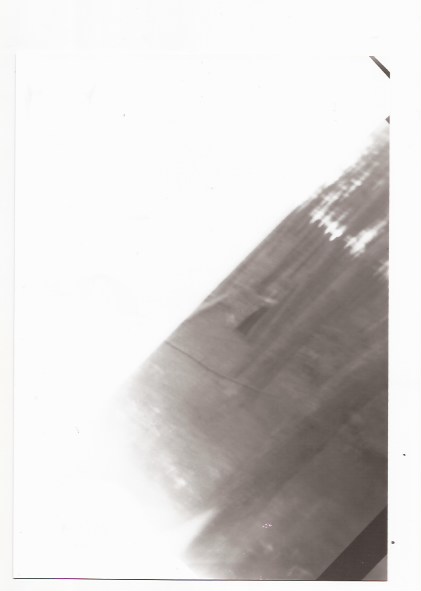
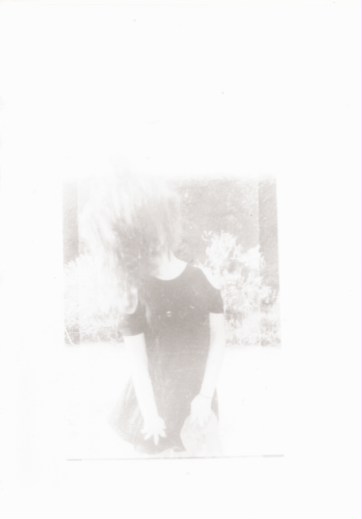
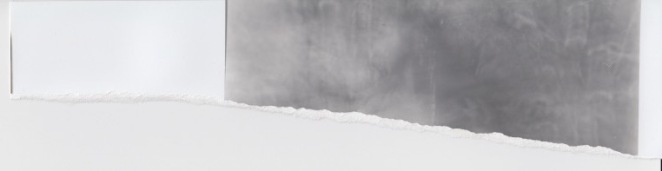
I decided to try different scales and go larger to see the effect and how it would change the imagery. I decided to expose the image for 10 seconds without any effect but at an angle. I wanted to do this as I found it to be more effective then just placing it in a neat and formal manner on the paper as I feel that it would look too empty on the paper.
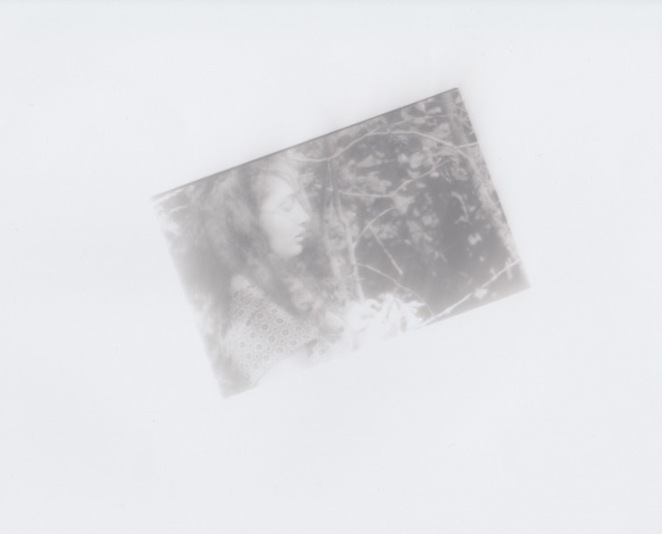
I found that the placement of the image was successful and worked well with the large paper to small image ratio. I felt that adjusting the angle filled up the space well and was very effective in displaying the imagery in the large white space. The only issue shown is that the image is under exposed, looking very bright and faded which didn’t look appropriate.
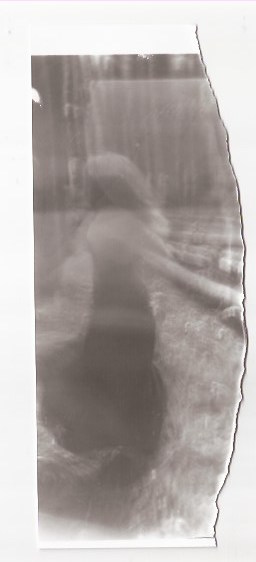
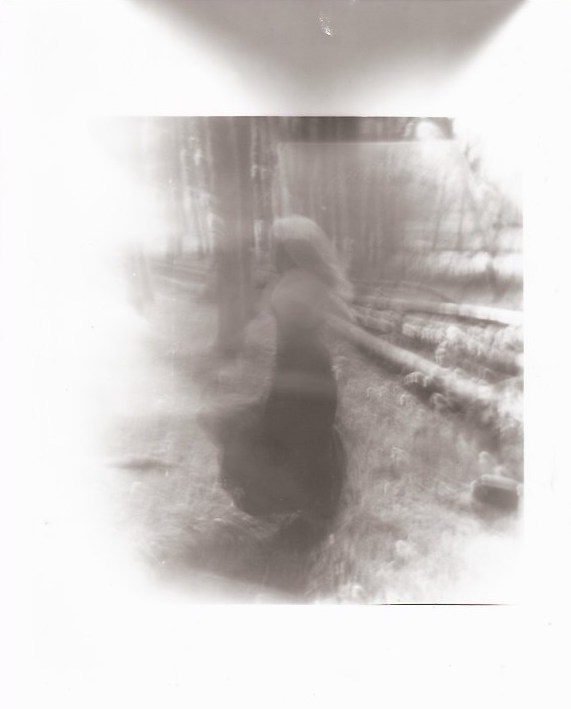
I decided to expand out of the space of just having the image still on the paper and chose to involve movement like previous images. I exposed the image for 13 seconds whilst moving it quickly after 10.
I liked the outcome and found it interesting how the fully exposed image showed the face and the fast movement also showed a slightly distorted face as it fades out. I think that this was successful and very effective. The overall composition I found was satisfactory however I didn’t find it very effective or that the space was used well, meaning that overall it wasn’t as strong as some of the final images I had picked out.
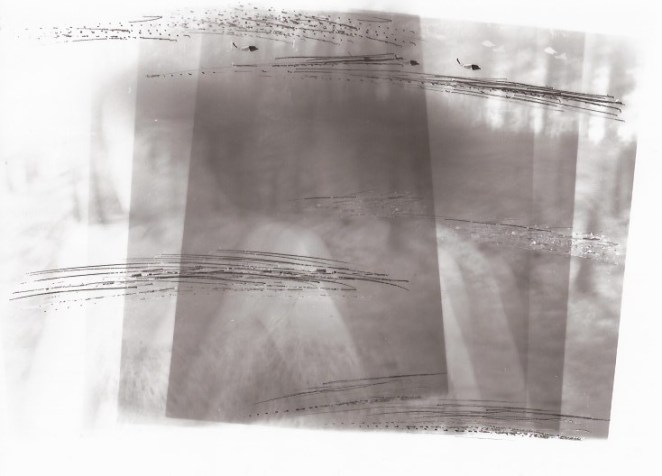
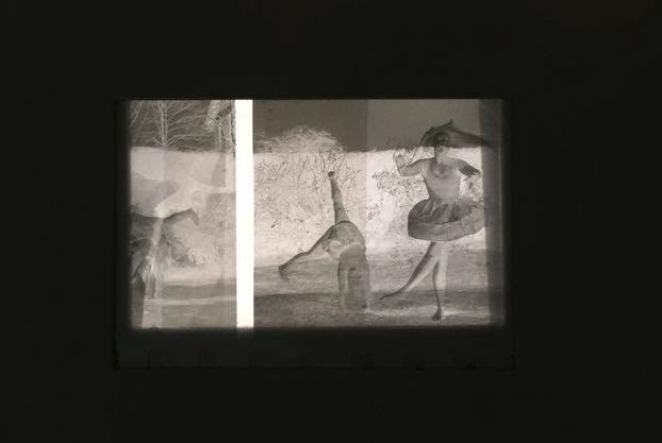
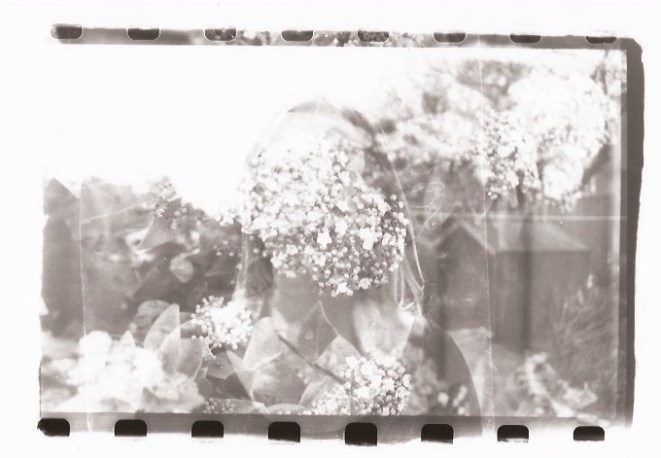
The last development I tried on this image was moving the paper in a circular motion whilst exposing the image. I have never tried this concept and thought that it would be interesting to see how it turned out.
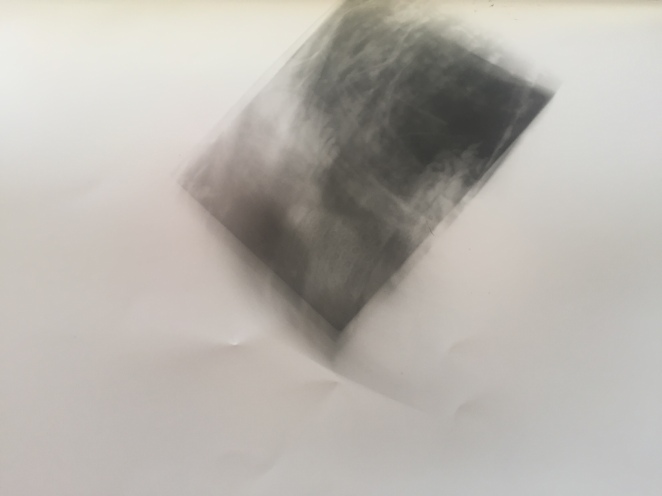
13 second exposure
I really liked the outcome of the this experiment. I found that the positioning of the image was a success and worked really well. I find that the image filled the space well. The outline of the image when exposed for 10 seconds merged well with the faded movement of the paper which previously didn’t work well when trying out that experiment.
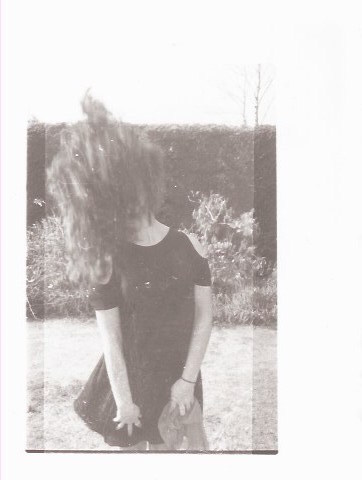
I liked the outcome of this image so decided to go onto exposing another image. I used a test strip to determine the right exposure time, exposing the image for 5, 10 and 15 seconds.
10 seconds seemed like the best exposure time for the image so went onto exposing the image on another test strip for 10 seconds to see whether it was right.

The test strip showed that 10 seconds was the best exposure time for this image so I went onto exposing this image on 6×4 paper.
10 second exposure
I liked this image and found the composition really nice however, the image is too focused and doesn’t fit into my work so I decided to experiment and create movement with the image so that it’s more out of focus.

Firstly, before experimenting I exposed the image originally again but I offset it to see whether this would develop the image further. I found that this image wouldn’t work with my project even offset, and the original image looked visually stronger displaying the full photograph than this one.
I went on to moving the next image; exposing it for 10 seconds but after 5 seconds moving it down slowly.

I liked the effect of this image as it only displayed some of the face and then faded upwards. I still found the original image stronger however and felt that although it looked interesting, visually was weak.
I decided to try more abstract methods by spontaneously moving the paper without thought to see the effect of this.
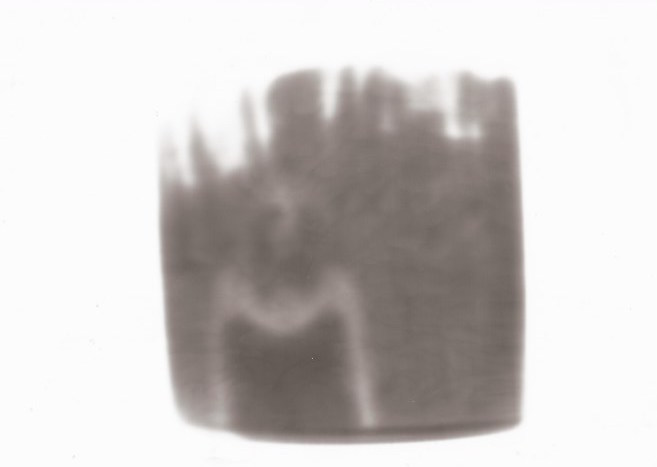
The first image was the paper shaken slowly for 10 seconds.

I really liked the effect of this method and found the abstract form very interesting and effective. I found the movement worked really well but the only issue with this image was that there’s no portrait shown and it is more abstract then I wanted which didn’t fit in with my work.
I went onto producing another image using spontaneous movement. I exposed the image for 10 seconds moving the image from the left bottom corner swinging the paper towards the middle.
Again, I really liked the effect this experiment had however yet again it isn’t appropriate for my work and wouldn’t fit in as there’s no portrait.
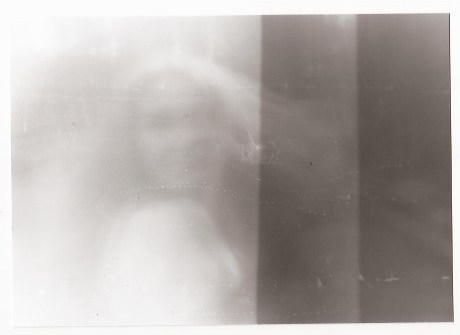
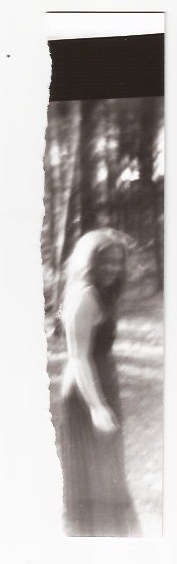
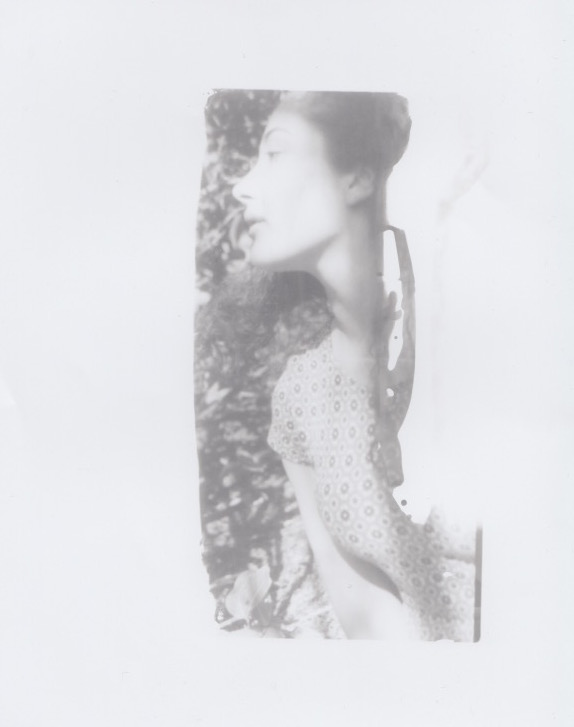
I decided to expose another image, firstly using test strips to find the right exposure time. I exposed the image for 10, 20 and 30 seconds.
I found that the 20 second exposure was best so went onto exposing on 5×7 paper.
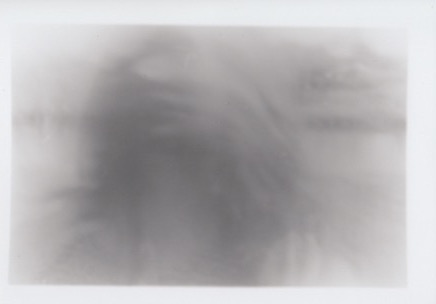
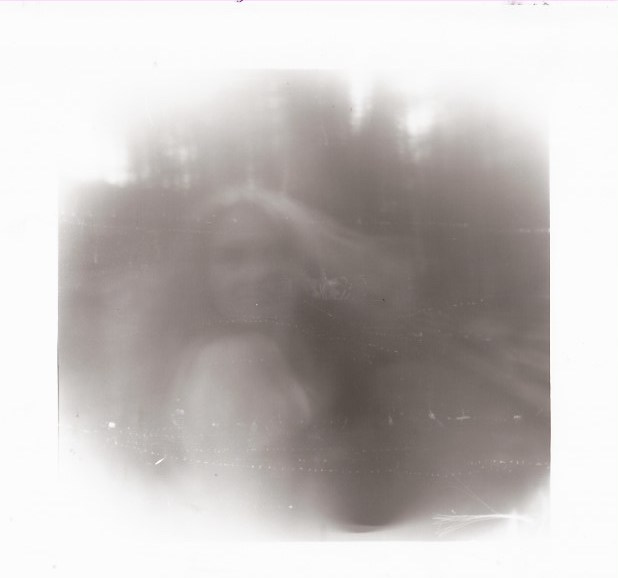
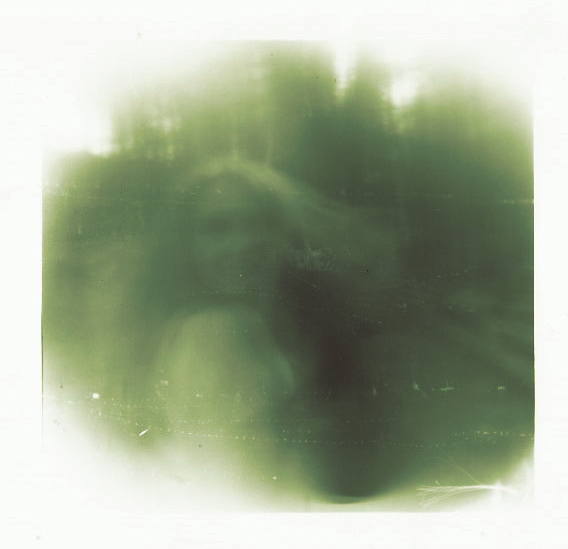
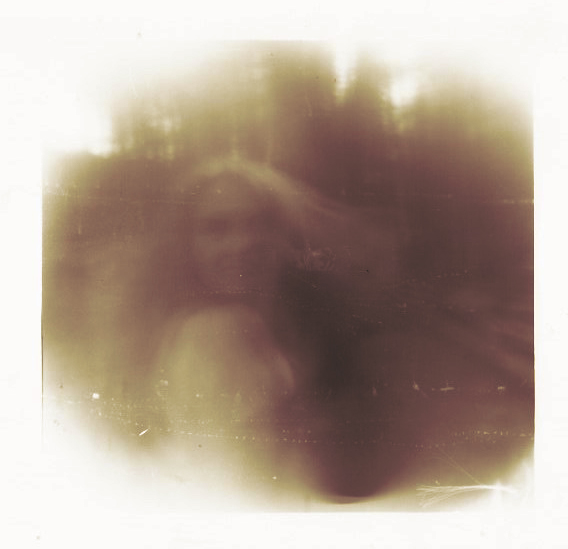
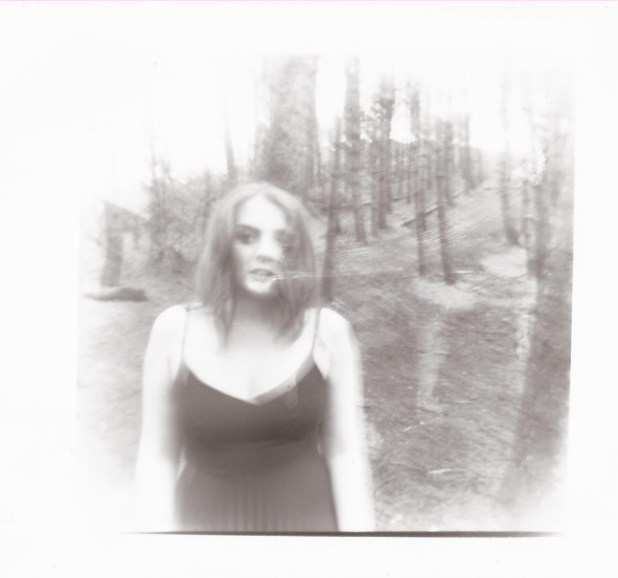
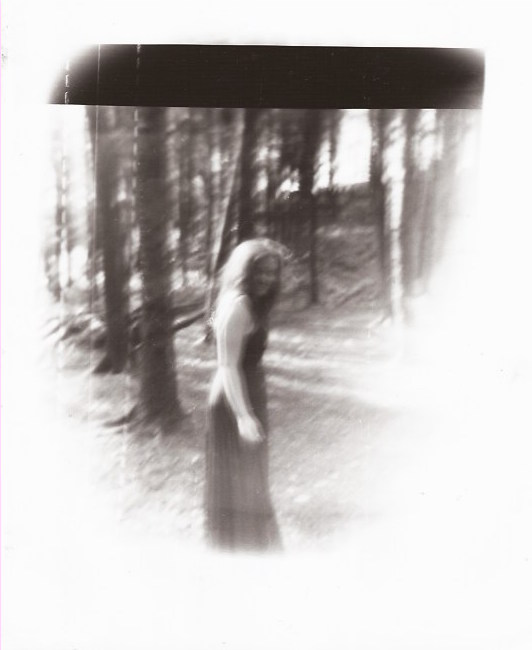
I really liked this image and found it really eerie and interesting with the long exposure of the face. I found that the 20 second exposure time worked well and even though the contrast was quite low, I found it created an unnatural and ghostly appearance. I decided that I should expose it onto a large scale as it would look more spacious, not cramp like it does on the 5×7 paper.
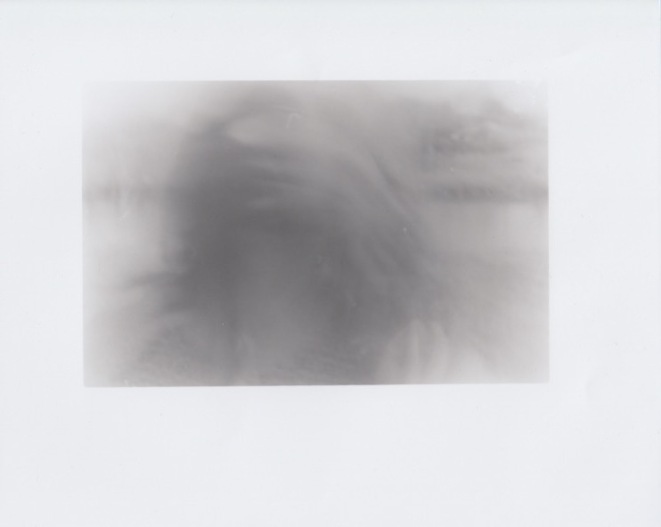
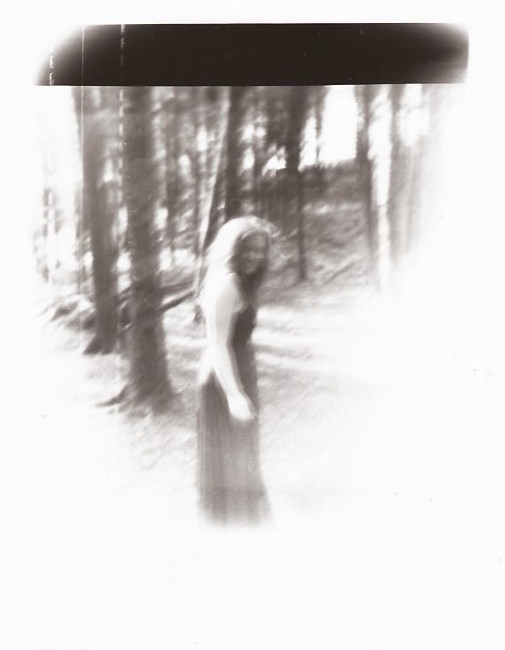
20 second exposure
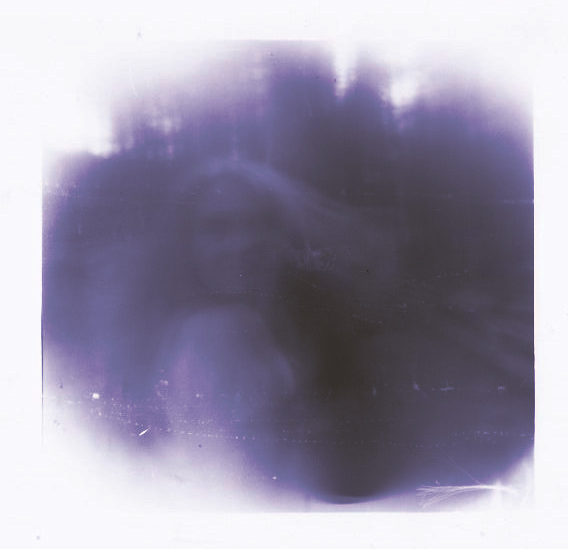
I found using 10×8 much better as the space was used well and didn’t look too overcrowded like the image on the 5×7 paper. I really like the effect that this long exposure has caused and find it really effective. It’s a lot different to the other images and I feel that it’s more creative and visually strong.
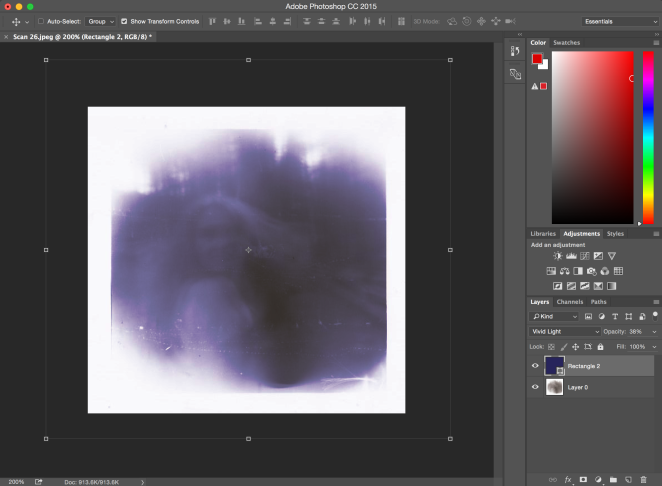
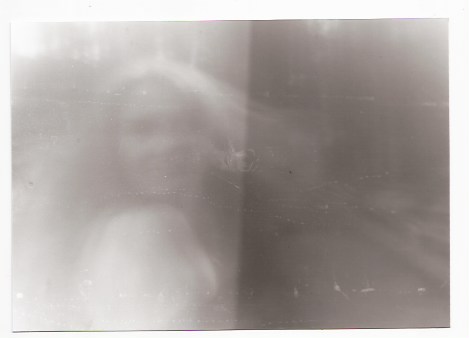
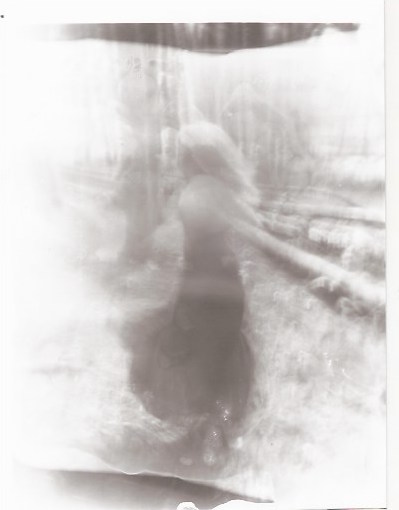
I decided that this was the best image so went onto trying to explore more ways I could make this image stronger. I chose to expose onto 5×7 but this time expose for longer; 40 seconds moving the paper whilst exposing.
I found the outcome of this experiment unsuccessful as although I liked the overall imagery of this piece as I find it aesthetically strong and abstract, the photo doesn’t fit in with my project as it doesn’t show the portraiture, it’s just shades and patterns. I feel that this is a visually strong piece however, it just doesn’t work well with my project.
I exposed another image, using a test strip to establish the right exposure time. I exposed the image for 5, 10 and 15 seconds.
I found that 15 seconds was the best exposure time so went onto 5×7 paper.
15 second exposure
I decided to offset the image to the left top hand as I thought that it would look better than just in the middle of the page like I had done previously. I didn’t however find this image visually strong just exposing and not manipulating the image somehow, so I chose to go onto experimenting and seeing how I could develop the photo.
This time, I enlarged the neg so that it would cut off some of the image. I found that it would be interesting as it would disguise the model’s identity.
10 second exposure
Overall, the image was under exposed a lot so I went onto exposing the image for 5 seconds more to make a final impression on the photo.
15 second exposure
I tried to manipulate the image by enlarging it however it didn’t make it visually stronger so I decided to manipulate the image even further.
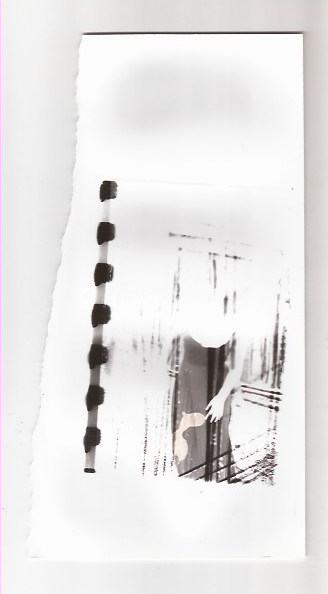
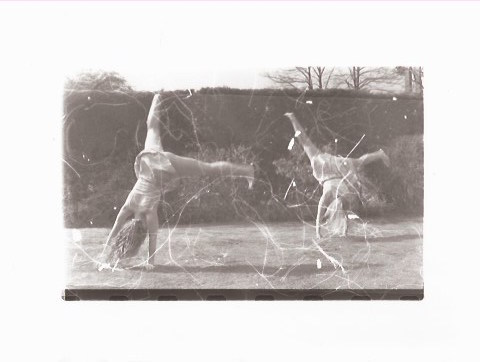
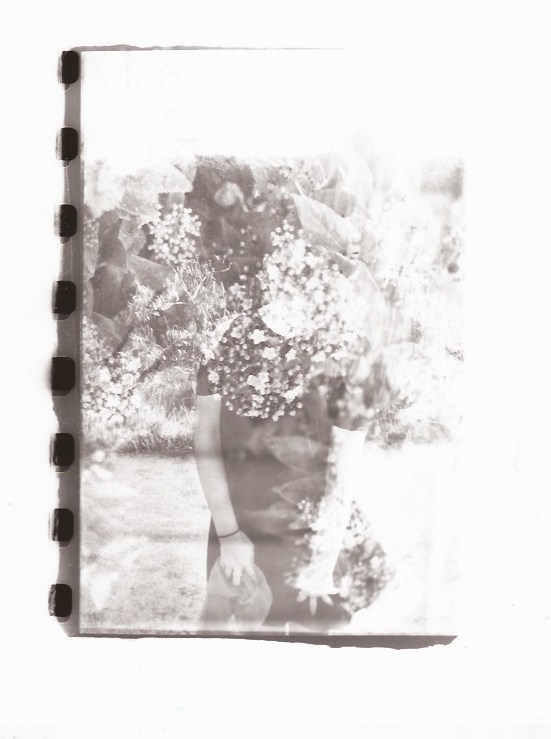
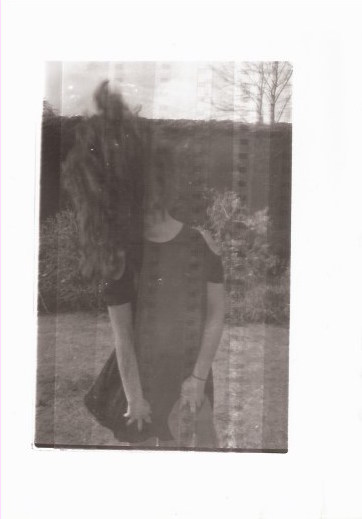
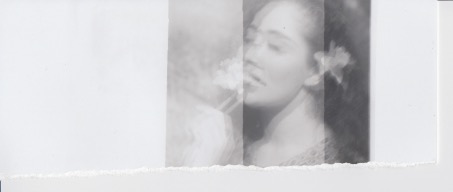
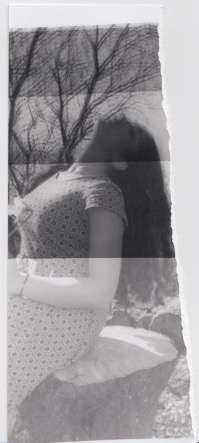
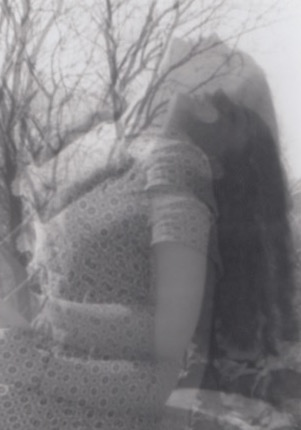
This time, I exposed the image for 15 seconds, moved the image left and exposed for 10 seconds. Moved the image to the left again and exposed for 5 seconds.

By doing this I was expecting the model to look like she was moving and this is how it came out. I really like the effect it had and how the image faded due to less exposure time and found it very successful. The exposure and contrast are just right and I feel that manipulating this image to look as if she’s moving is very effective. I feel this is a strong piece of work and I would contemplate using this in my final piece.
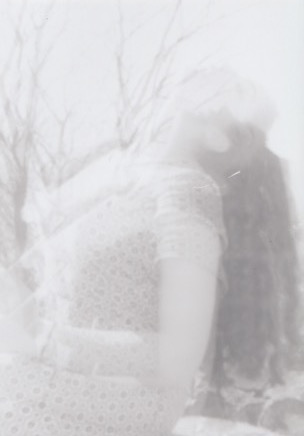
I went onto exposing onto a larger scale and manipulating the image so that they weren’t flat and just rectangle of the paper. I held up the paper to the lens to give it an concave appearance and exposed for 15 seconds, moved the image and exposed for 10, move and expose again for 5 seconds.

I found this experiment successful as I liked the concave effect it had however, overall I didn’t like this photo as I don’t find the different exposed image merge well together and I feel they don’t work well. I don’t feel this is strong enough to go into my final project however, it was a good experimental piece.
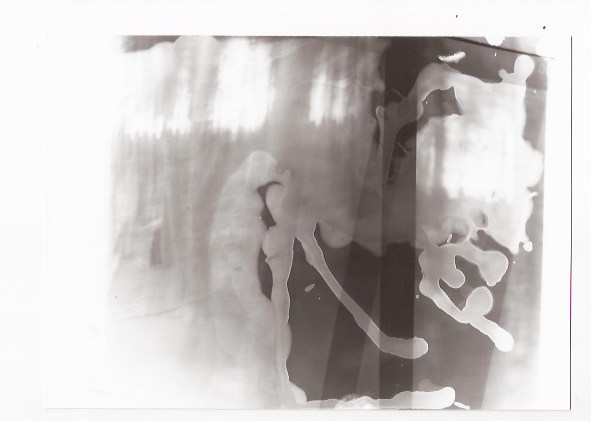
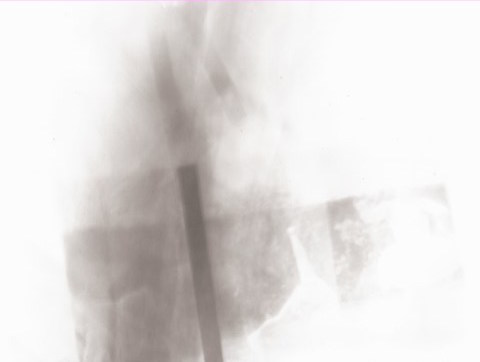
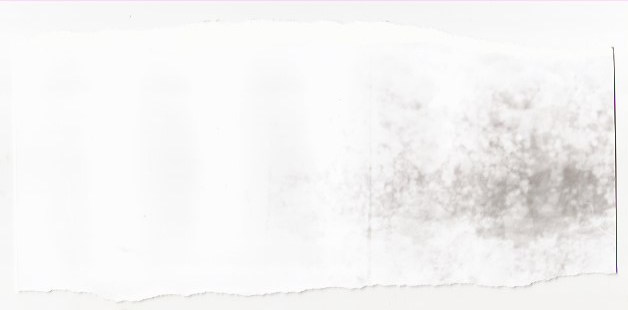
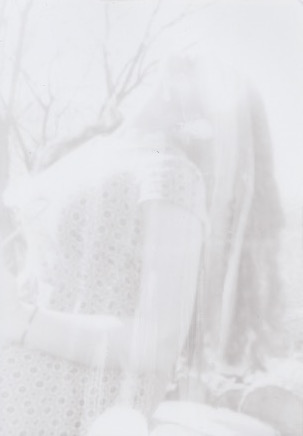
I decided to apply water to a 10×8 piece of paper and expose the image for 30 seconds.
The outcome of this was unsuccessful as the water had only covered some leaving heavy and harsh marks which didn’t look good. I was hoping for the water marks to be soft and faded but it was the opposite and didn’t work well. The image is very under exposed and the overall experiment using water was unsuccessful.
After this, I decided to expose a different image. I got a test strip and exposed the image for 5, 10, 15 and 20 seconds.
I found that 10 and 15 were the best exposure times so used another test strip to expose the image for 10 and 15 seconds to determine the best time.

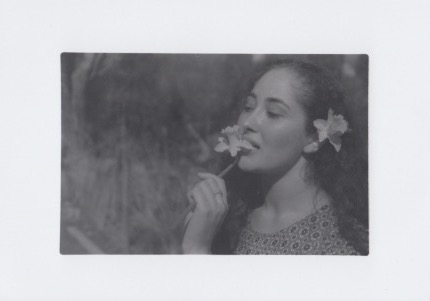
I found that 10 seconds was the best exposure time so exposed onto 6×4 paper. I wanted to expose this image just normally first but I wanted to then try manipulating the image.
10 second exposure
I liked the outcome of this image and felt it was well focused however that’s not how I want it as my project features blurred, movement pieces which are quite abstract. I wanted however to see what the negative looked like and I am glad that it did come out so well however it’s not what I include into my project.
I decided to manipulate the image by exposing it for 10 seconds; moving it after 7 seconds.
I didn’t like the outcome of this image and found that the exposure and contrast was too low. I find that it isn’t a strong photo so I went onto trying different methods to see whether they would be more successful.
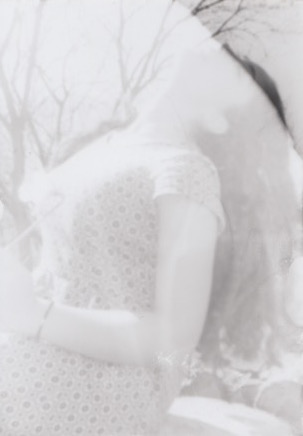
I wanted to try water again so I applied water and exposed the image for 15 seconds, moving the paper after 10 seconds.
This image came out very under exposed due to the application of water which mean’t there wasn’t enough light getting to the paper. I feel that this image would have been successful given more light. Overall, this image is very weak due to the under exposure however, if more exposed then this image would have been stronger.
I tried the application of water again on the paper and shook it to remove excess water. I then exposed the image for 15 seconds.
The outcome of this was unsuccessful as the image is very under exposed and faint. The water ran which made the image distorted which was another issue but some ripples of the water looks quite interesting. Overall, this photo isn’t strong and is unsuccessful.
I wanted to continue to develop this image and try the application of water once more. I exposed this image with water on the paper for 15 seconds.
The water caused some ripples which was an interesting concept as it connected nature with people. The image features a contrast between the image with water which is under exposed and without which is over exposed, which doesn’t work.
I decided to try another image as the overall experimentation of this image hasn’t worked and there aren’t any strong pieces. I took a negative image and scratched into it to see the effect when exposed. I exposed the image for 10 seconds, offsetting it to the left side.
I found that when I developed this image, it came out too focused which is not what I would use in my work. The scratches in the negative came out too harsh and sharp, so I tried to scratch into the paper with my fingernails once developed to soften the black marks however, it didn’t work and was overall unsuccessful.
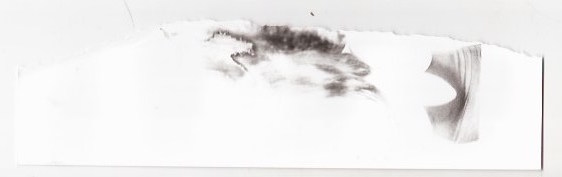
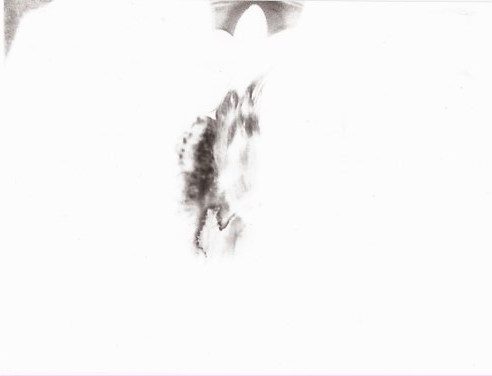
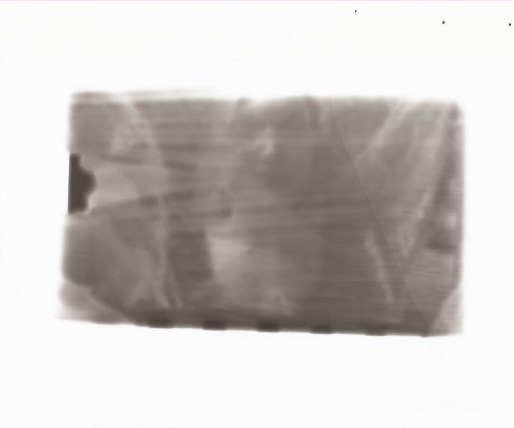
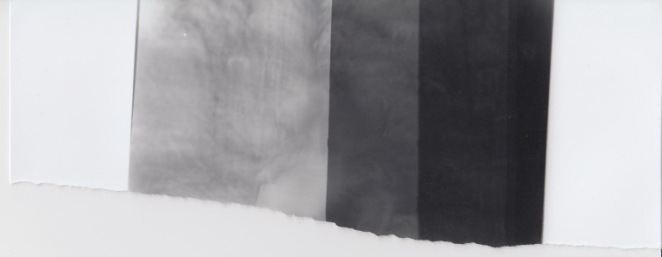
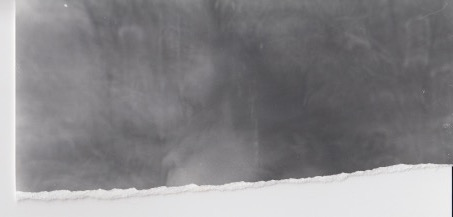
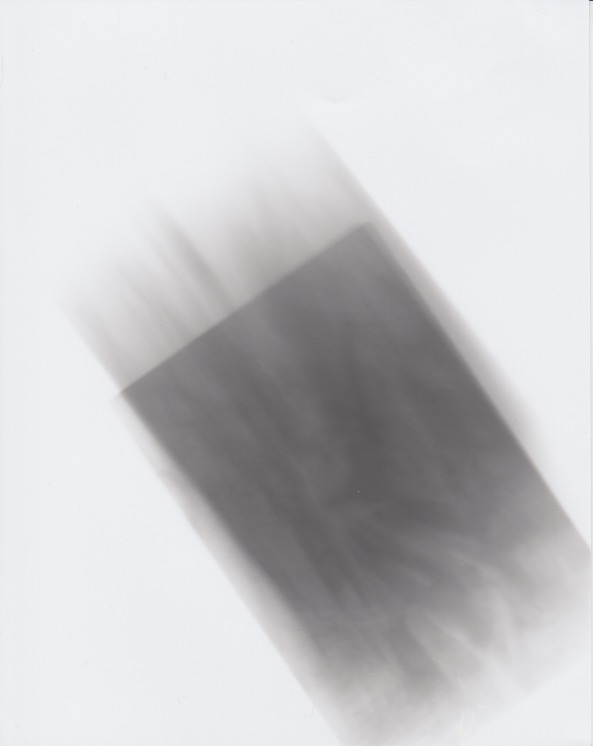
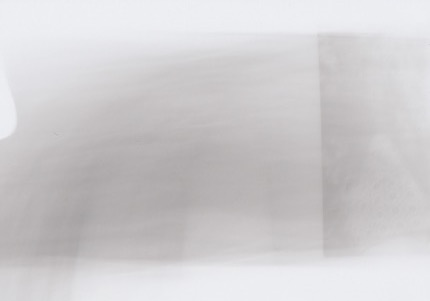
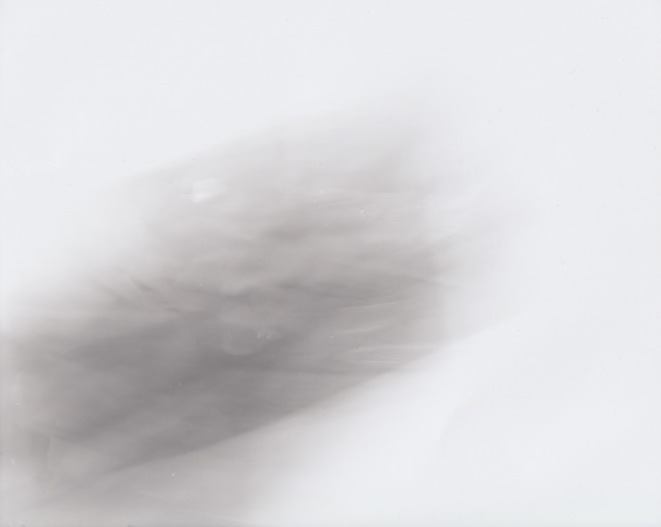
I went onto exposing another image which when looking at the negative couldn’t see what it was, and it almost looked smokey and like light had exposed it. I put it in the neg carrier and exposed it onto 6×4 paper.
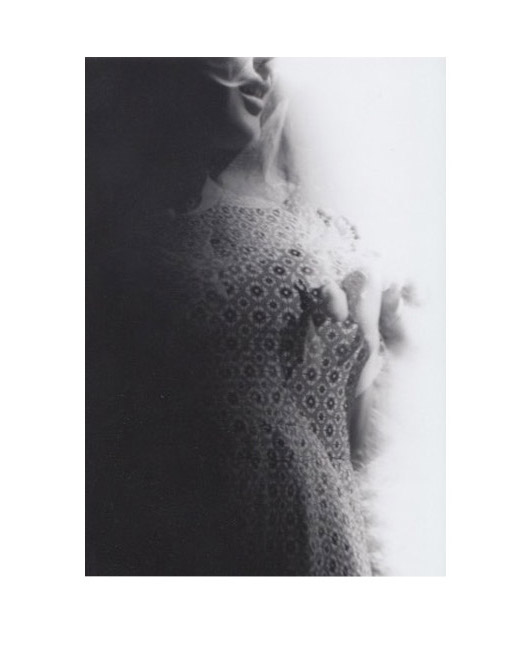
60 second exposure
I found this successful and I really liked the image and the contrast between dark and light tones. The image creates a smokey, almost water like appearance which I fine effective, and it is more obscure and dramatic which I find appealing. Overall, I really like this image and would use this for my final project.
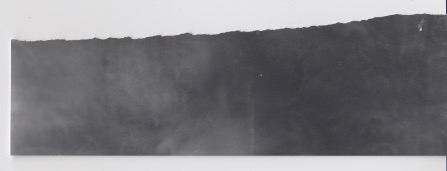
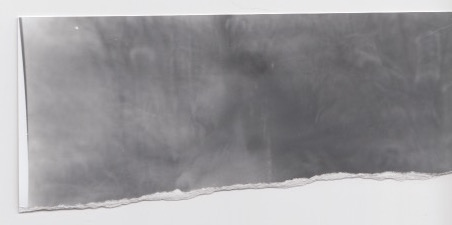
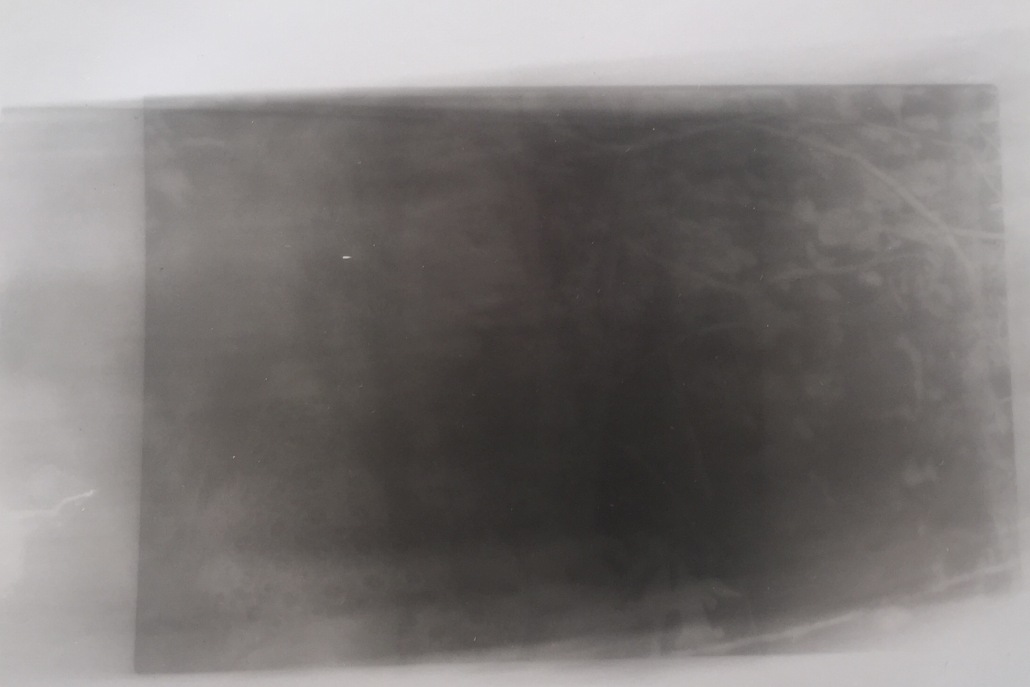
Although I really like the outcome of this negative, I wanted to see whether I could develop the image more. I exposed the image for 60 seconds, moving the image every 2o seconds.
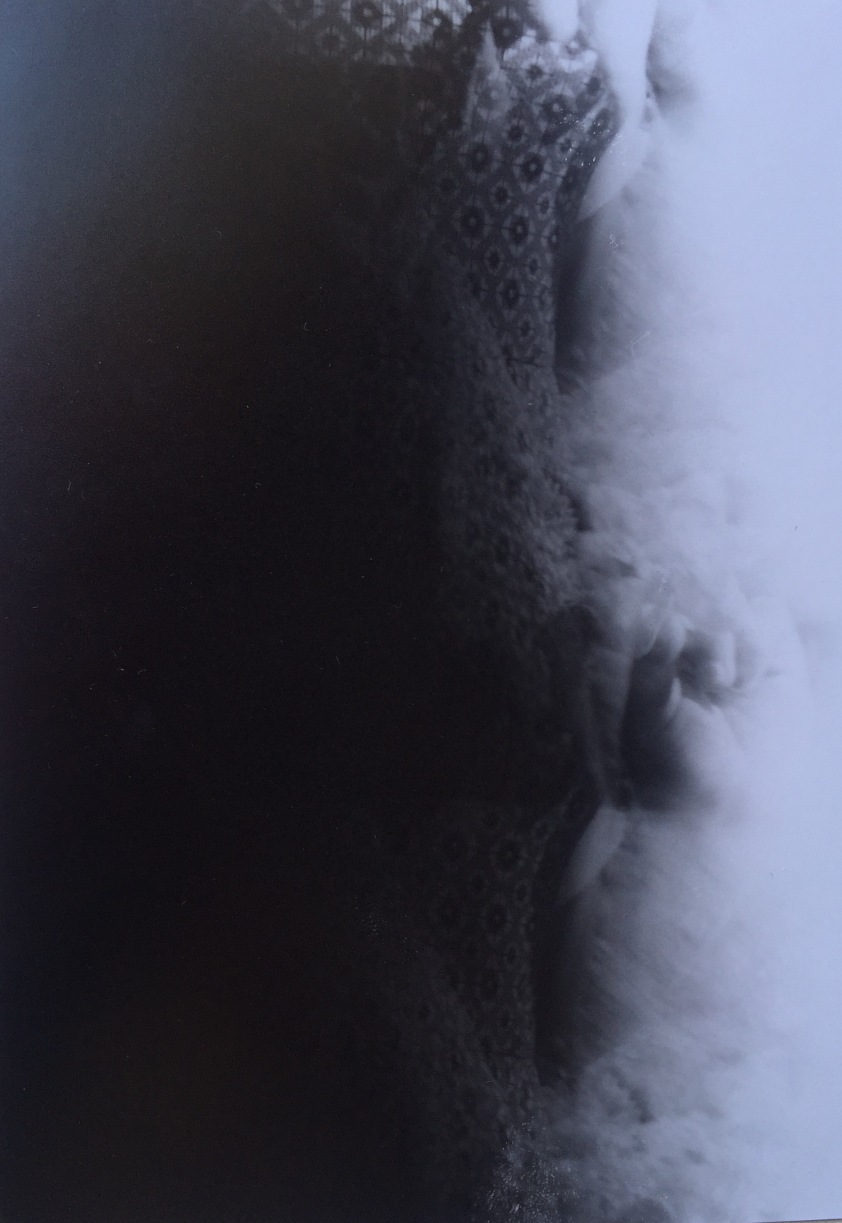
I found this piece visually strong and successful. I expected the exposure to be quite low because I was moving it every 20 seconds however the exposure was just right.I found this image came out very unusual and looked like it was layered, which gave it dimension. I found that although I did like this piece, the original piece was stronger as it had the model’s face on.
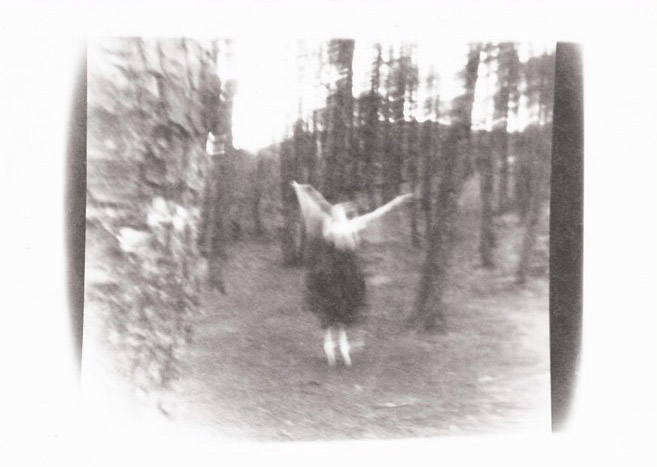
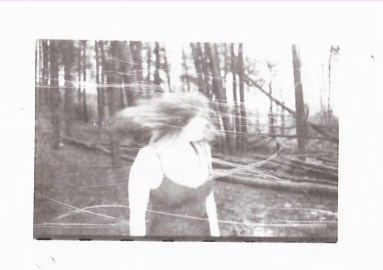
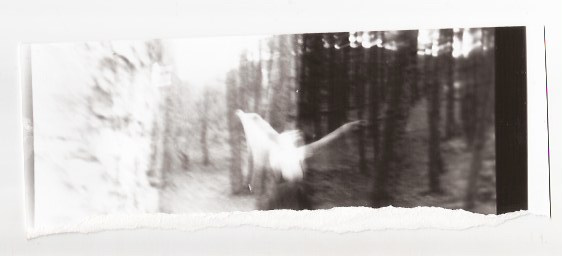
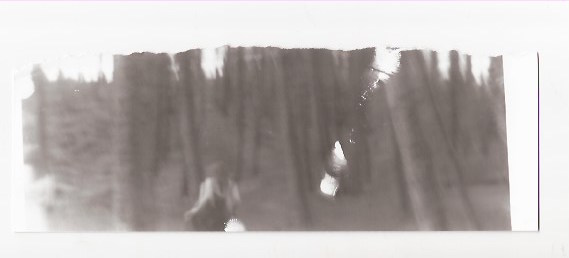
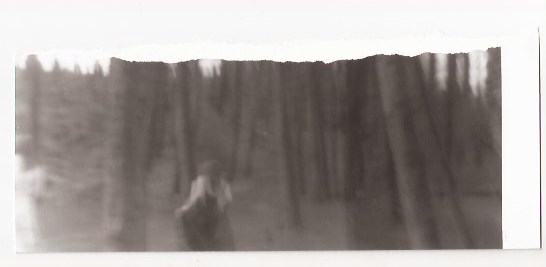
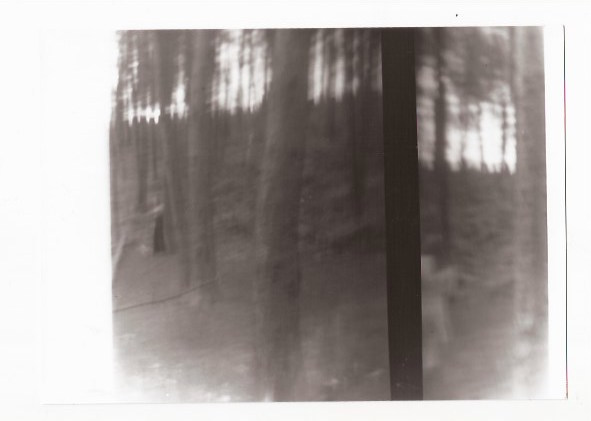
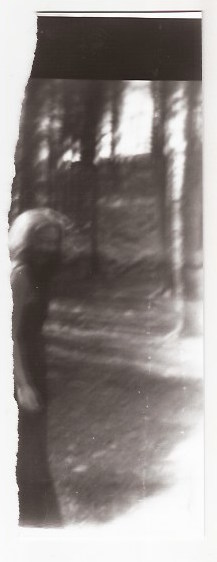
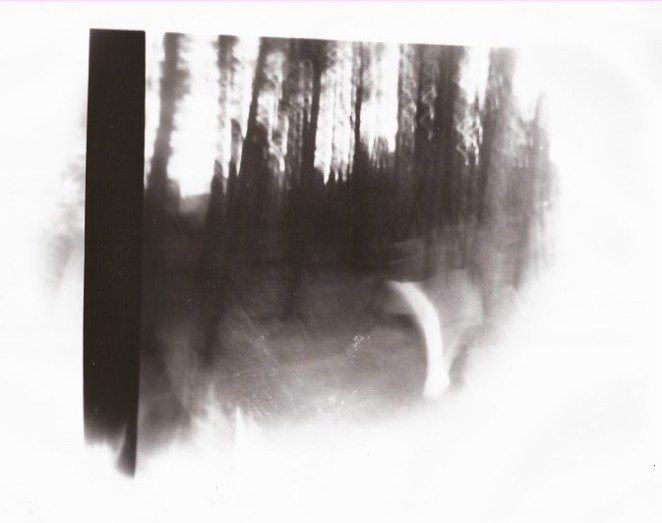
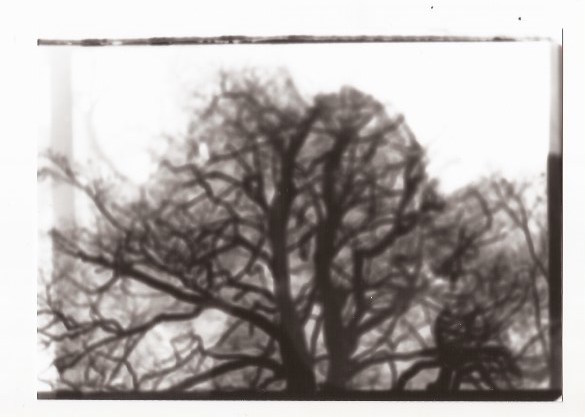
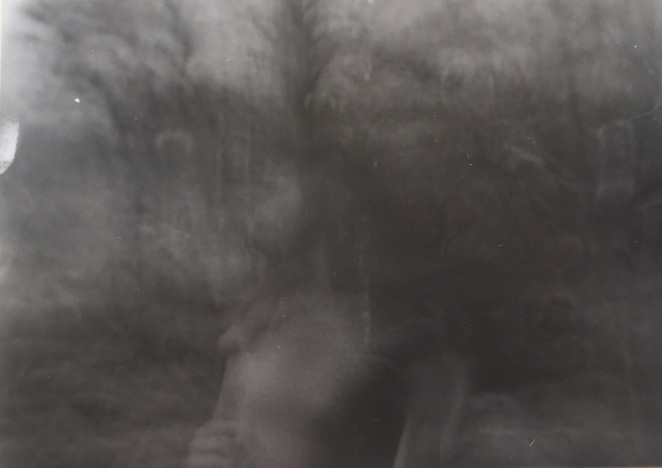
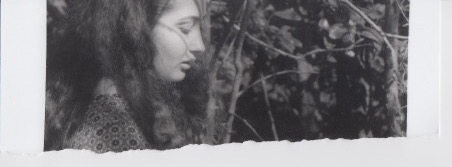
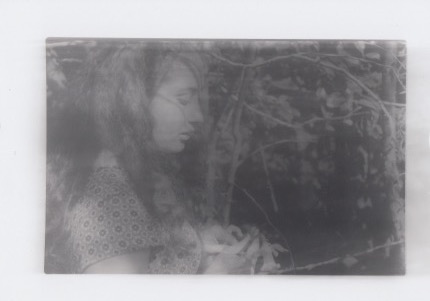
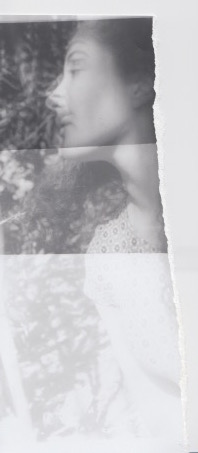
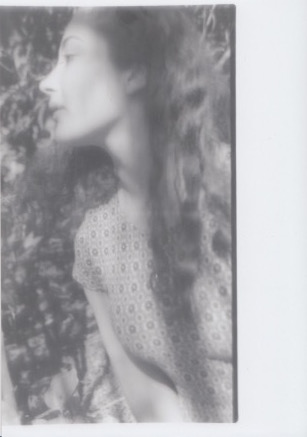
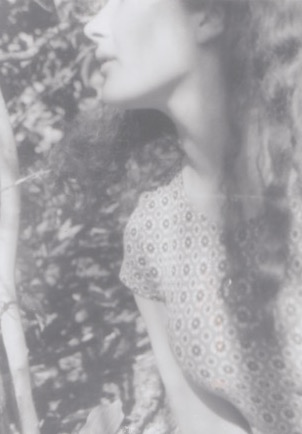
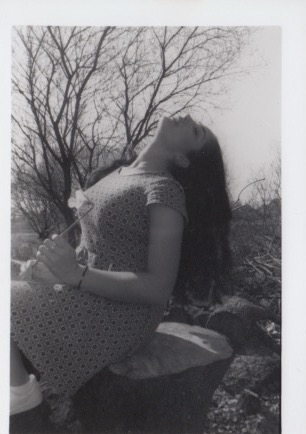
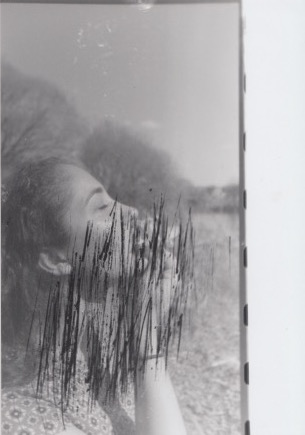
After exposing this image and being satisfied with the results, I went onto exposing a final image. I photographed my friend in the woods and found that the branches left shadow marks due to the sun which I found interesting so photographed the shadows on her face. I exposed this image onto a test strip for 5, 10 and 15 seconds.
I found 15 seconds to be the best exposure so exposed the image on 5×7 paper.
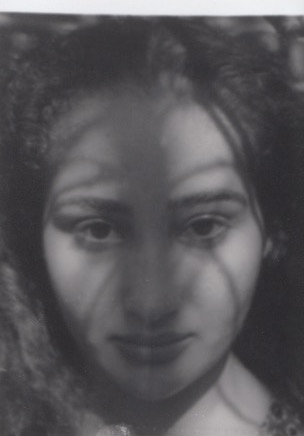
I found that this image was too focused and the tones were too harsh. The image doesn’t portray what I want it to do which is femininity and instead looks sinister and menacing. I carried on experimenting to see whether I could change this look and the next thing I did was expose like the first time but then scratch with my fingernails.
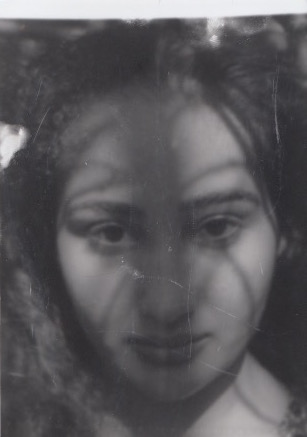
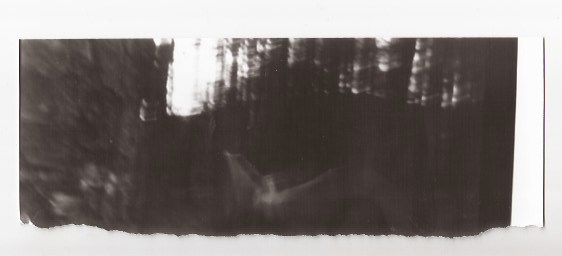
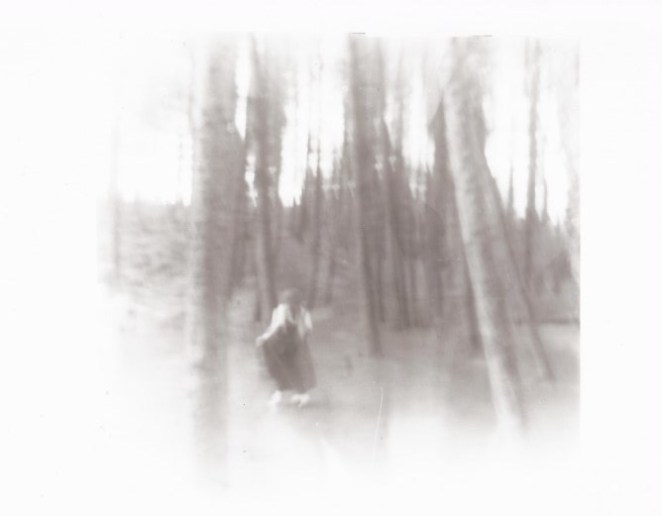
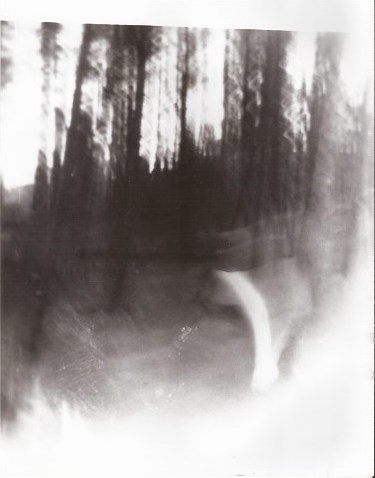
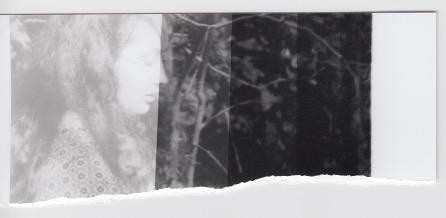
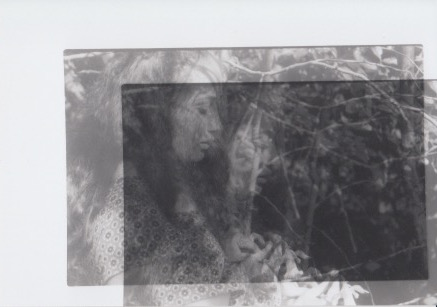
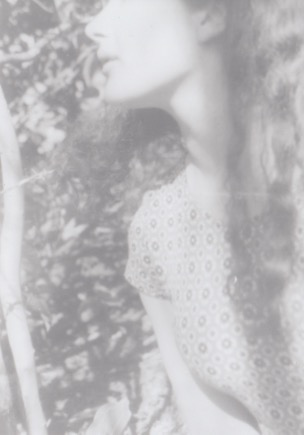
I found that this didn’t improve my image but made it weaker with the random scratches which did nothing for it. I knew as soon as I scratched into it that it didn’t look right so went onto trying different ways to present the image on the paper. I offset the image so only half the face was showing and exposed for 15 seconds.
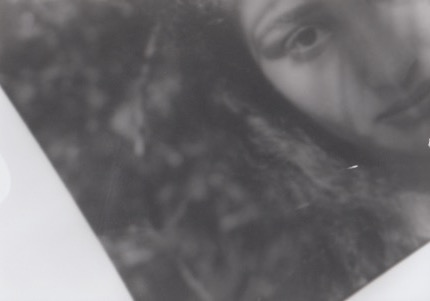
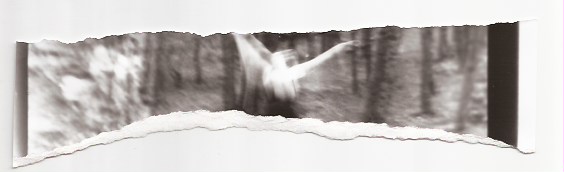
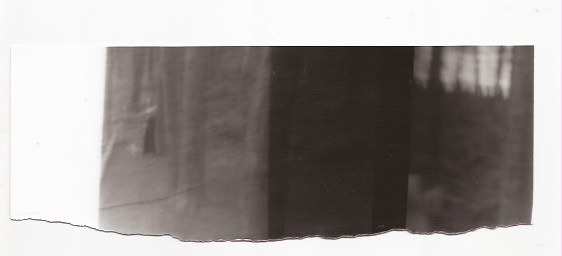
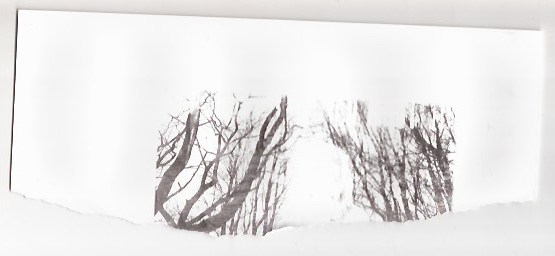
I found that even changing the presentation and offsetting the image hasn’t made any difference and I still feel this image is weak visually. I tried one more time to see whether I could use this image somehow as I felt that it had some potential. I chose this time to expose the image for 15 seconds; moving the paper to the left after 7.5 seconds.
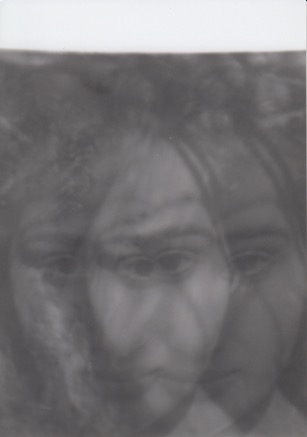
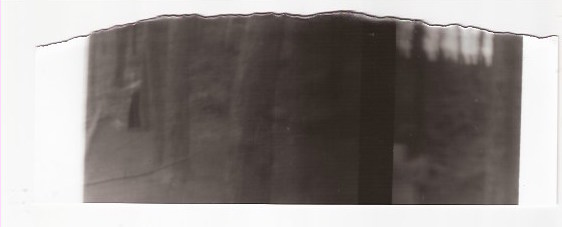
I find that this image looks almost like an illusion and looks mirrored. I like the effect that it has caused however, I don’t really like the image itself as I find that it’s too sinister and dark. I decided this negative image wasn’t right and concluded that I would not use this image in my final project.
Overall, I have found this darkroom session very productive and although most of the photographs produced haven’t been strong and won’t be used for my final piece, I have experimented and allowed myself to be more creative and spontaneous with my work. It has allowed me to develop skills and come out of my comfort zone, producing high quality images.
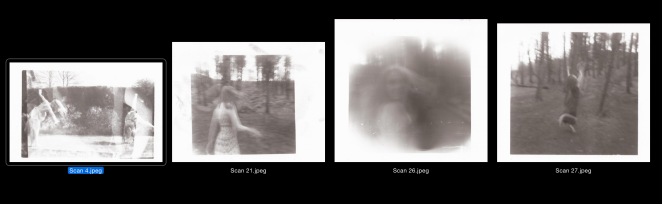
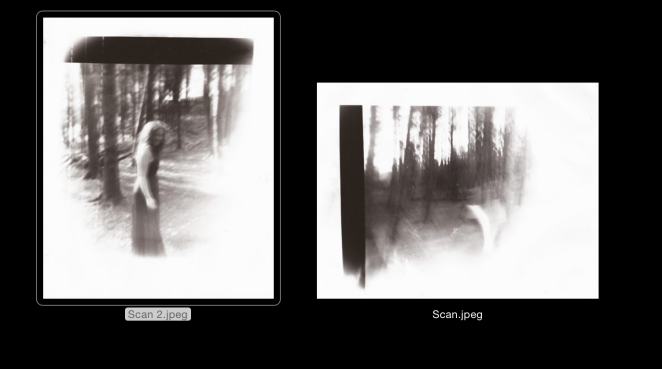
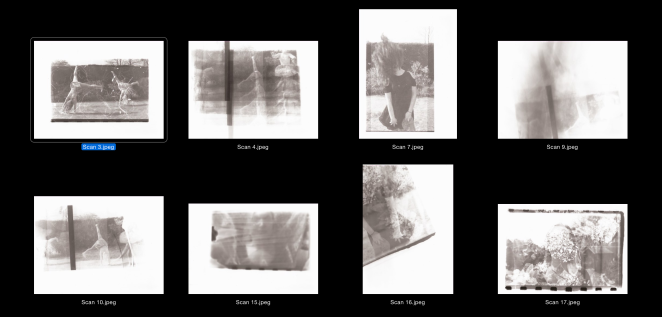
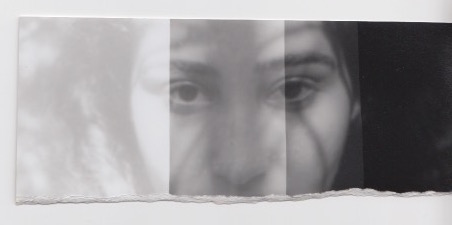
Contact Sheet of potential final pieces: