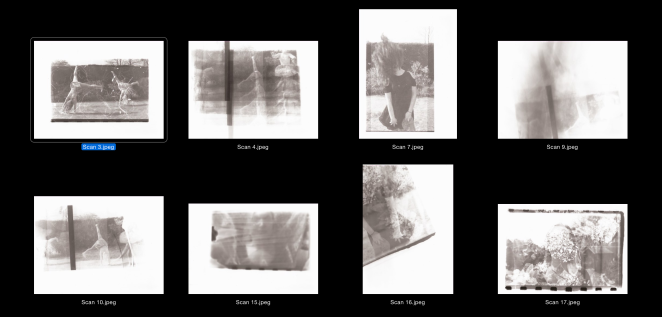
Some negatives from first shoot:


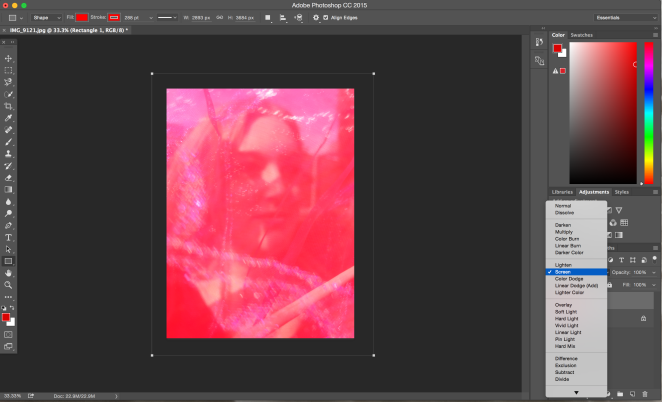
Darkroom experiments:
I used a test strip to determine how many seconds I should expose the image for, I started off at 5 seconds and found the image needed more exposure.
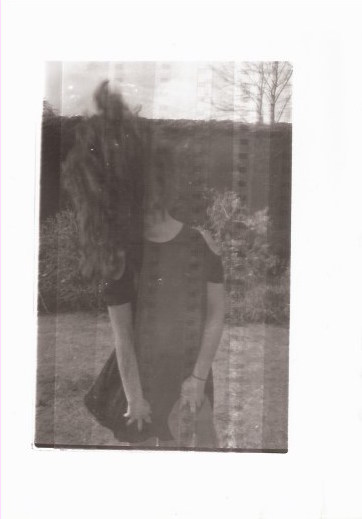
I exposed the image for 20 seconds, 10 seconds and again 5 seconds. I found that 10 seconds was the best exposure time for the image. Now that I have found the correct exposure time, I decided to start experimenting with the image and how I can manipulate it to look more interesting. I had decided to combined two images together, one on top of another to form a double exposure. It wasn’t an obvious juxtaposition of the two images to form a double exposure however, it still added a bit of depth to the image.
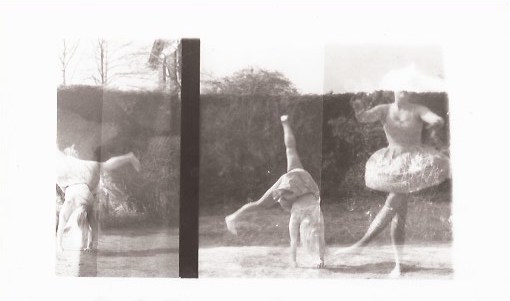
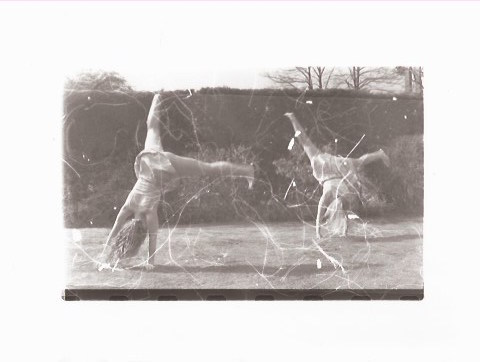
I tried to think how else I could manipulate this image, and I thought about juxtaposing more images together, but two different images of the models put next together. Below is the two negative images next to each other.
When I went into the darkroom, I used a test strip to see whether the exposure was still on 10 seconds or whether it needed longer, I found that 10 seconds was enough.
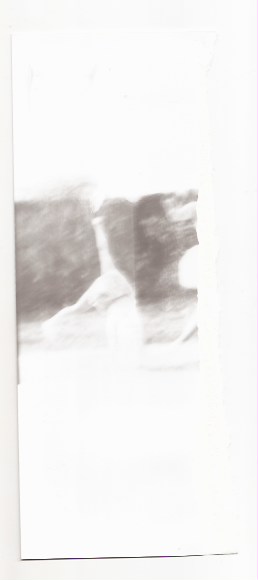
I then went onto experimenting, starting off by just exposing the image as its original self.
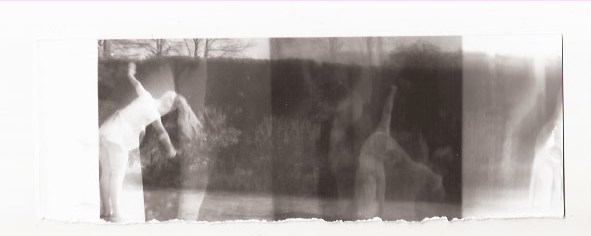
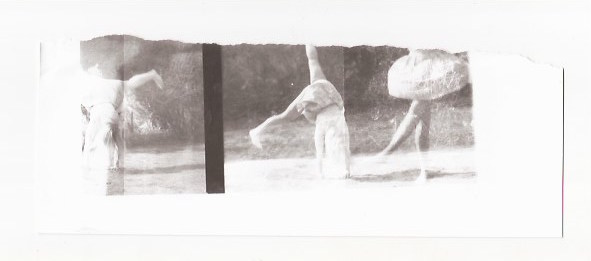
I liked this image and found it interesting however, I wanted to create something more interesting and experimental. So I chose to move the image down the paper so it moves.
I really liked this piece and I think it was my favourite, I like how abstract the mage became and how much more interesting it was. It wasn’t just an two images I had juxtaposed together to form a new image but something more. It created a bit of depth to the image.
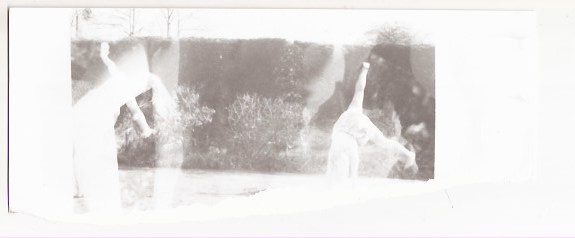
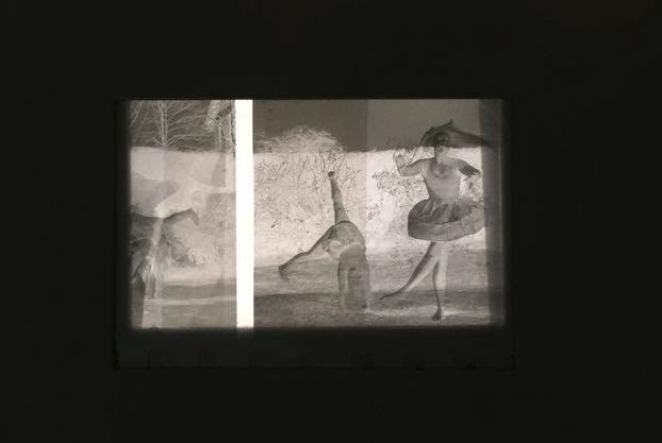
I then went onto moving the image faster in towards one angle of the image to see the effect of this.
I found this image particularly interesting as it looks like the image is falling; it starts of small however and enlarges, exposing the true image. I find when looking at this image a few times, you notice different details in the image, which I liked about this photo.
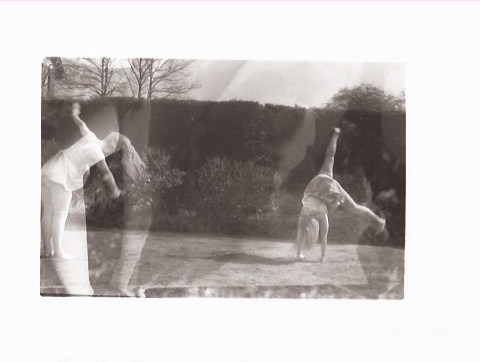
I then thought about just exposing the image as normal like my first go.
When I had exposed it and developed it, I found an interesting mark on the image to the right, which looks as if the film has burnt down. I found this particular image very interesting as I wanted to incorporate photographic processes and add marks to give it more substance and add something to the image I produce.
I wanted to use a different image and add put something on top of the image so when I project it, it has a bit of texture. I decided to get some materials from the studio like string or thread.
The first thing I did is cover the image with a layer of cross-hatched thread.
I didn’t like the outcome of this image as I found it too harsh for what I want to portray in my project. I think that the white tones were very harsh and didn’t go with what I wanted, I would have preferred the thread to be softer and a lower contrast tone.
After this experiment, I decided to use the thread in a different way. I rubbed the thread so little strands would fall off onto the negative image. I then went into the darkroom and exposed the image.
10 second exposure
I found that the outcome of this experiment was successful and I really liked the effect the strands of thread had. The thread was quite soft and added a delicate touch to the image and found it added texture too. I decided to expose the image for a bit longer to darken it.

15 second exposure
I found that the longer exposure had a greater effect and the details appeared more. I think that this image looked better than the first attempt and I feel that this photo would be good in my final piece.
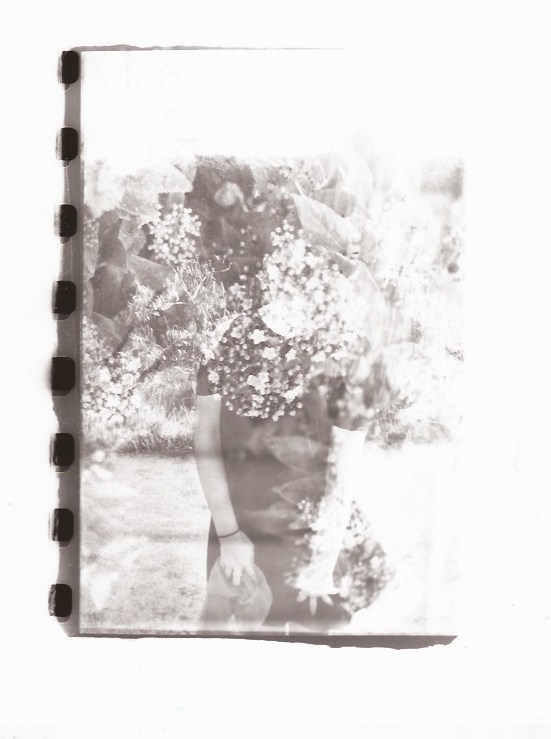
I went onto exposing another image. I decided to double expose two images; a portrait and flowers. I used test strips to determine the right exposure. I exposed the image for 5, 10 and 15 seconds.
I found that even 15 seconds was very under exposed. I went on to exposing another test strip for 30 seconds.
I found that this was still under exposed so I exposed the image on 5×7 paper for 60 seconds.
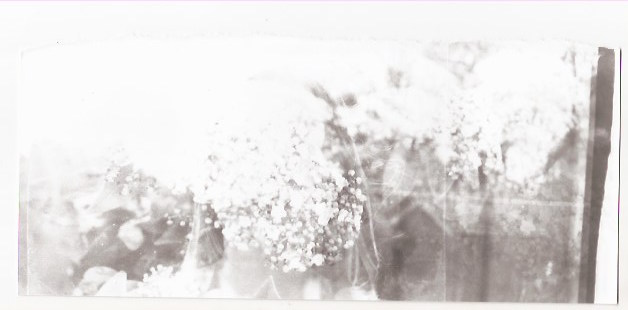
This exposure was just right and I found that this image looked really effective. I like the exposure of the image on the paper. I decided to expose the image onto 10×8 paper to see whether it would look better on 10×8 than 5×7.
I thought that this image was better than the one on the 5×7 paper. I think that the full exposure of this image rather than a part of the image looks more effective, and you are able to see parts of the film which displays the artistic process.
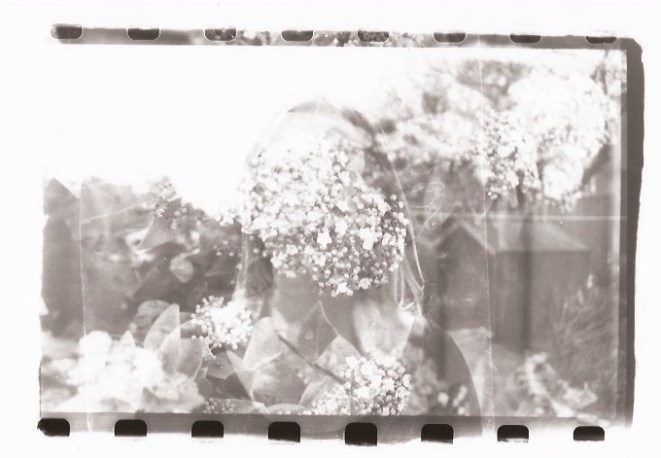
Now that I have decided upon the right layout of the image, I decided to double expose another two image together. I exposed the image onto 5×7 paper instead of using test strips to see the outcome and exposed the image for 60 seconds.
I liked the image and found that the double exposure effect was successful, however it was just a little under exposed so I decided to expose the image for 30 seconds longer.
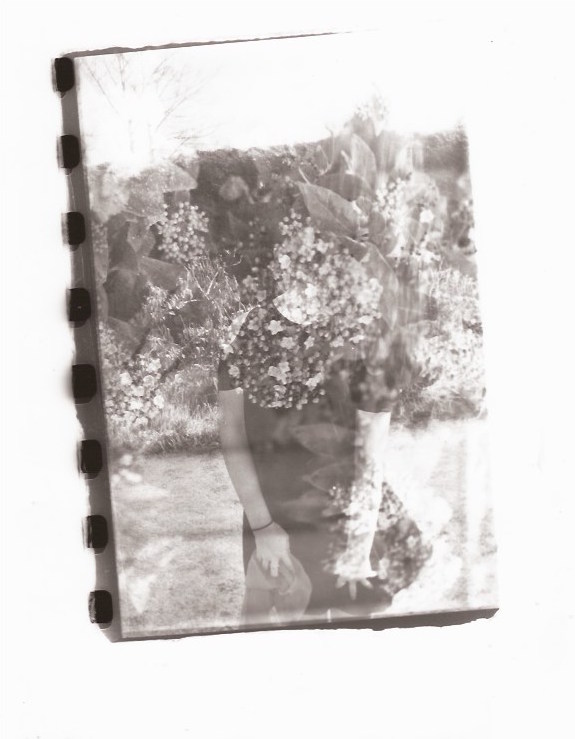
90 second exposure
This exposure was a lot better and I found that it revealed the details a lot more. I like this image a lot and find that the rough edges and exposure of the film perforations give the image substance. I wanted to show the flaws and process of the image, and I didn’t want the image to be perfectly positioned on the paper as it would take away from the imperfections of the photo.
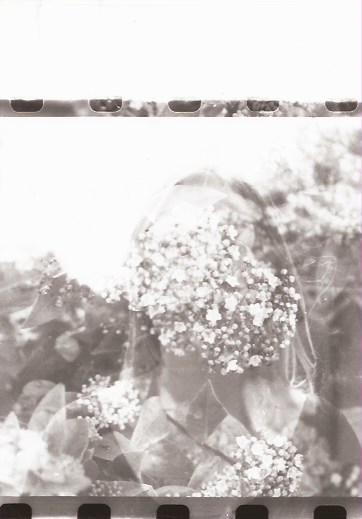
I decided to position the image slightly off the paper for the next one and expose it onto 5×7 paper.
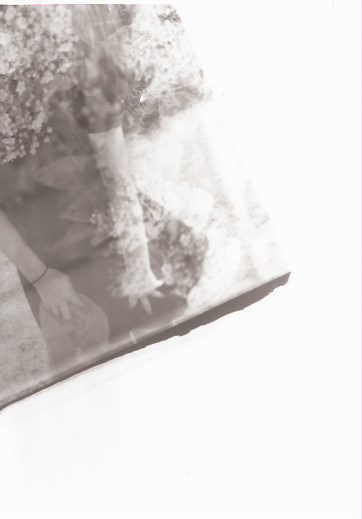
I found this image really effective as it cuts off her face giving the impressions that she’s insecure about her looks which is what most women feel. It’s a natural thing that women have and most women do have insecurities. I thought it was a subtle was to portray this notion and thought the imagery was successful and really effective.
I wanted to double expose more images so I went onto using the first image I double exposed and use an image of a tree. I exposed the image for 60 seconds like the others.
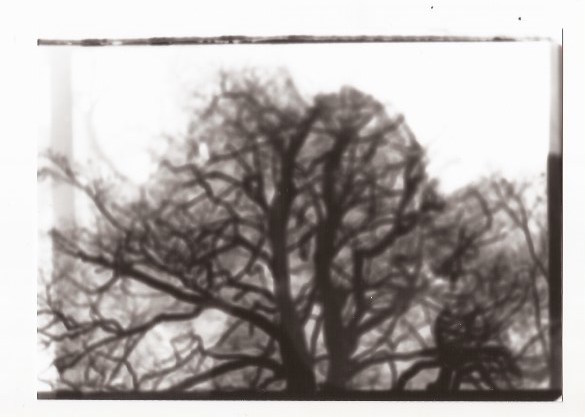
I found this outcome unsuccessful. The portrait didn’t come through however, the tree came through a lot. I found it too harsh and didn’t fit with my project.
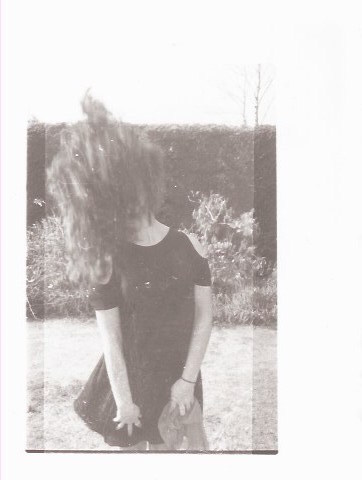
I went on to expose another image. I exposed it for 10 seconds on 10×8 paper.

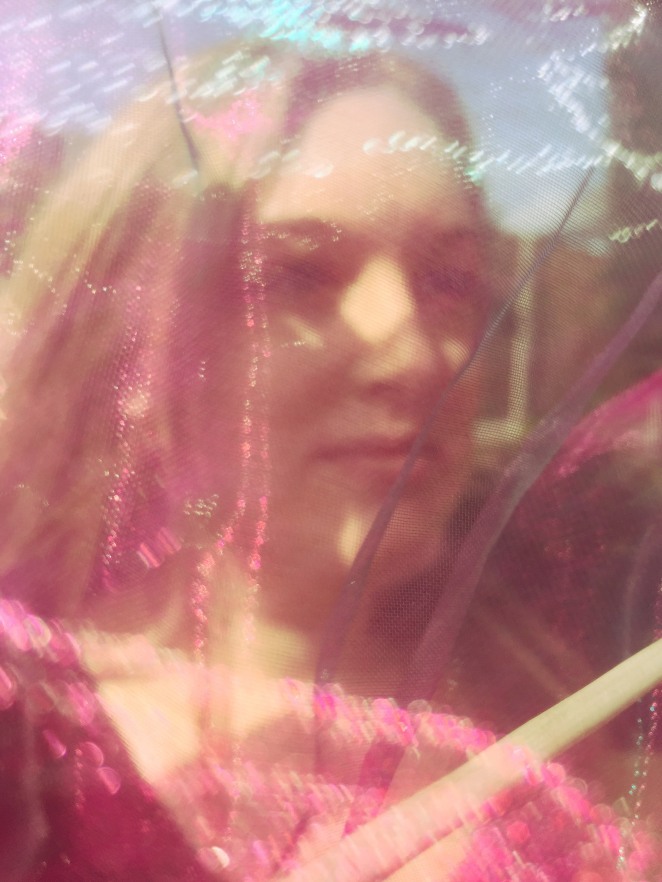
I think that this image looks very interesting, I like that it is quite out of focus and the satin she had over her face when I photographed her created a nice effect. It’s quite mysterious and you can’t really see her facial expressions which is what I like about the image; it makes you look more into the photo and notice little bits of detail. I decided to see whether it would look better darker.
I found that the darker image didn’t look as good as the first image and that it was a bit too dark. I chose to use the first image as the second one was too over exposed and didn’t fit in with the other images.
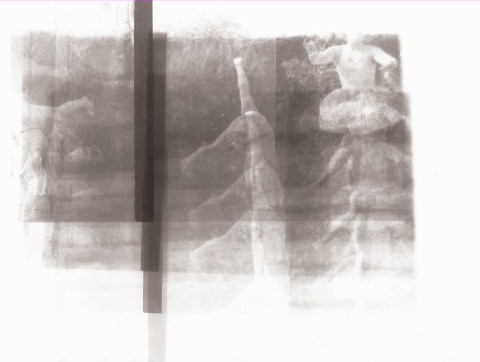
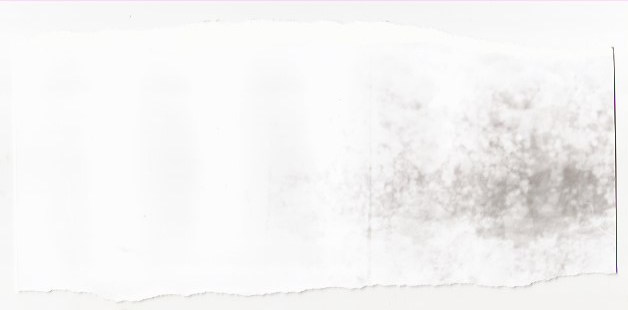
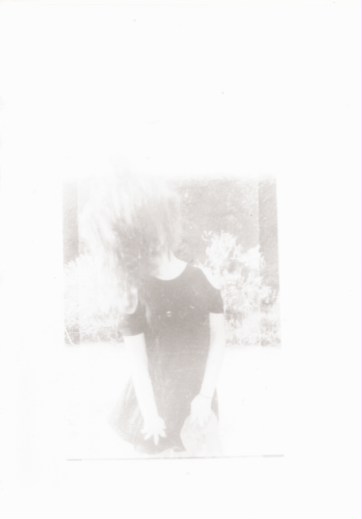
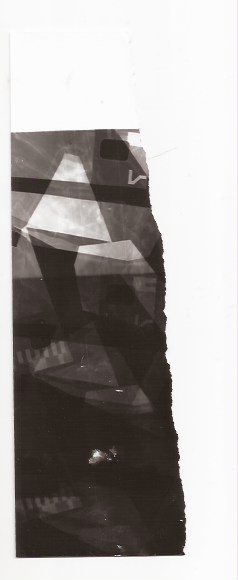
I decided to expose the image, however this time I would hold the paper up to the lens exposing the image up close to the paper and then slowly moving the paper away.
I really liked the effect that this experiment caused, I found the abstract imagery very fascinating. The photo is blank and faded which I particularly like, and I find that the simplistic image is very powerful piece and I do think the experimentation was successful. The only issue with this image is that the portrait isn’t shown in the photo so wouldn’t work with my project however, it’s a good image and it’s a very successful experiment.
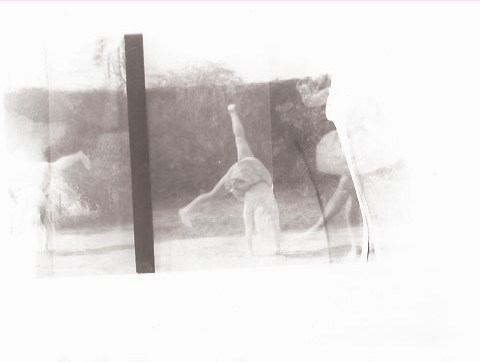
I used another image; this time adding sellotape to the middle of the image to see the effect this would cause.
10 second exposure
This image was under exposed so I tried doubling the exposure time to 20 seconds.
This exposure time was just right. The sellotape didn’t have a huge effect on the image but it did adjust the tone of the image making it lighter than the left and right side. I liked this image and think this effect was good and I’m glad there wasn’t a bigger difference as I feel that the image wouldn’t have looked as good.
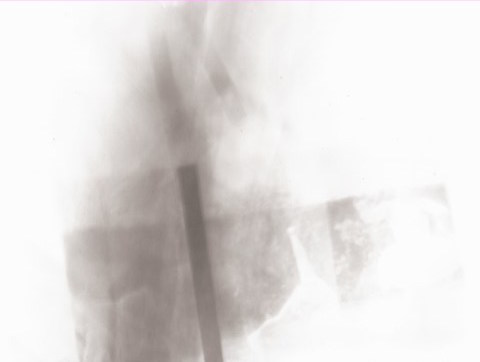
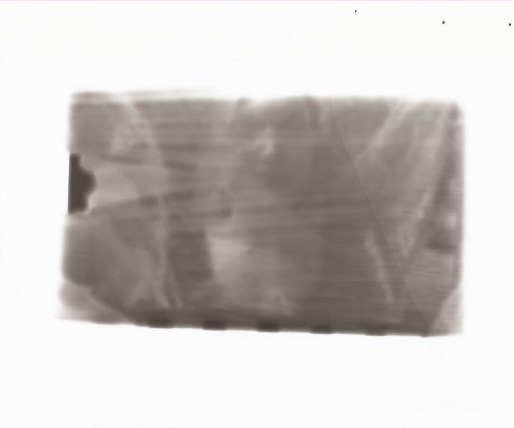
I decided to change the sellotape to film perforations. I wanted to see whether the holes did anything to the appearance of the image.
30 second exposure
I exposed the image for 10 seconds longer as the film negatives is much thicker than sellotape. I liked the effect the film perforations had on the image as it gave it different tones and showed the faint perforations of the film. I like that they added texture and had a range of tones which added dimension. However I felt that although it looked effective, the image was a bit too over exposed.
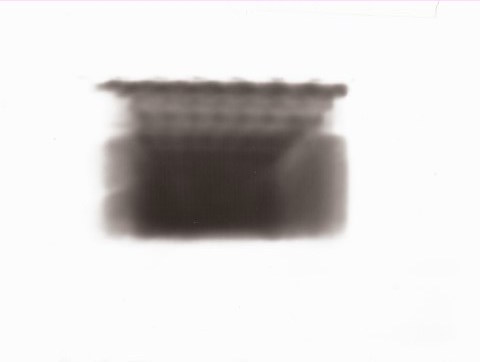
I went on to exposing the image again however holding the paper up to the lens and then slowly placing it back down and leaving it to expose the image fully. I wanted to see the effect of this and whether it would work.

This experiment left shadow marks from where the paper was held up to the lens and the image was shown fully beneath the shadow. I found the effect worked however it’s too over exposed and harsh. I don’t think the image works well or goes well with my project as the lines are too harsh and the overall image is too dark.
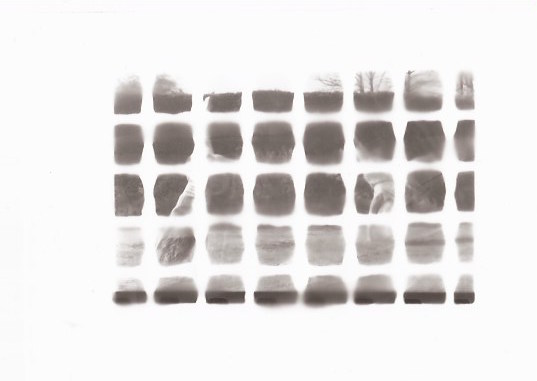
Mt tutor showed me some ways in which I could experiment with my film but in a more unconventional way. I got a single frame from a piece of film and cut it up into little pieces to collaged them and sellotape together. I then put it in the neg carrier and exposed it in the darkroom. I exposed the image onto a test strip for 15, 10 and 5 seconds.
I found that 5 seconds was the best exposure as 10 and 15 seconds were too over exposed.
I went onto exposing the image for 5 seconds onto 5×7 paper.
The images came out well however, they’re not suitable for my project. The shapes are too harsh and sharp which is the opposite of what I’m portraying in my project. The image doesn’t feature any portraiture which doesn’t fit in and the contrast has very dark tones. I like the effect however it just doesn’t go with my concept as the imagery isn’t soft but rather too focused and clear.
Overall, I found this darkroom session was very productive. I was able to experiment in a lot of different ways to create abstract imagery. I enjoyed using materials and transforming the film into different forms as this allowed the image to be portrayed differently. Although some of the processes didn’t work, it allowed me to be creative and display the images in a more interesting way which did work and created a very effective photograph. I really enjoyed finding small flaws and marks on the images when developed as originals as they made the photographs more real and added solidity. I found the overall experimentation of this darkroom session was very successful and productive, giving me a variety of pieces for the exhibition.
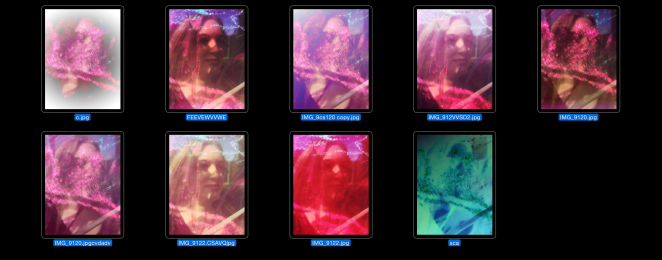
Contact Sheet of potential final pieces: